Zapier Automation Using Webhooks
This page is for administrators who want to trigger automated actions in other apps whenever a Device42 resource changes. By the end, a change in Device42 fires a webhook that runs a Zapier "Zap" in the app of your choice. This example creates a Google Sheets row each time a device is added.
Zapier is a versatile workflow automation tool based on "if-this-then-that" logic. You can create an automation sequence, known as a Zap, to perform actions in response to changes made to Device42 resources. Zapier supports response actions using features of a variety of apps, including Jira, MySQL Server, and Google products.
This page walks through an example where Zapier creates a new row in a Google spreadsheet from the webhook payload whenever a new device is added to the Device42 main appliance. The process consists of the following steps:
- Generate the Zapier endpoint and add it to Device42.
- Configure the Device42 trigger action.
- Configure the Zapier response action.
- Test the automation.
Prerequisites
Before creating the Zap, make sure you have:
- A Zapier account
- A Device42 main appliance with access to the webhooks feature (Tools > Webhooks)
- An account for the app you want Zapier to act on (this example uses Google Sheets)
Generate the Zapier Endpoint
-
Log in to your Zapier account and click + Create Zap.
-
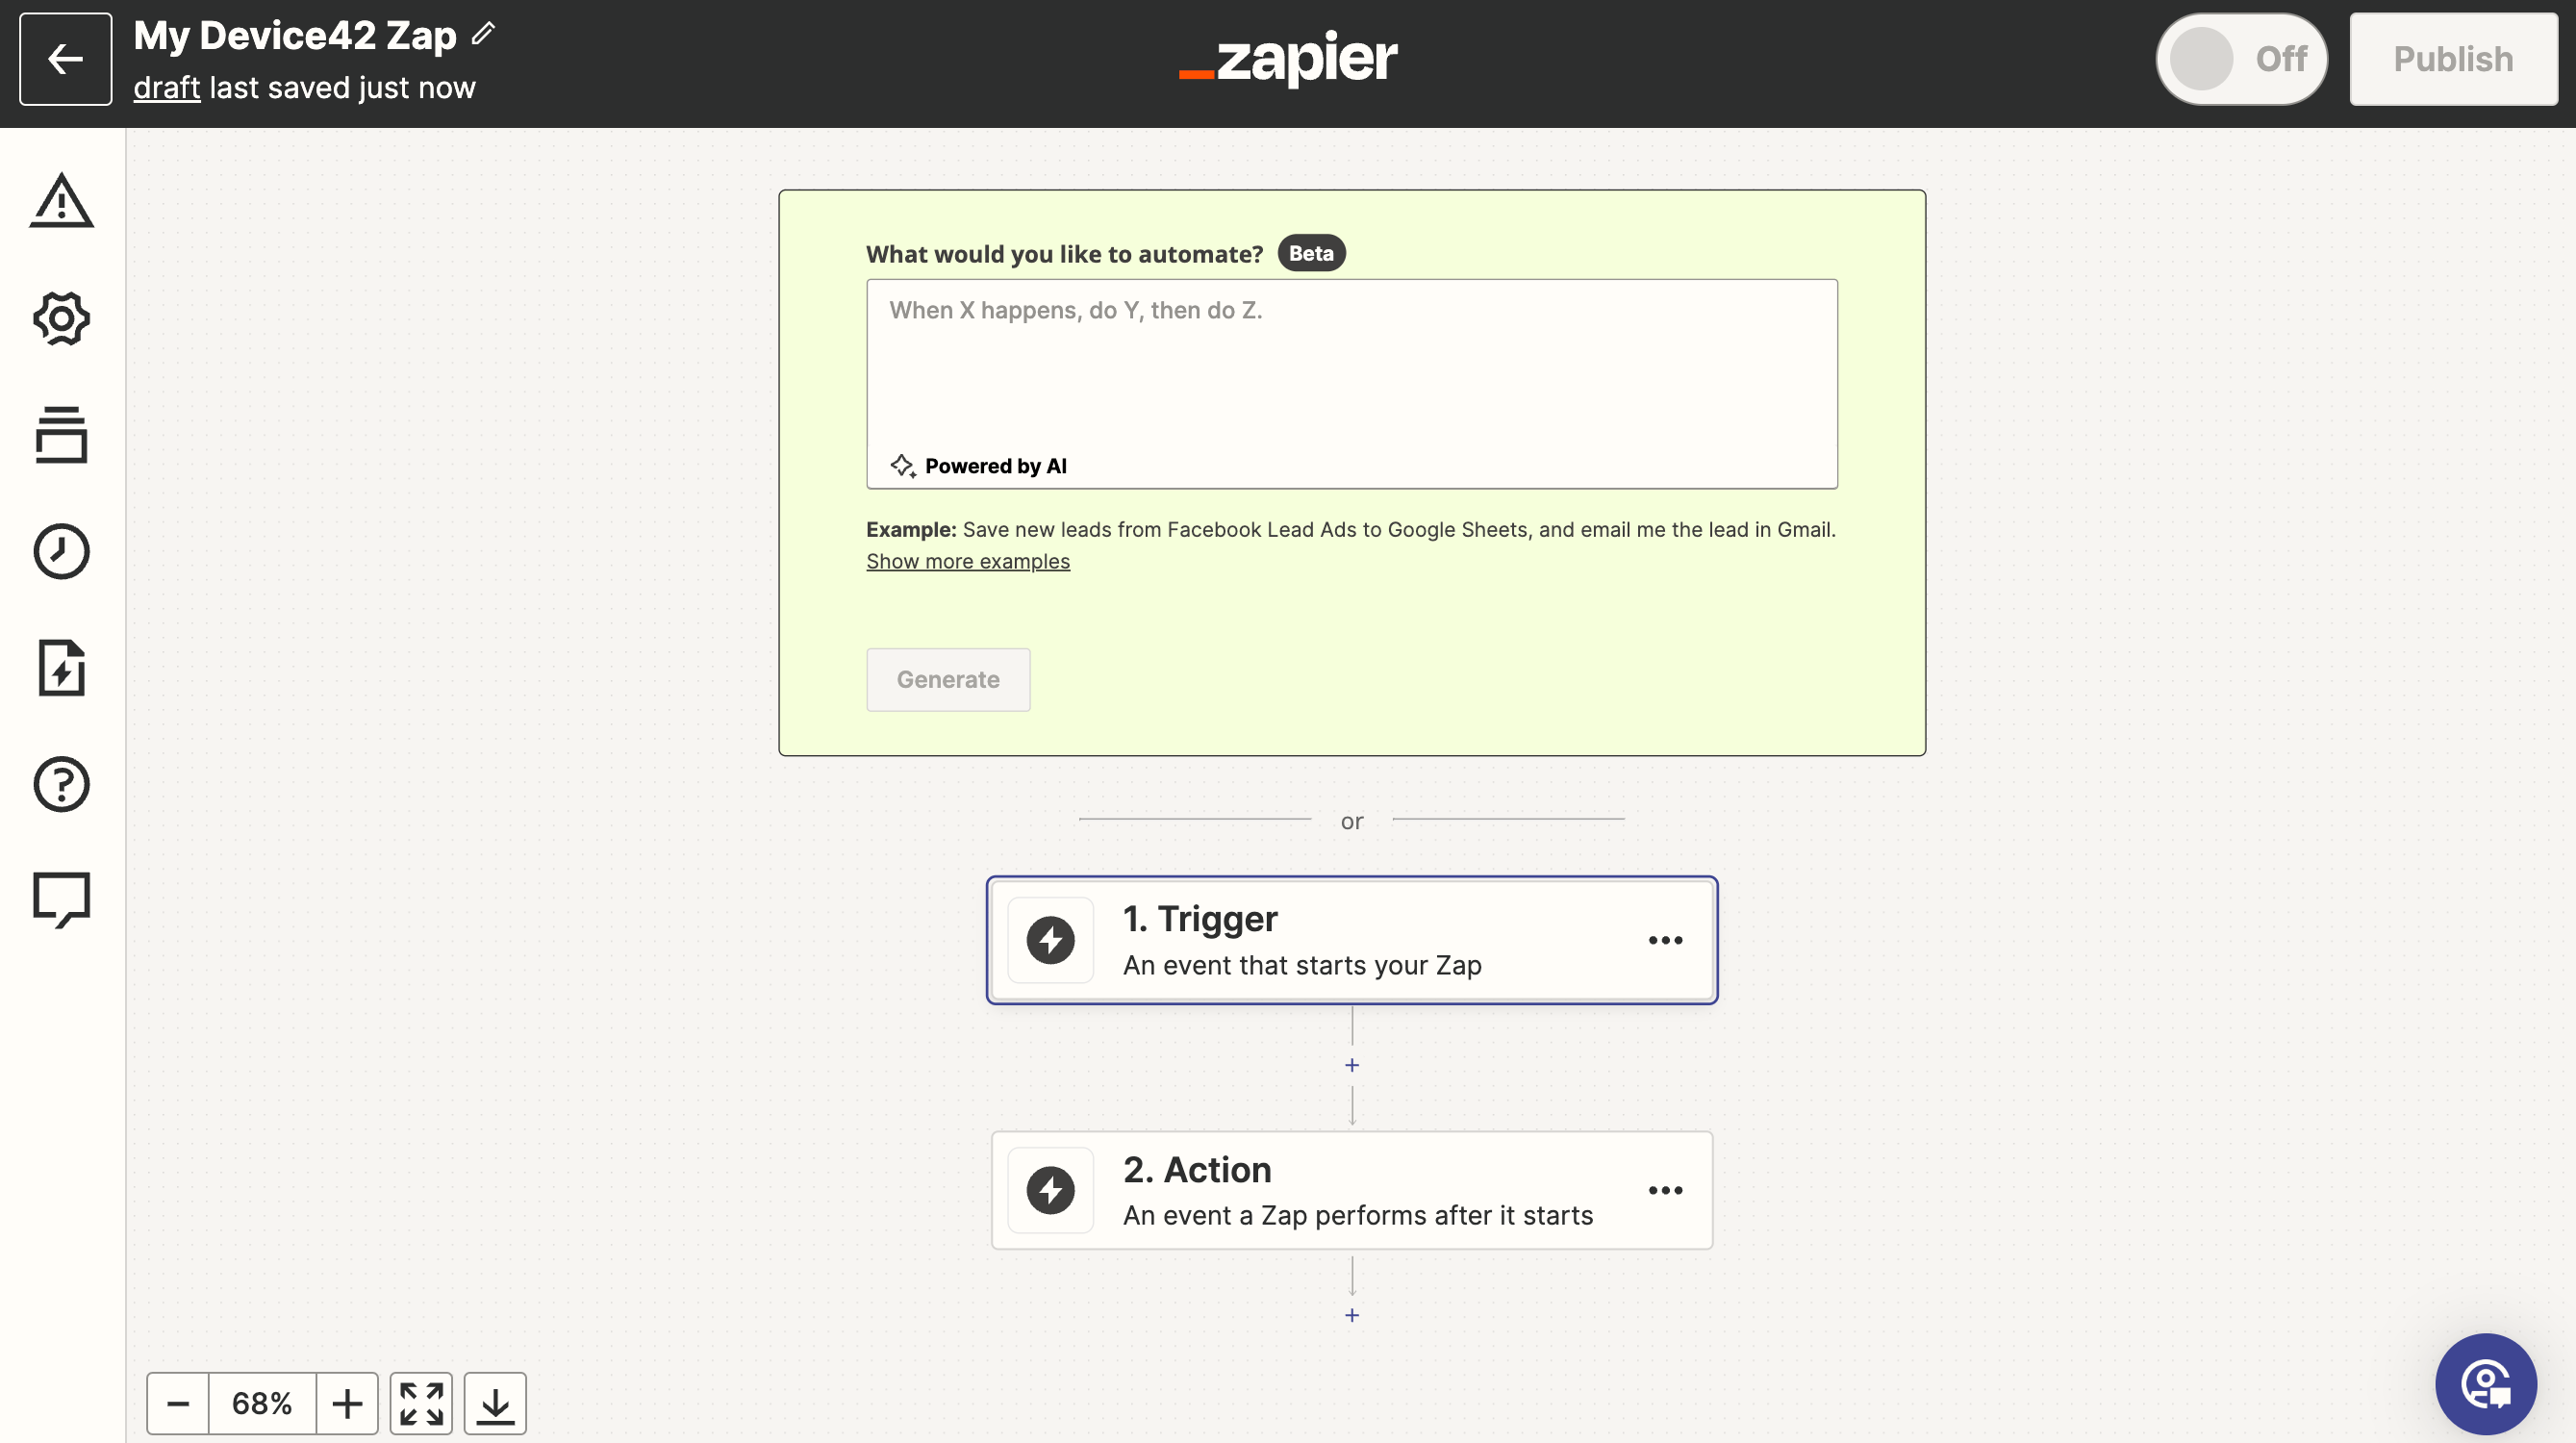
Name your Zap in the top-left corner, then click the 1. Trigger box to open a list of trigger options.
-
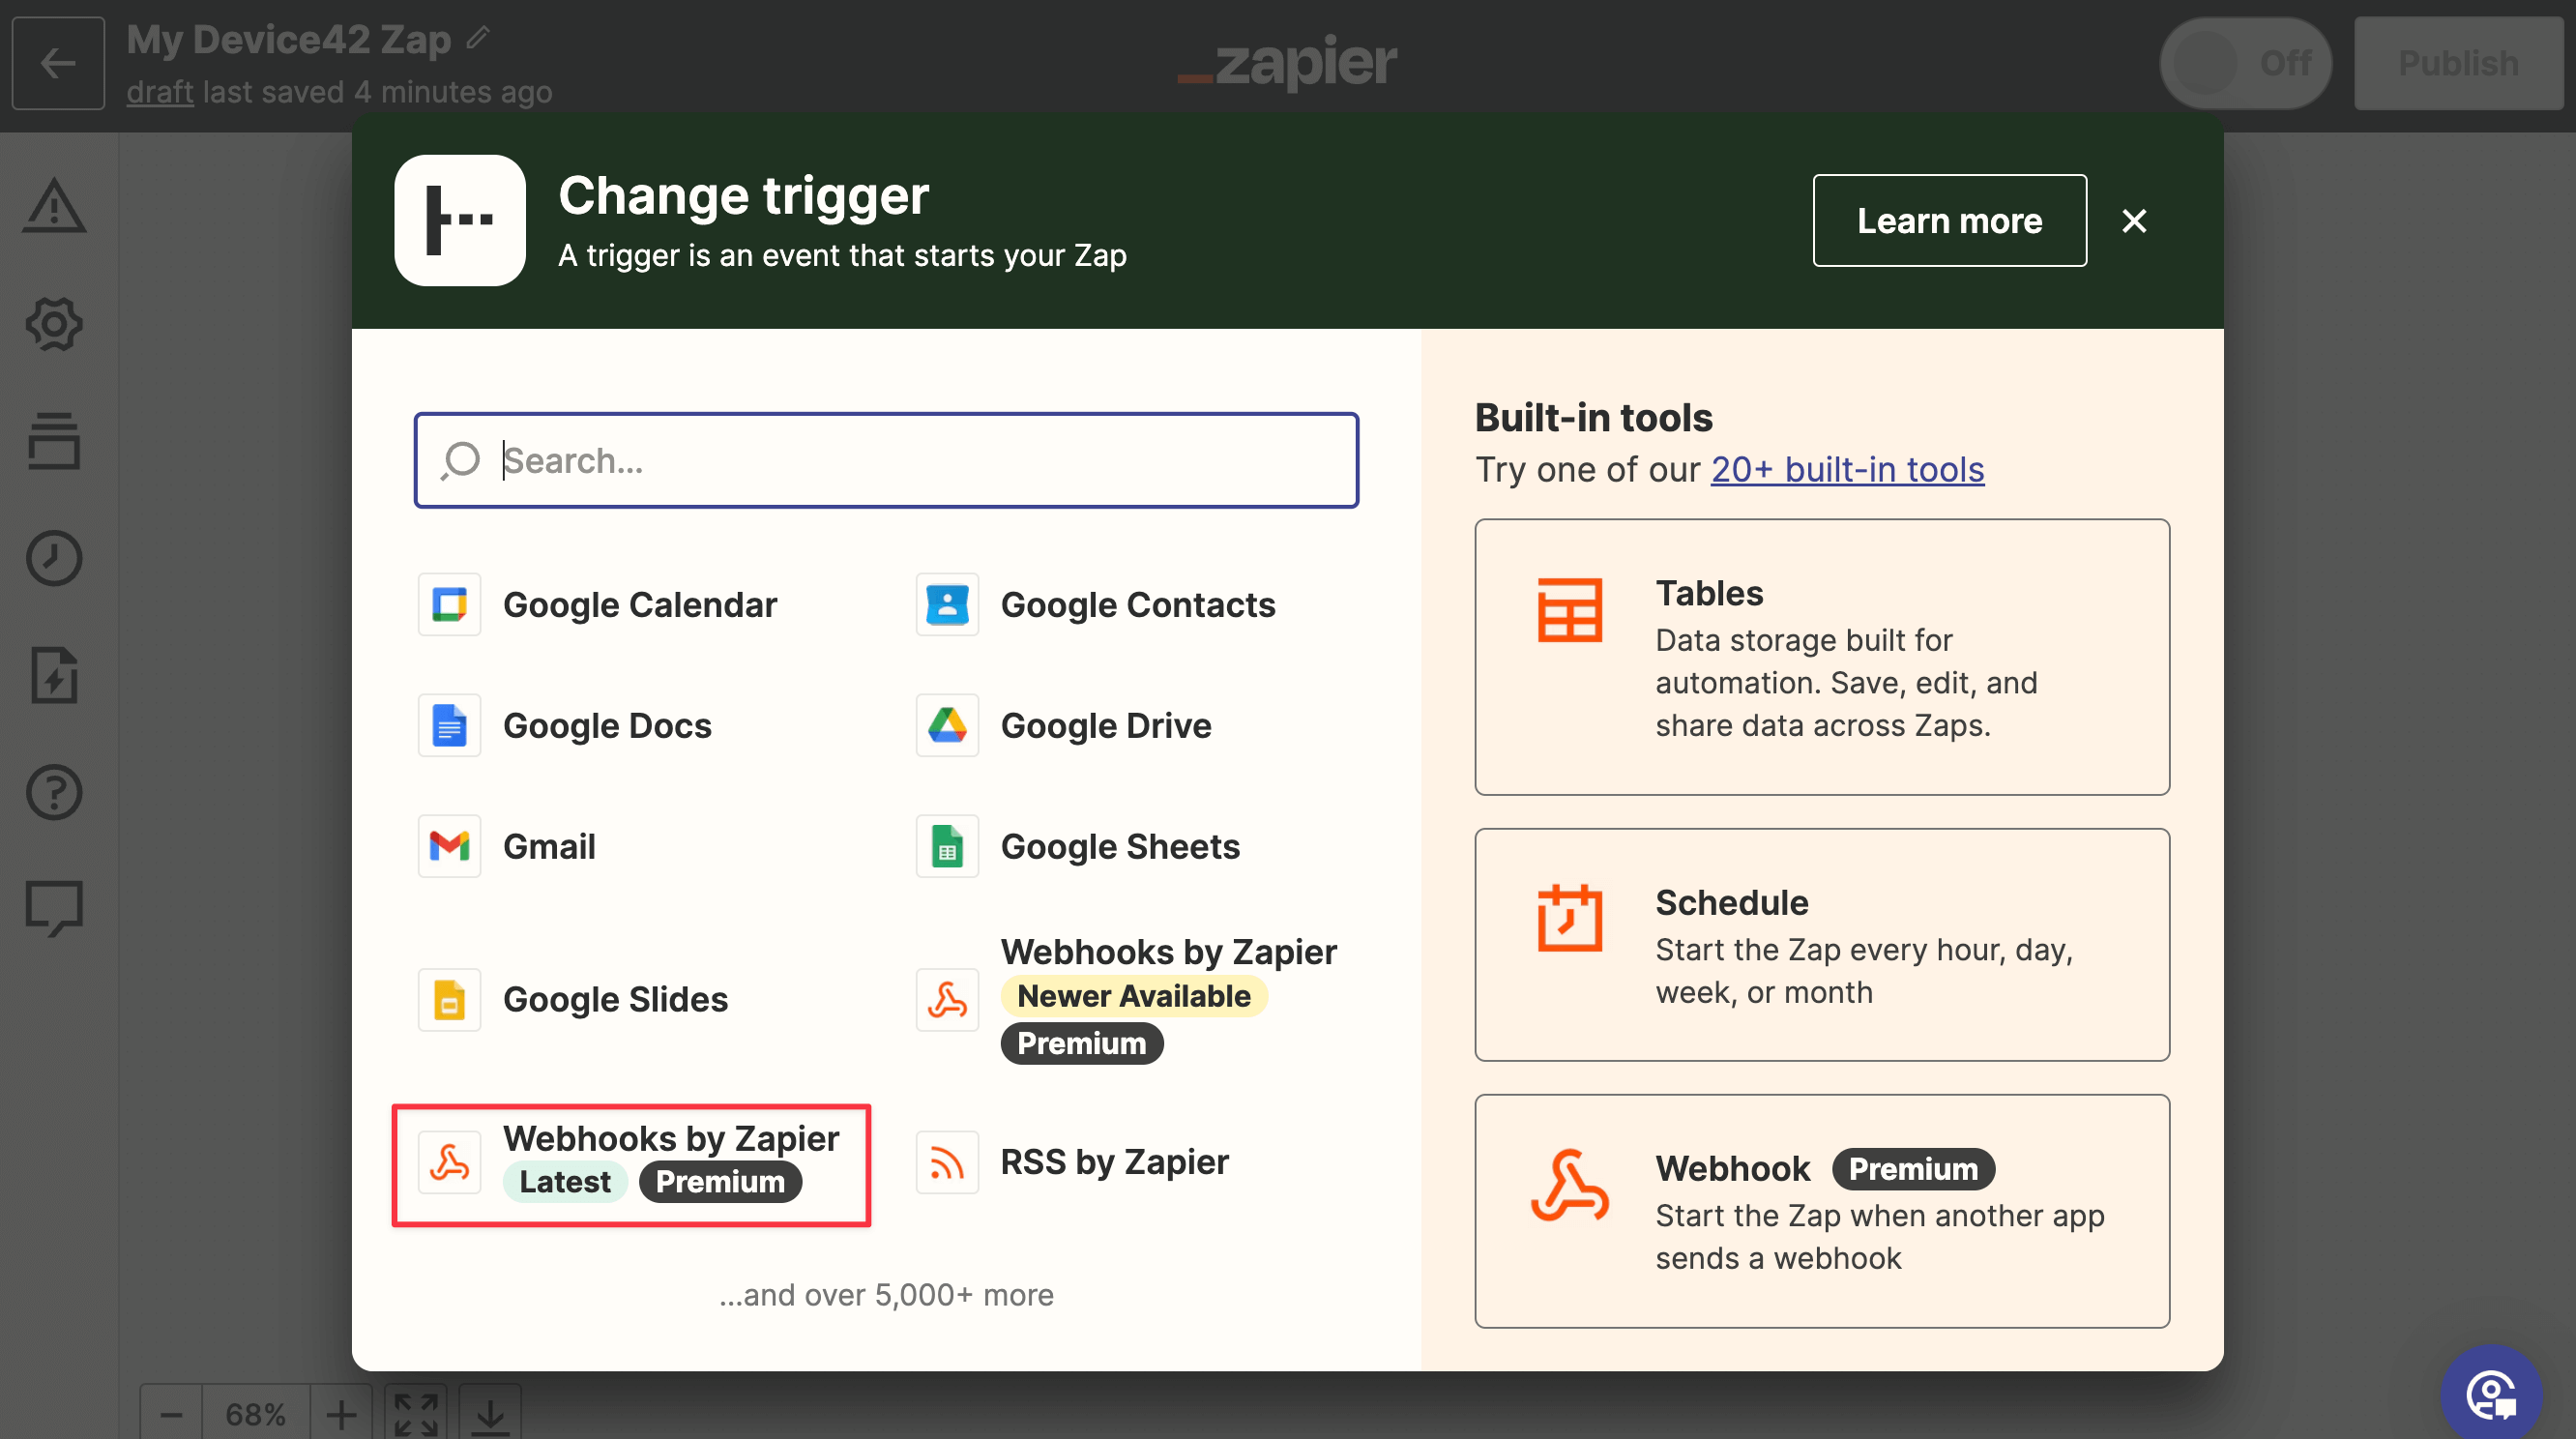
Select the latest Webhooks by Zapier option.
-
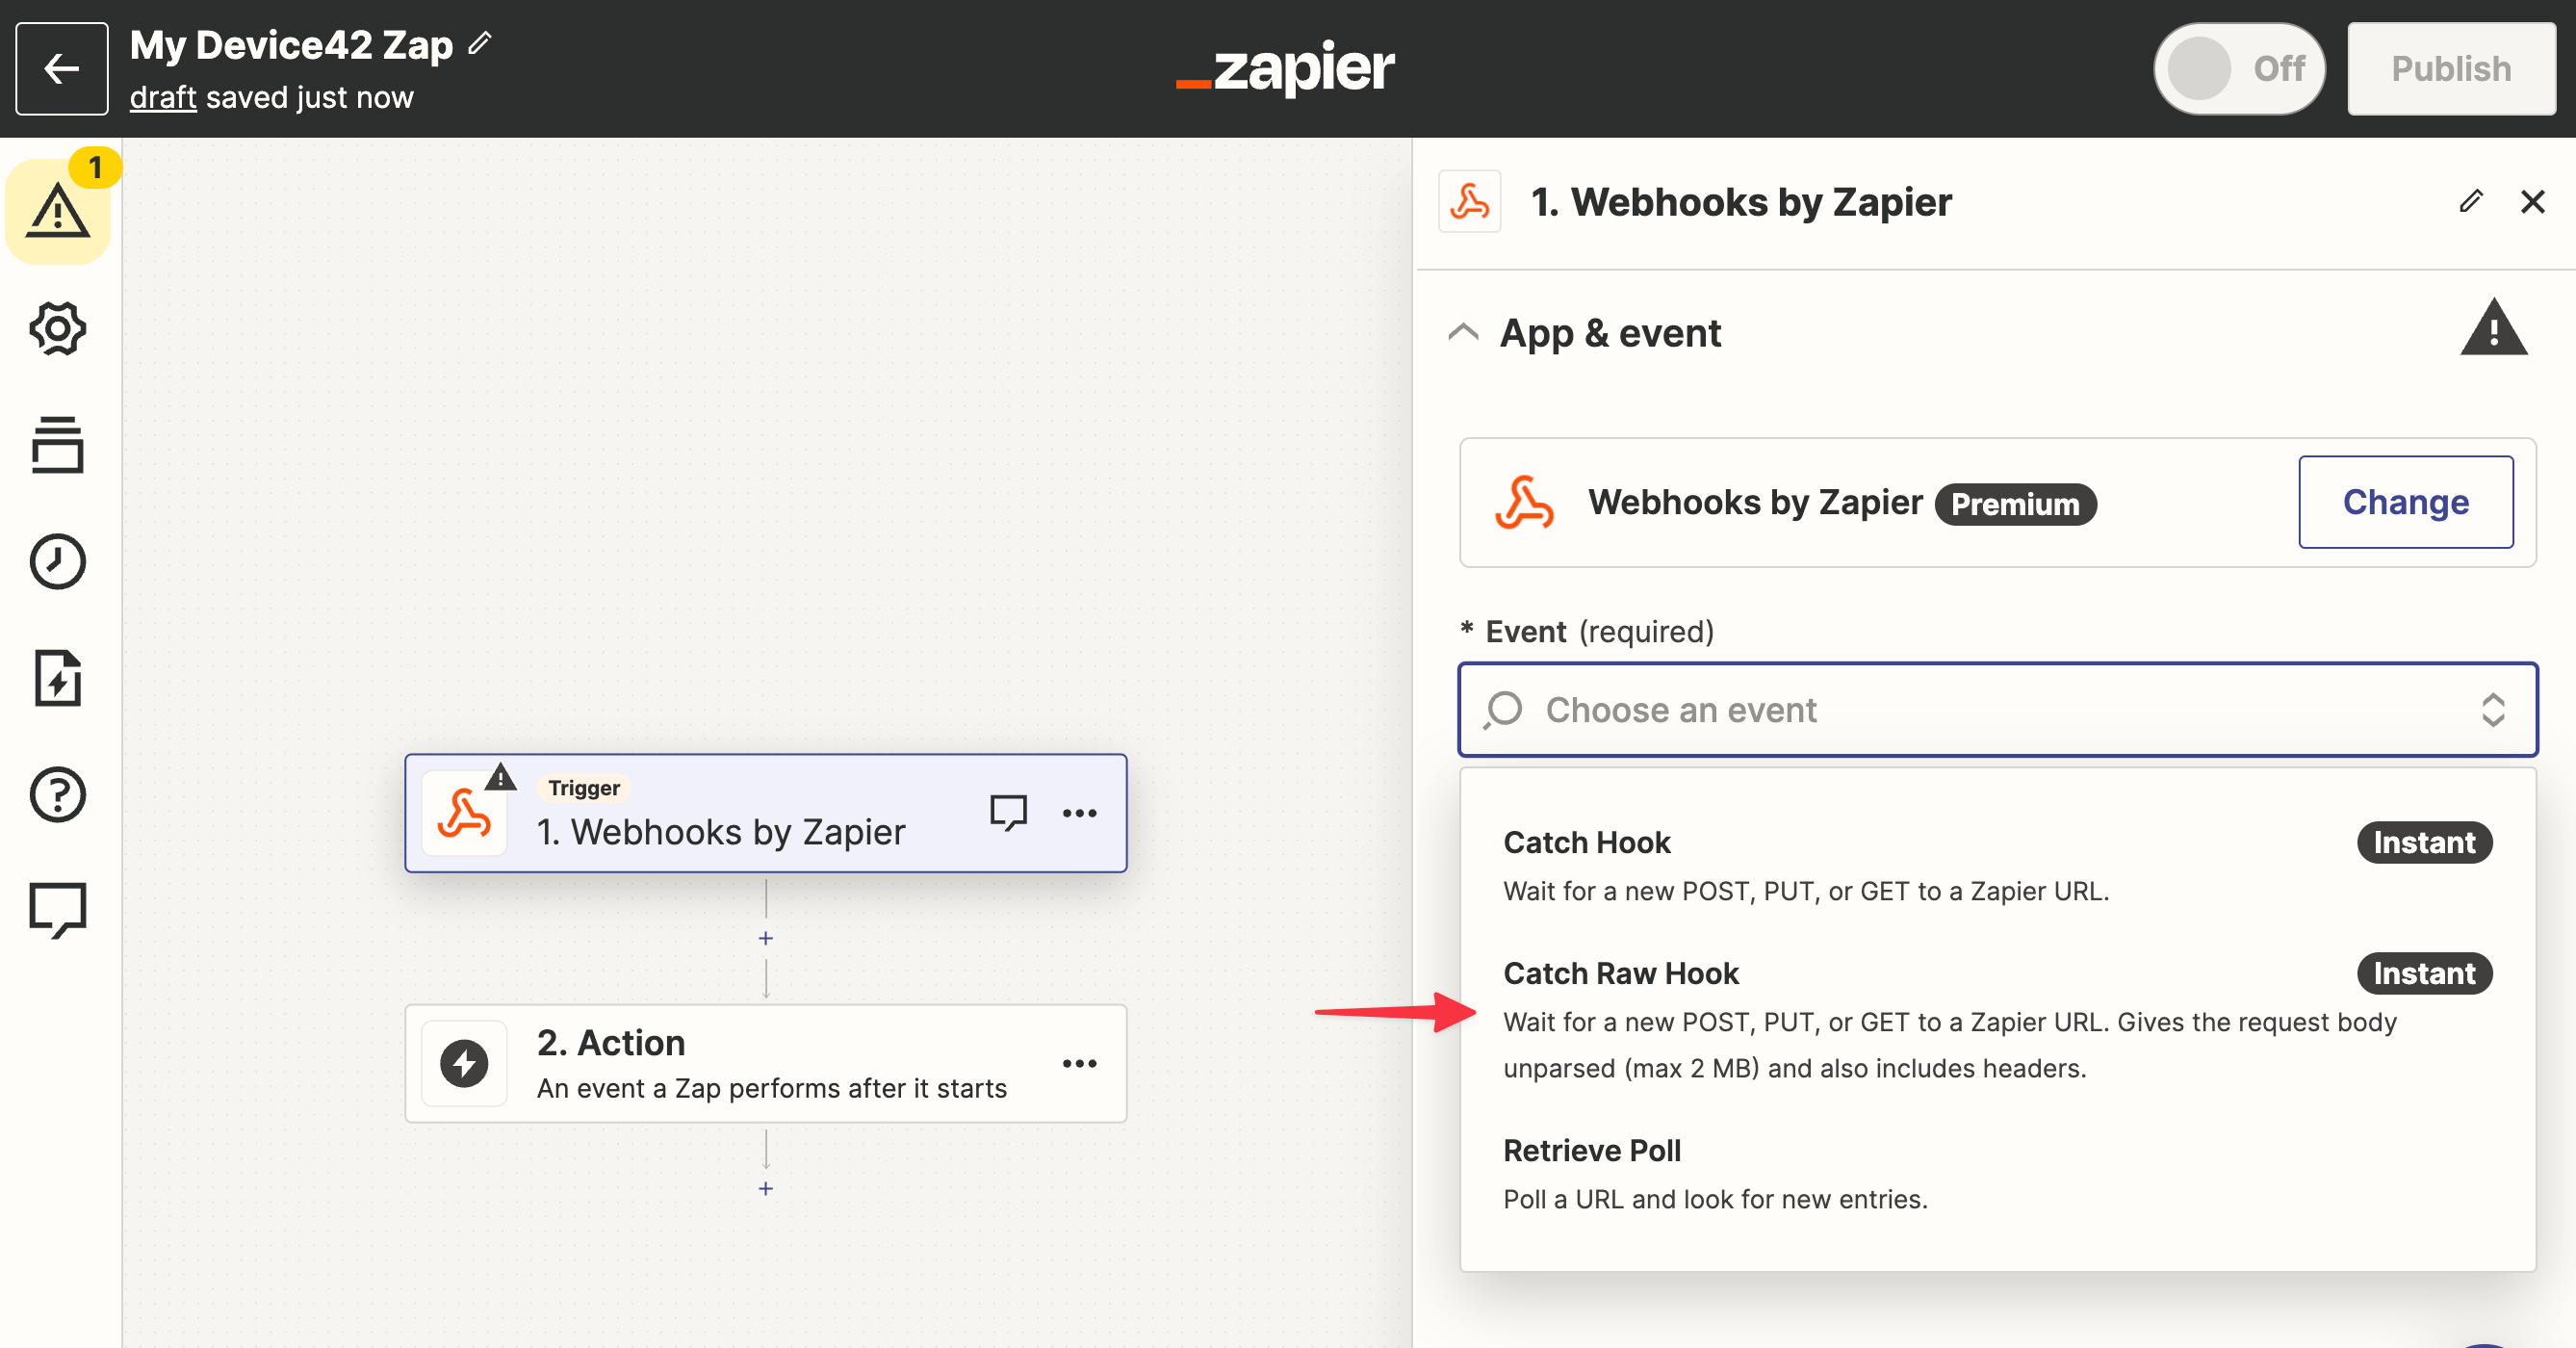
Under the Event field, choose Catch Raw Hook to return header information with the response. For parsed data only, select Catch Hook instead. Click Continue.
-
Copy the generated webhook URL to add as an endpoint in Device42.
Add the Endpoint to Device42
- Log in to your Device42 main appliance and navigate to Tools > Webhooks > Endpoints.
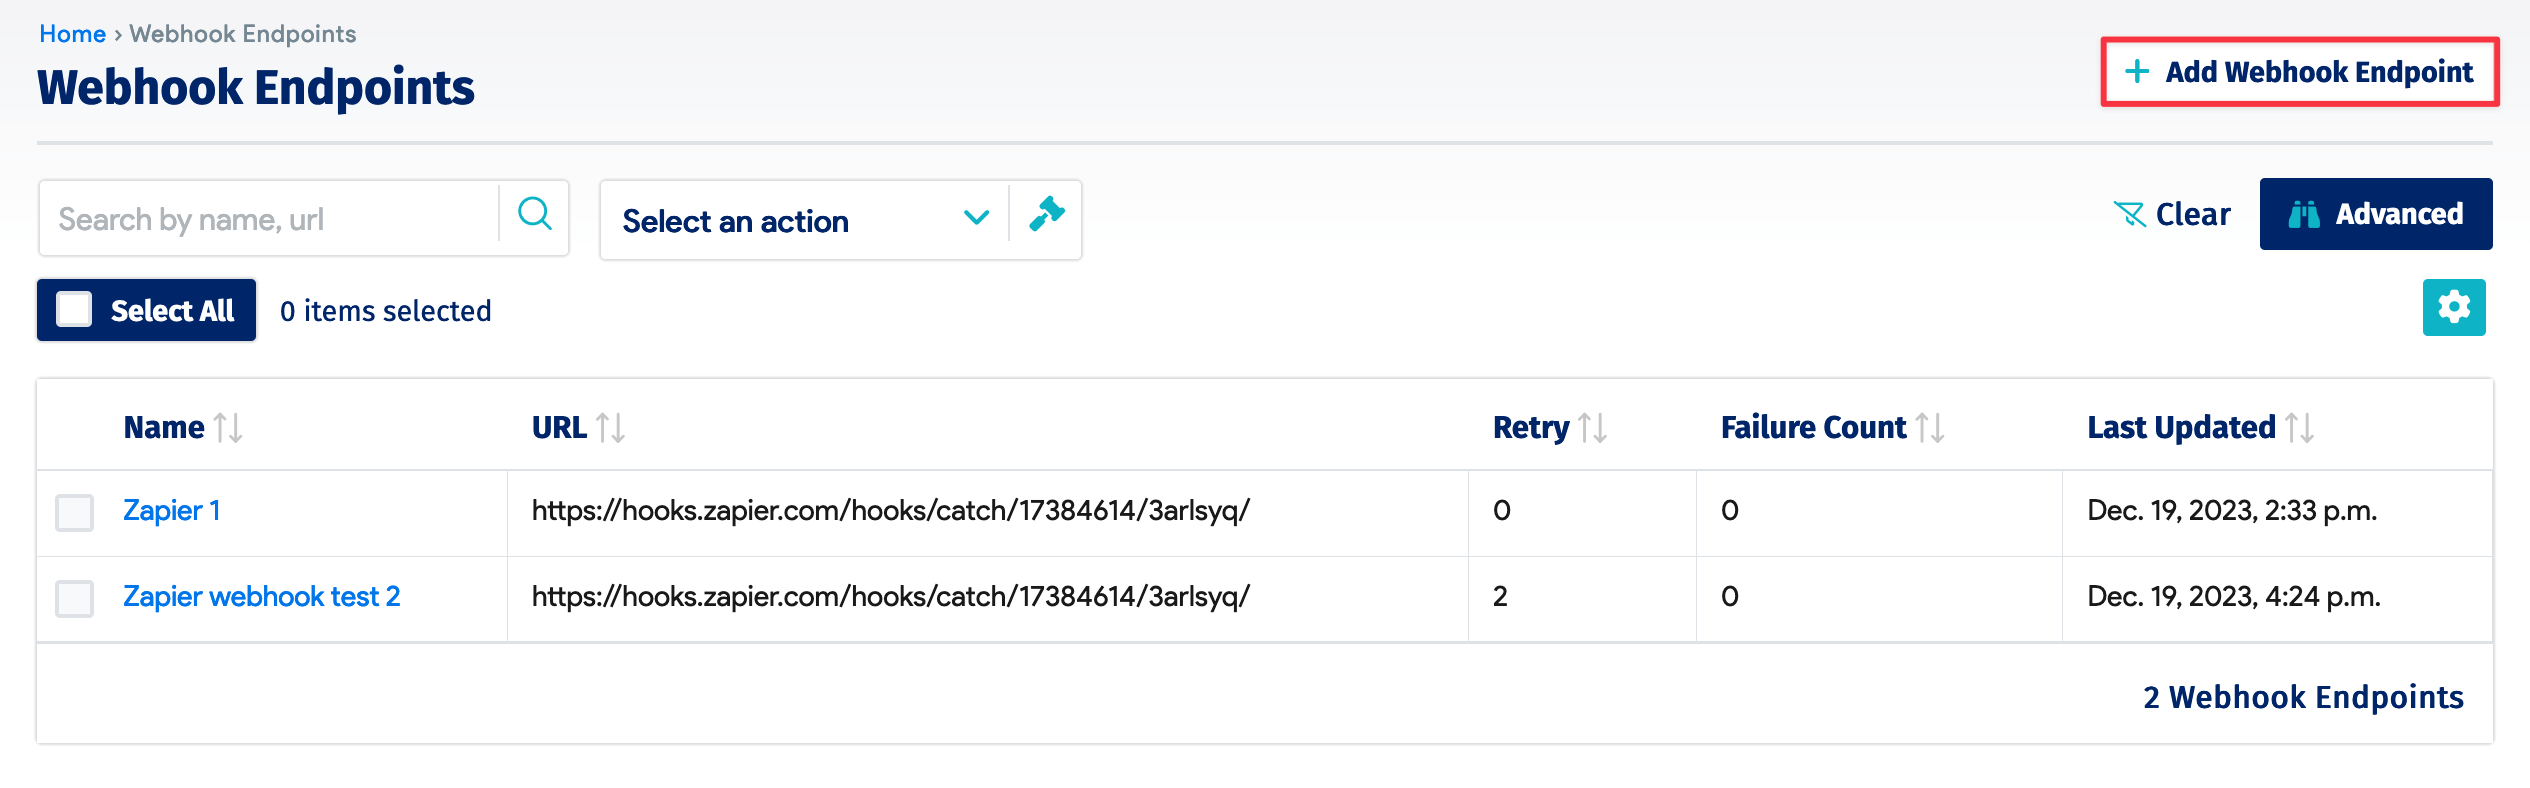
- Click + Add Webhook Endpoint.
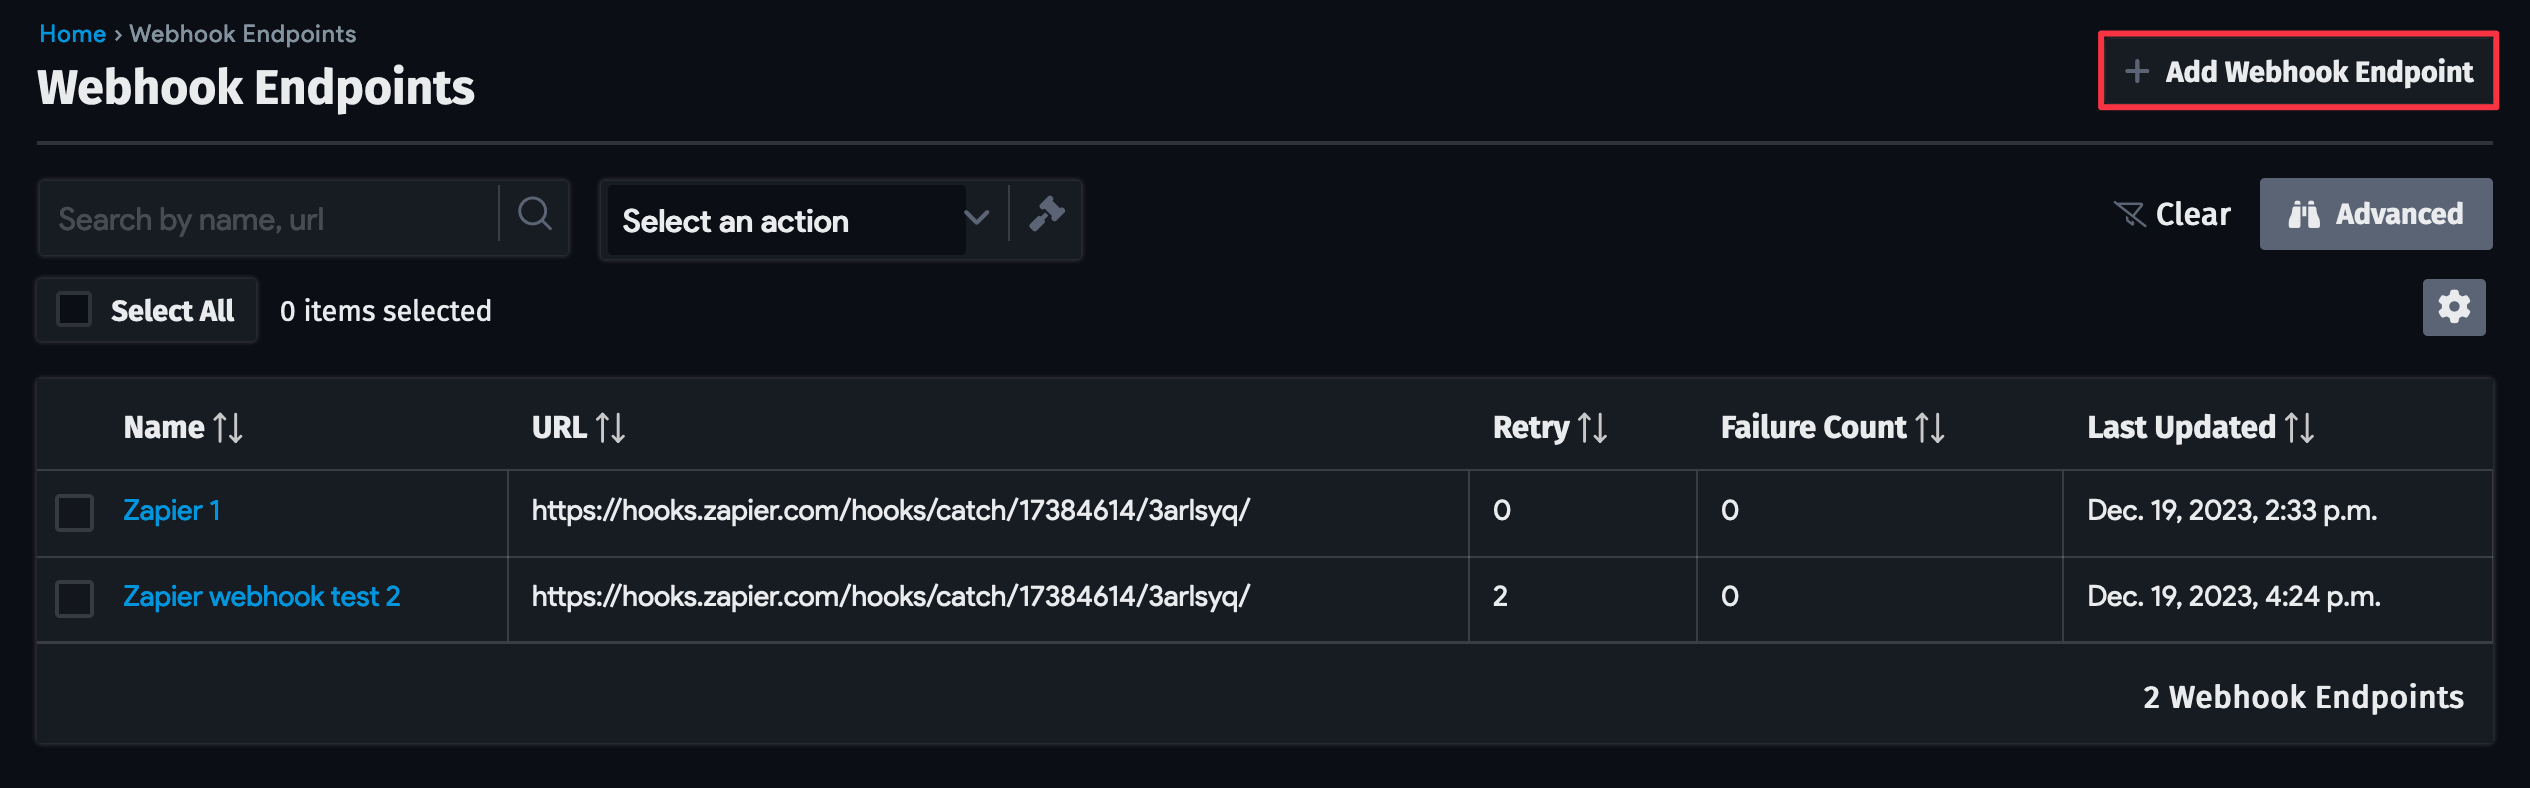
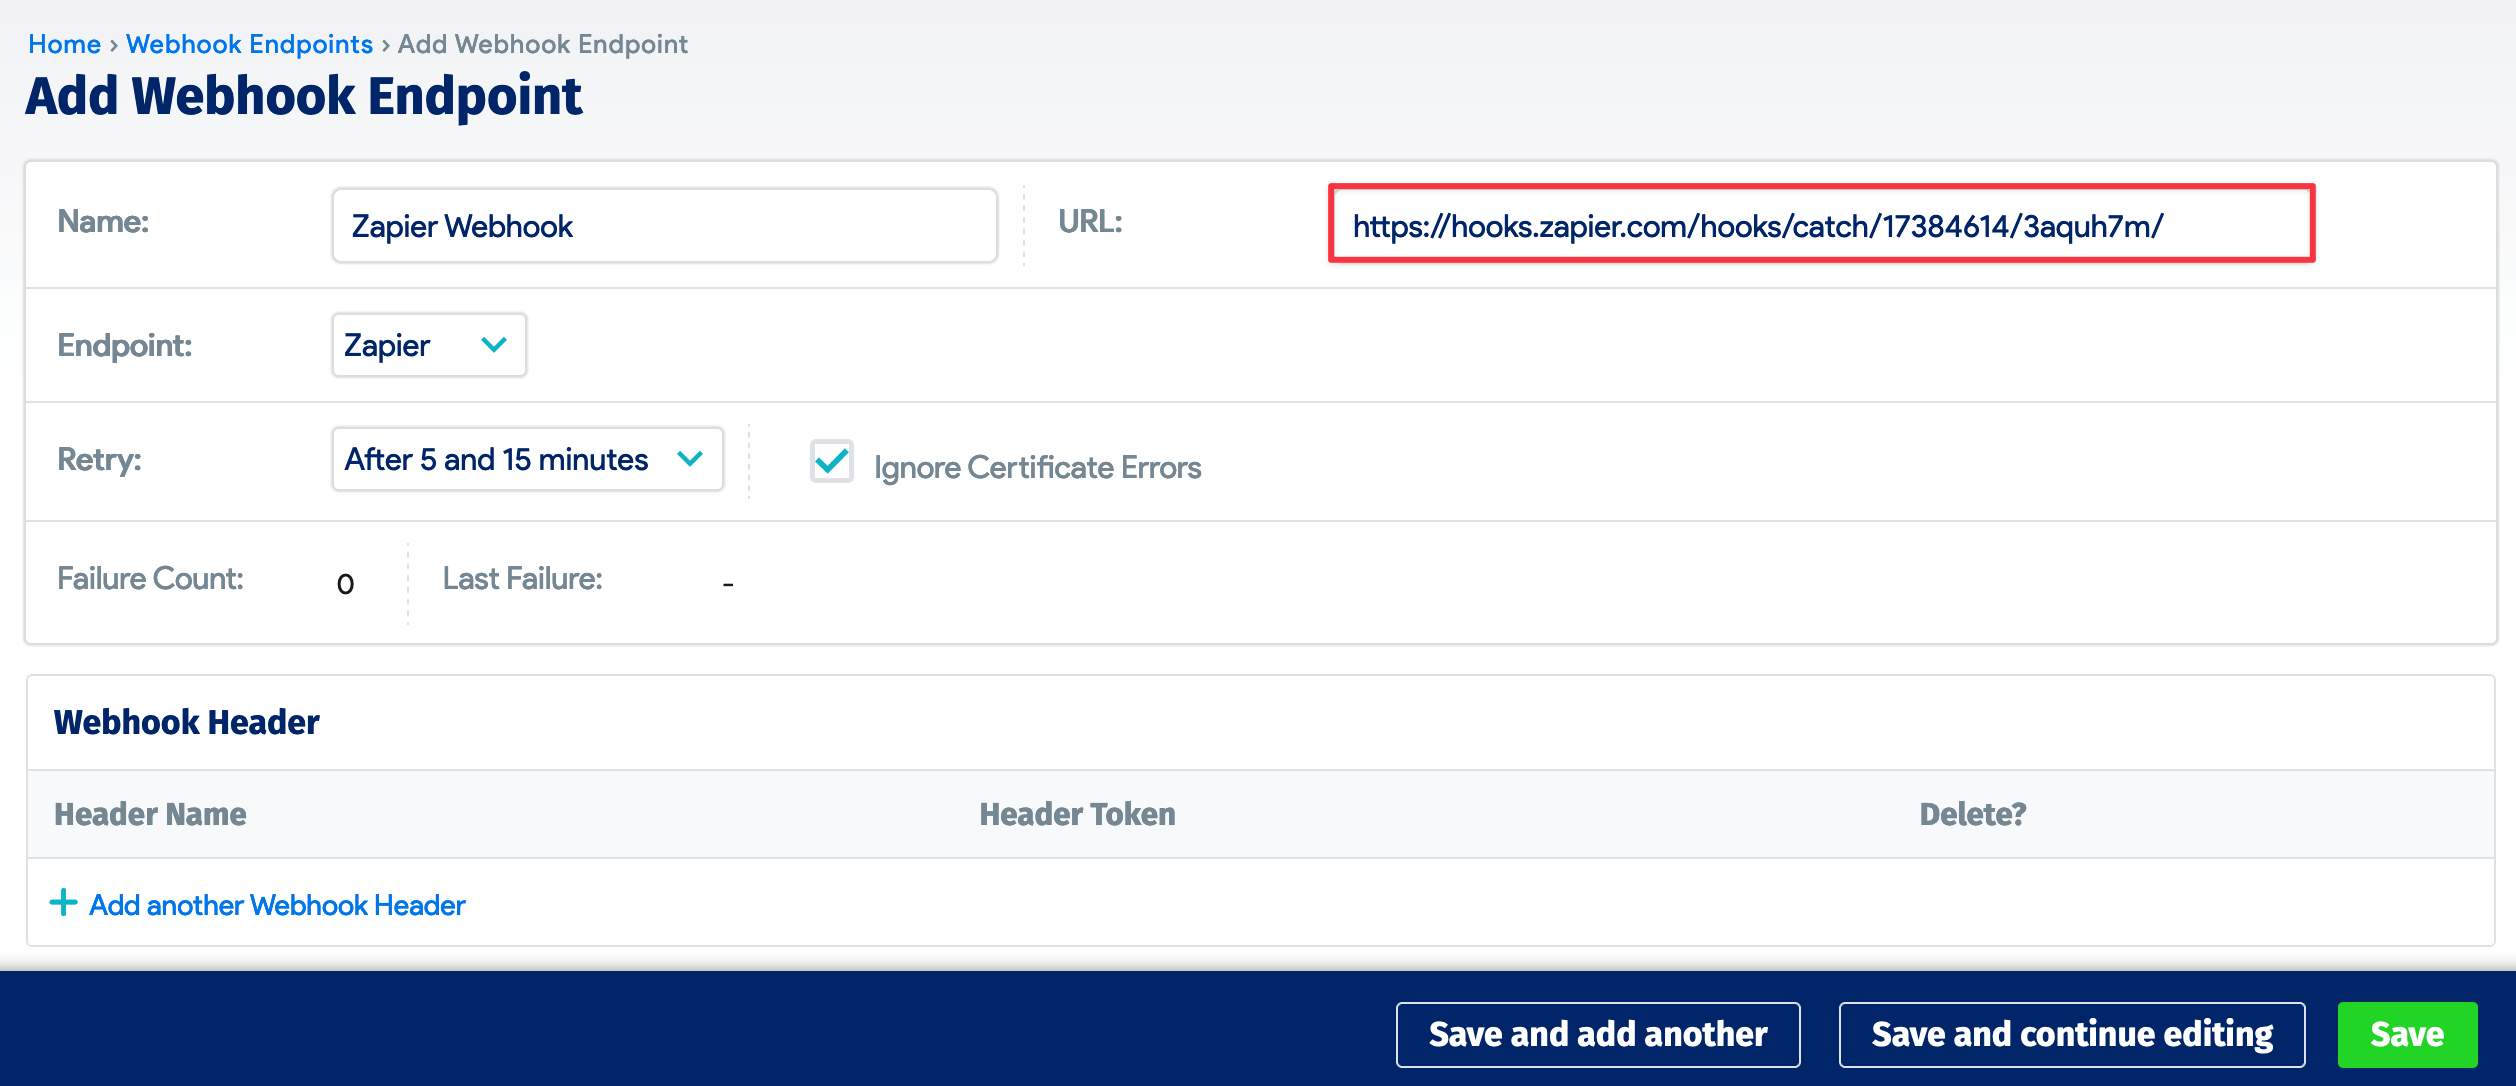
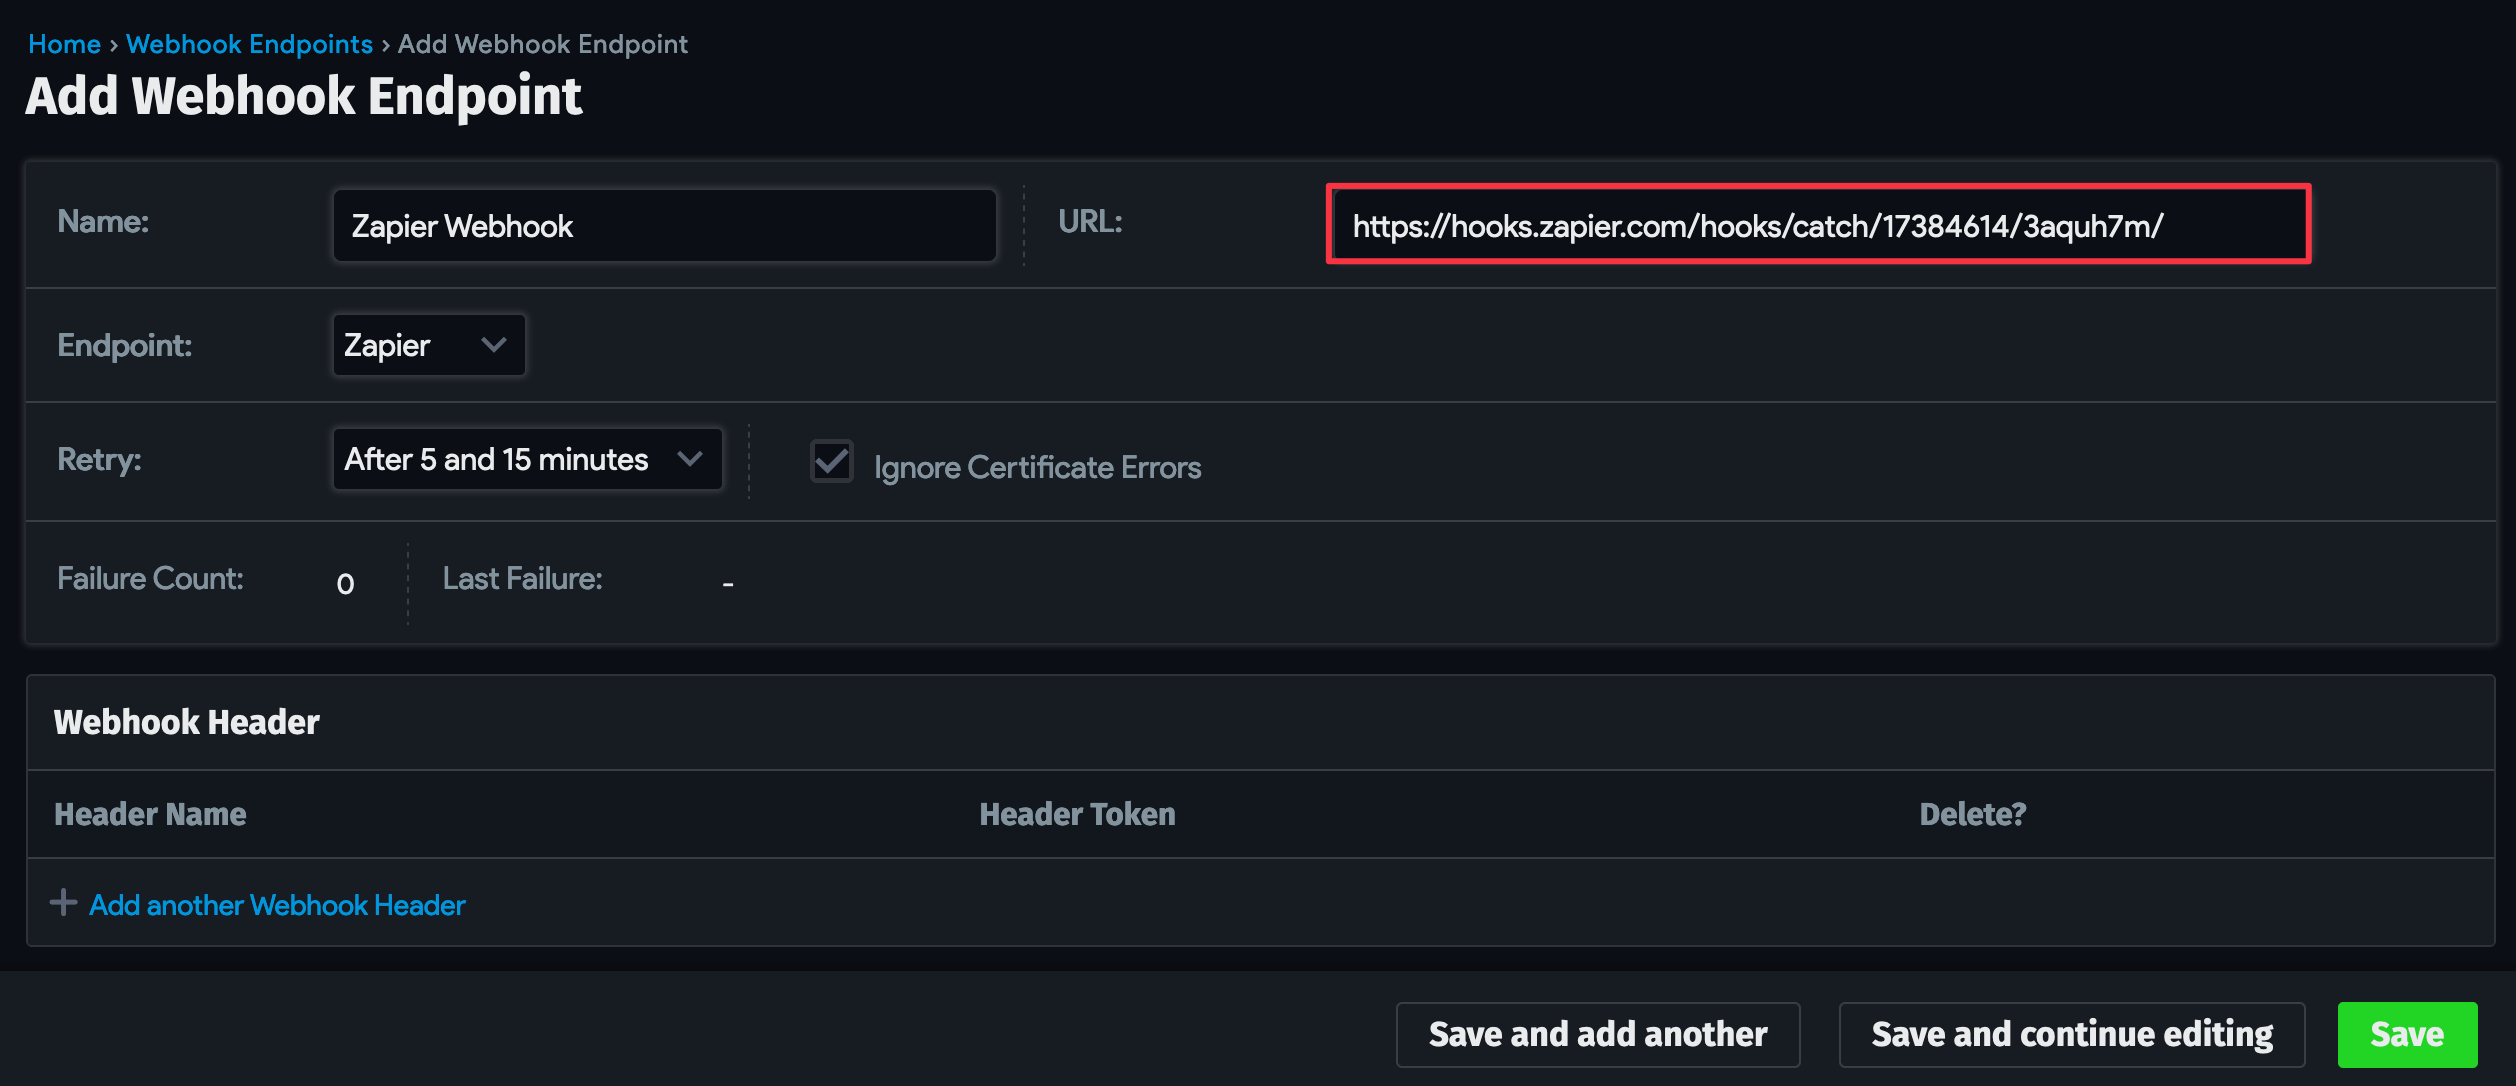
- Fill in the following fields:
- Name: A unique name for the endpoint.
- URL: The URL generated by Zapier in the previous section.
- Endpoint: Select Zapier.
- Retry: Select After 5 and 15 minutes from the dropdown menu.
- Ignore Certificate Errors: Check this option.
Optionally, add webhook headers to be included in the returned data when the Zap is triggered. Click + Add another Webhook Header and provide the header name and value.
Configure the Device42 Action
Actions define which targets to monitor for changes (events) that trigger the webhook. For example, you can monitor all devices for any changes, or monitor changes to specific device fields like Device Operating System.
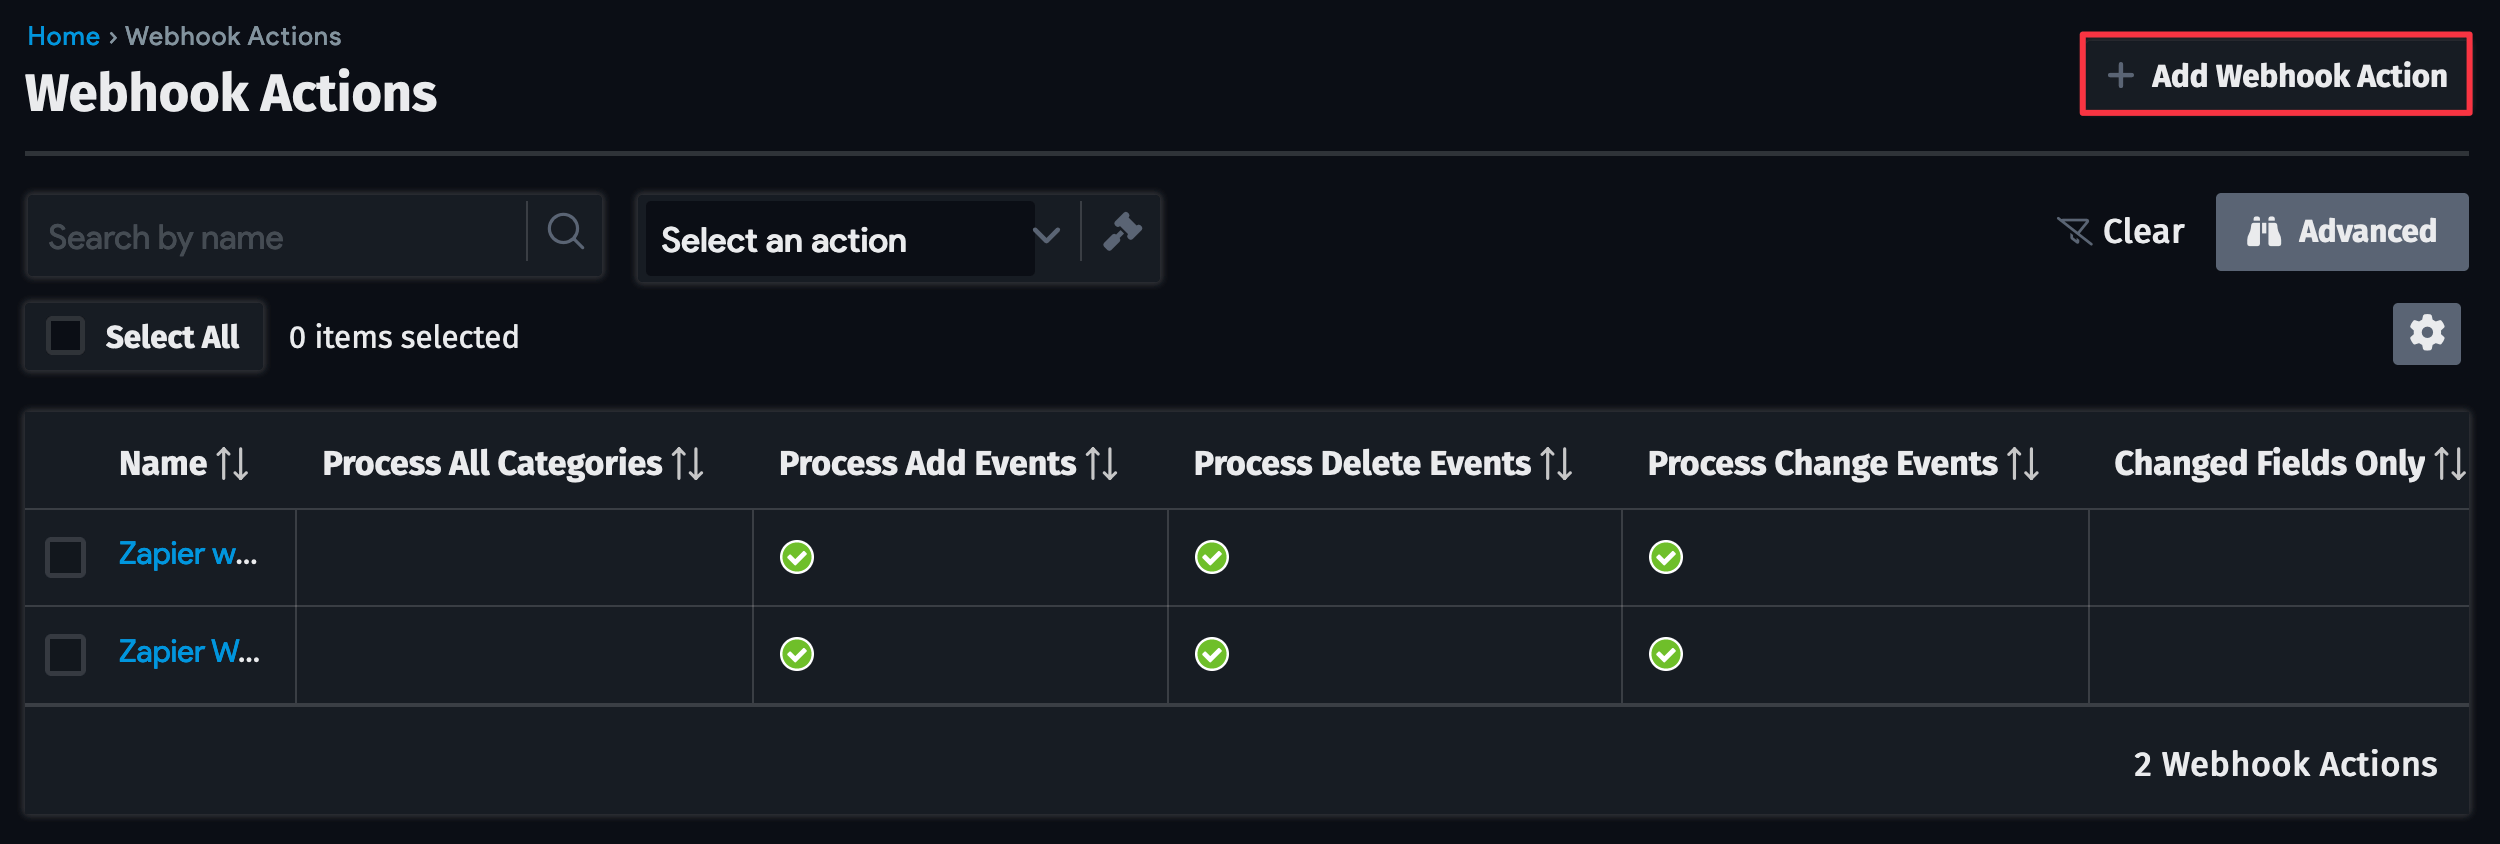
- Navigate to Tools > Webhooks > Actions and click + Add Webhook Action.
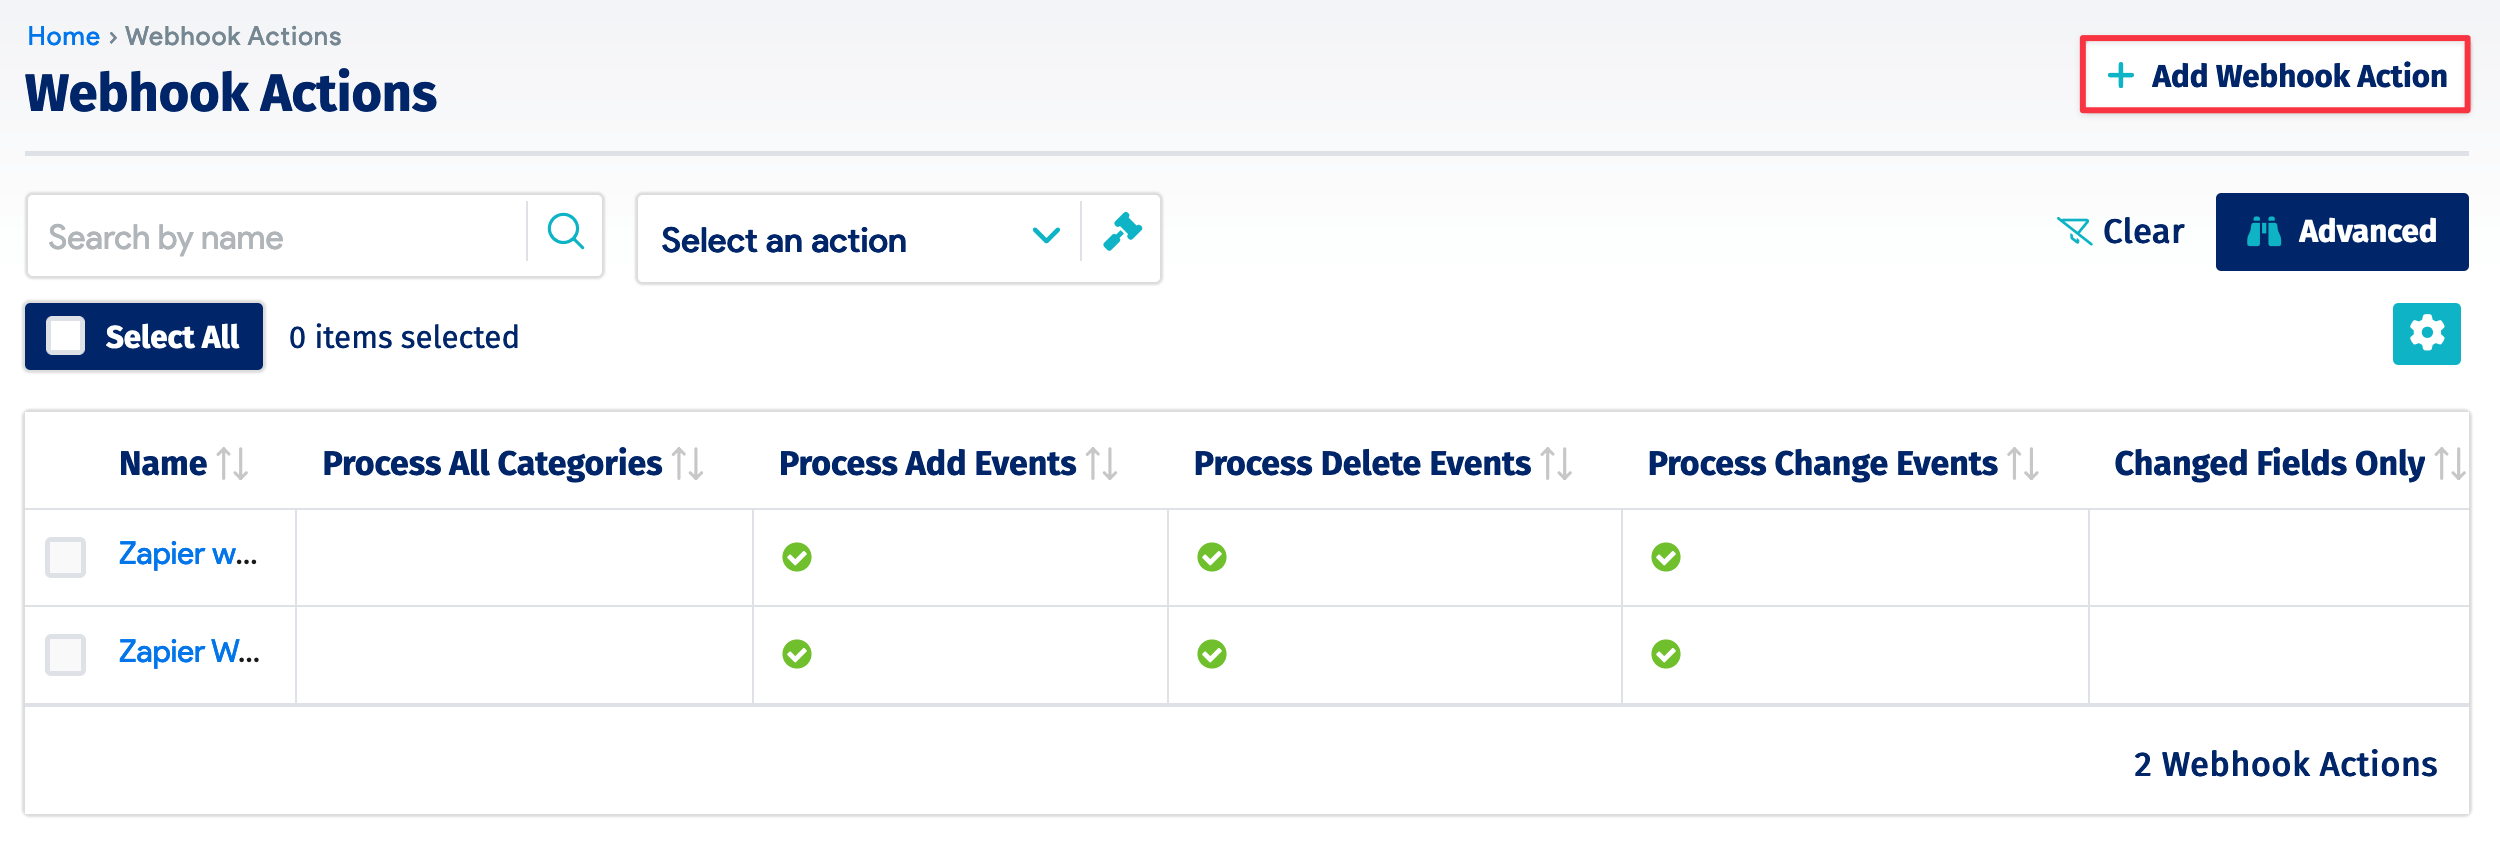
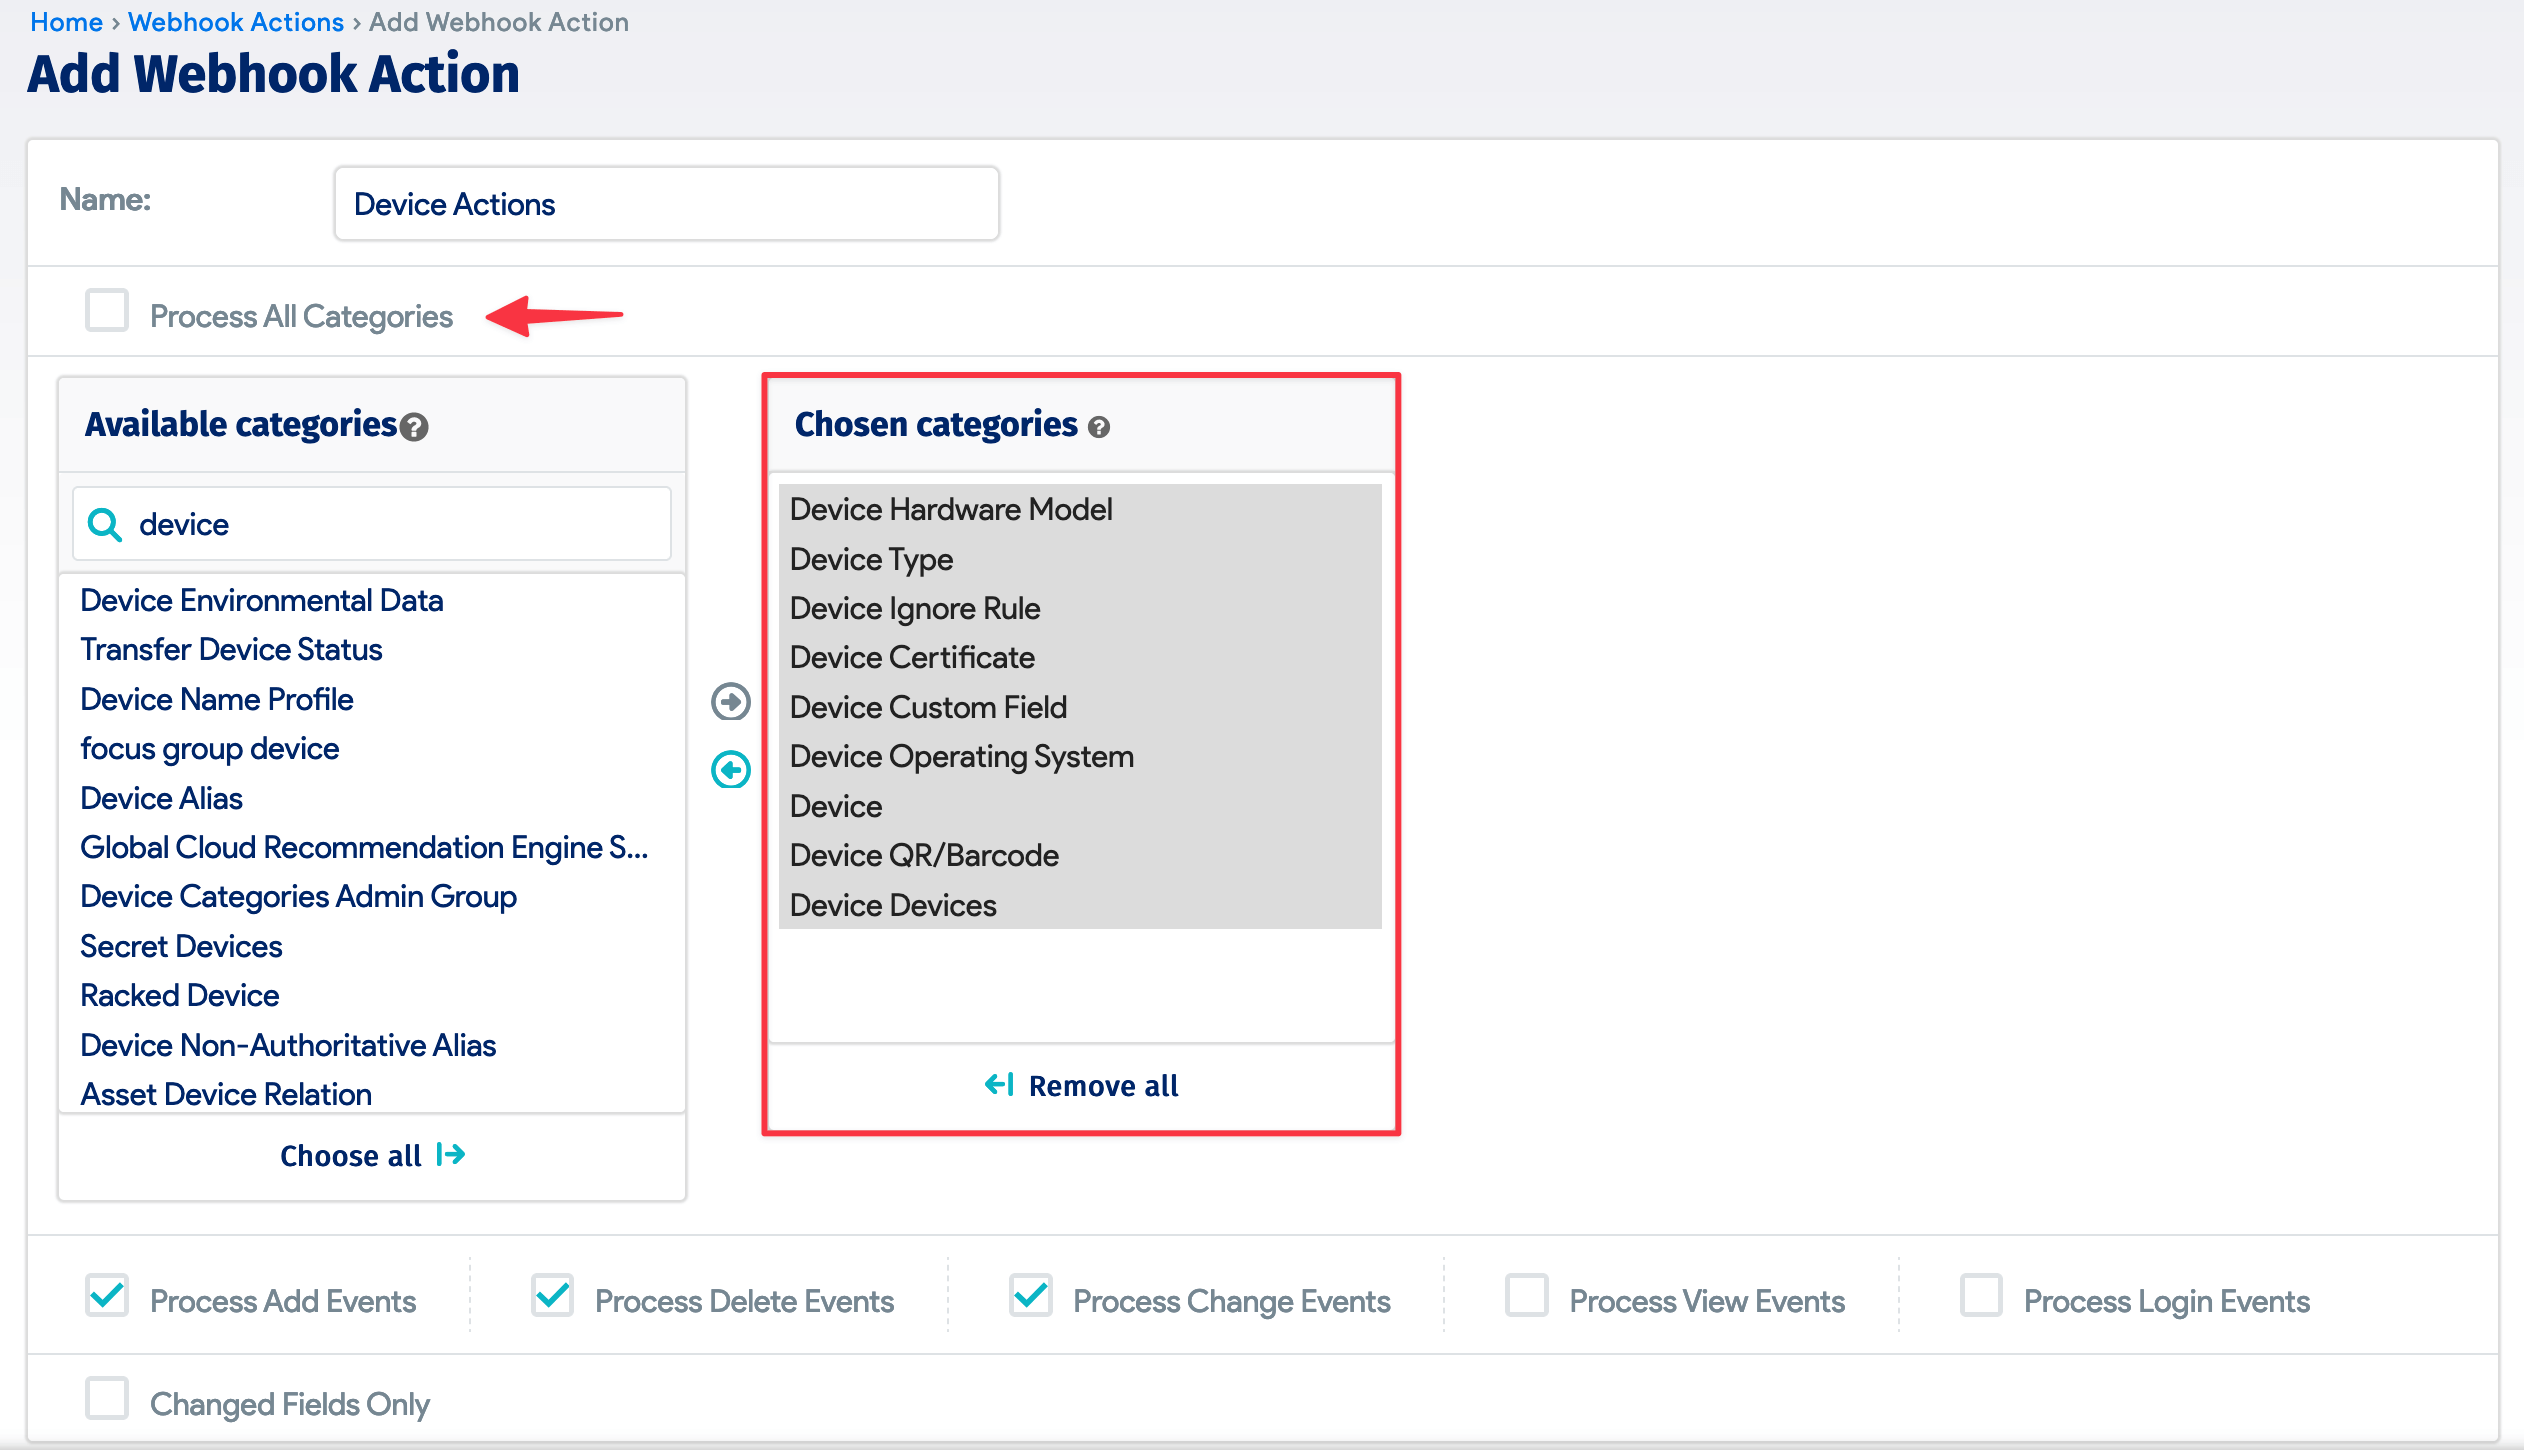
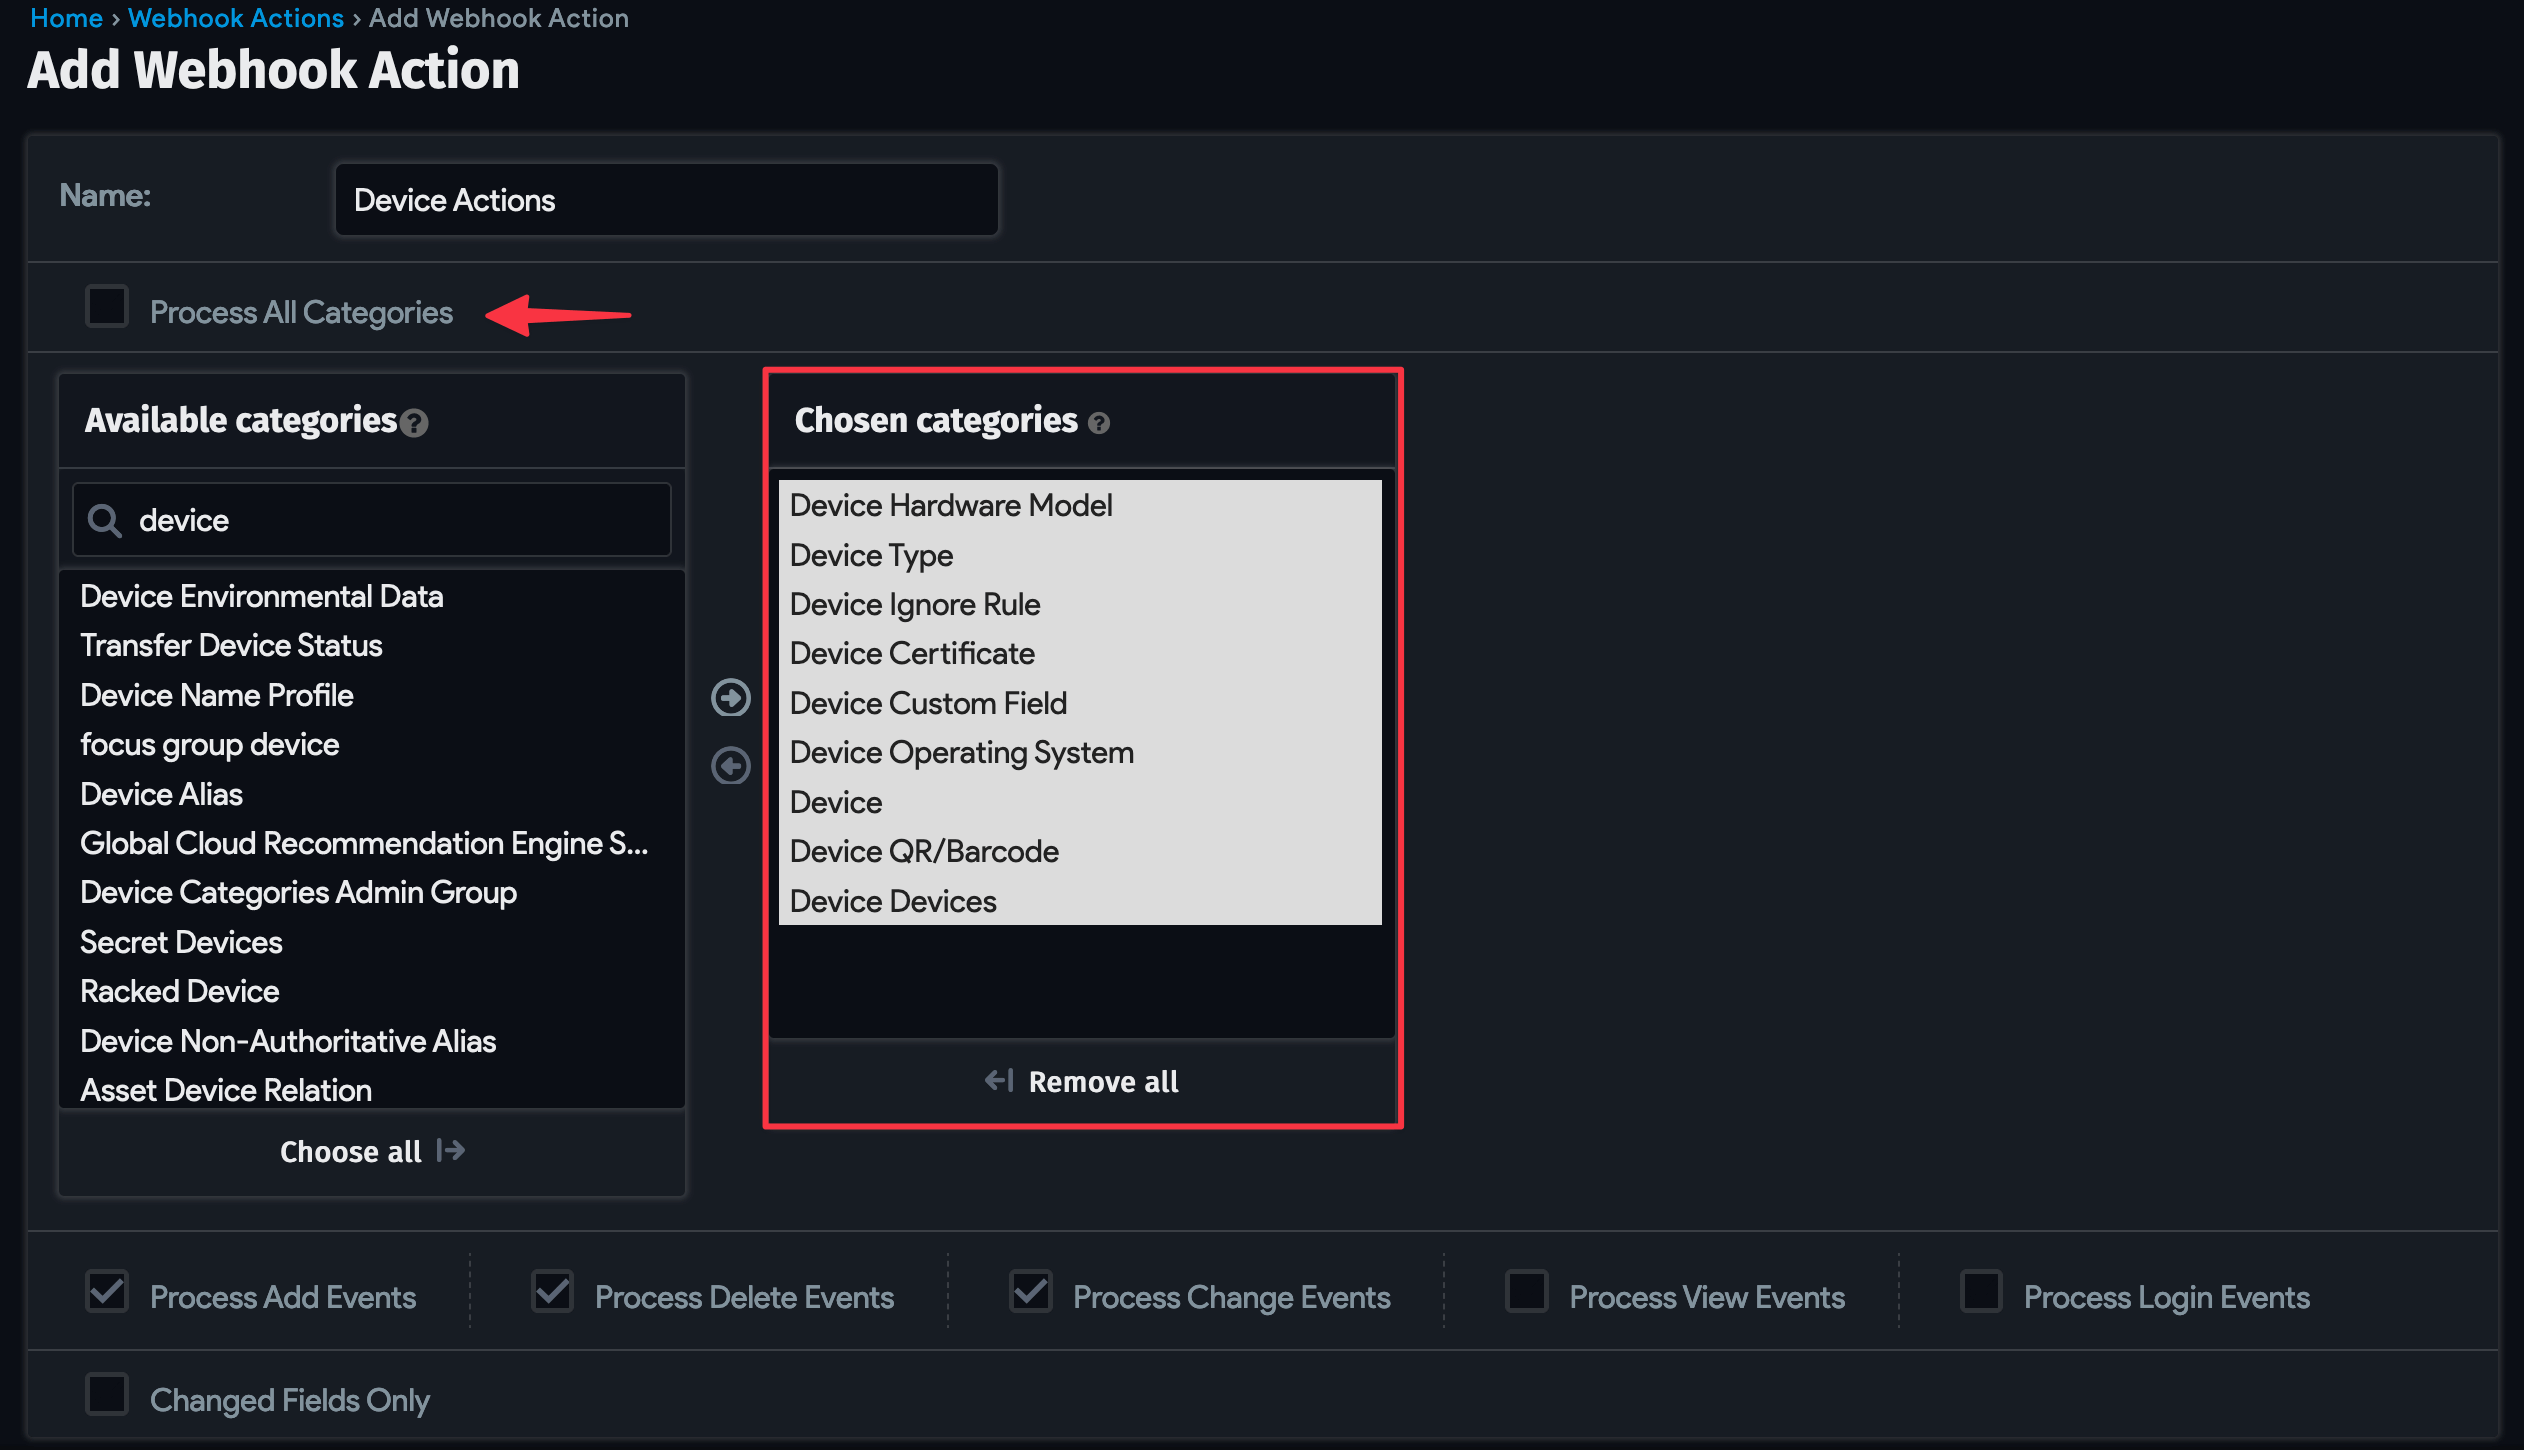
- Provide a Name for your webhook action. To include all IT resources managed by Device42, check the Process All Categories checkbox. Alternatively, add selected IT resources to the Chosen categories box. Use the search bar under Available categories to narrow down the options.
In addition to monitoring for add, delete, and update events, you can trigger the action when a resource is viewed by selecting Process View Events, or when a login occurs by selecting Process Login Events.
- Add the endpoint you created to the action by clicking Add another Webhook Action Endpoints. Click the magnifying glass icon and select the endpoint from the list.


Test the Trigger Action
To test that the Device42 action triggers the webhook and sends data to the Zapier endpoint, create a new device in the main appliance.
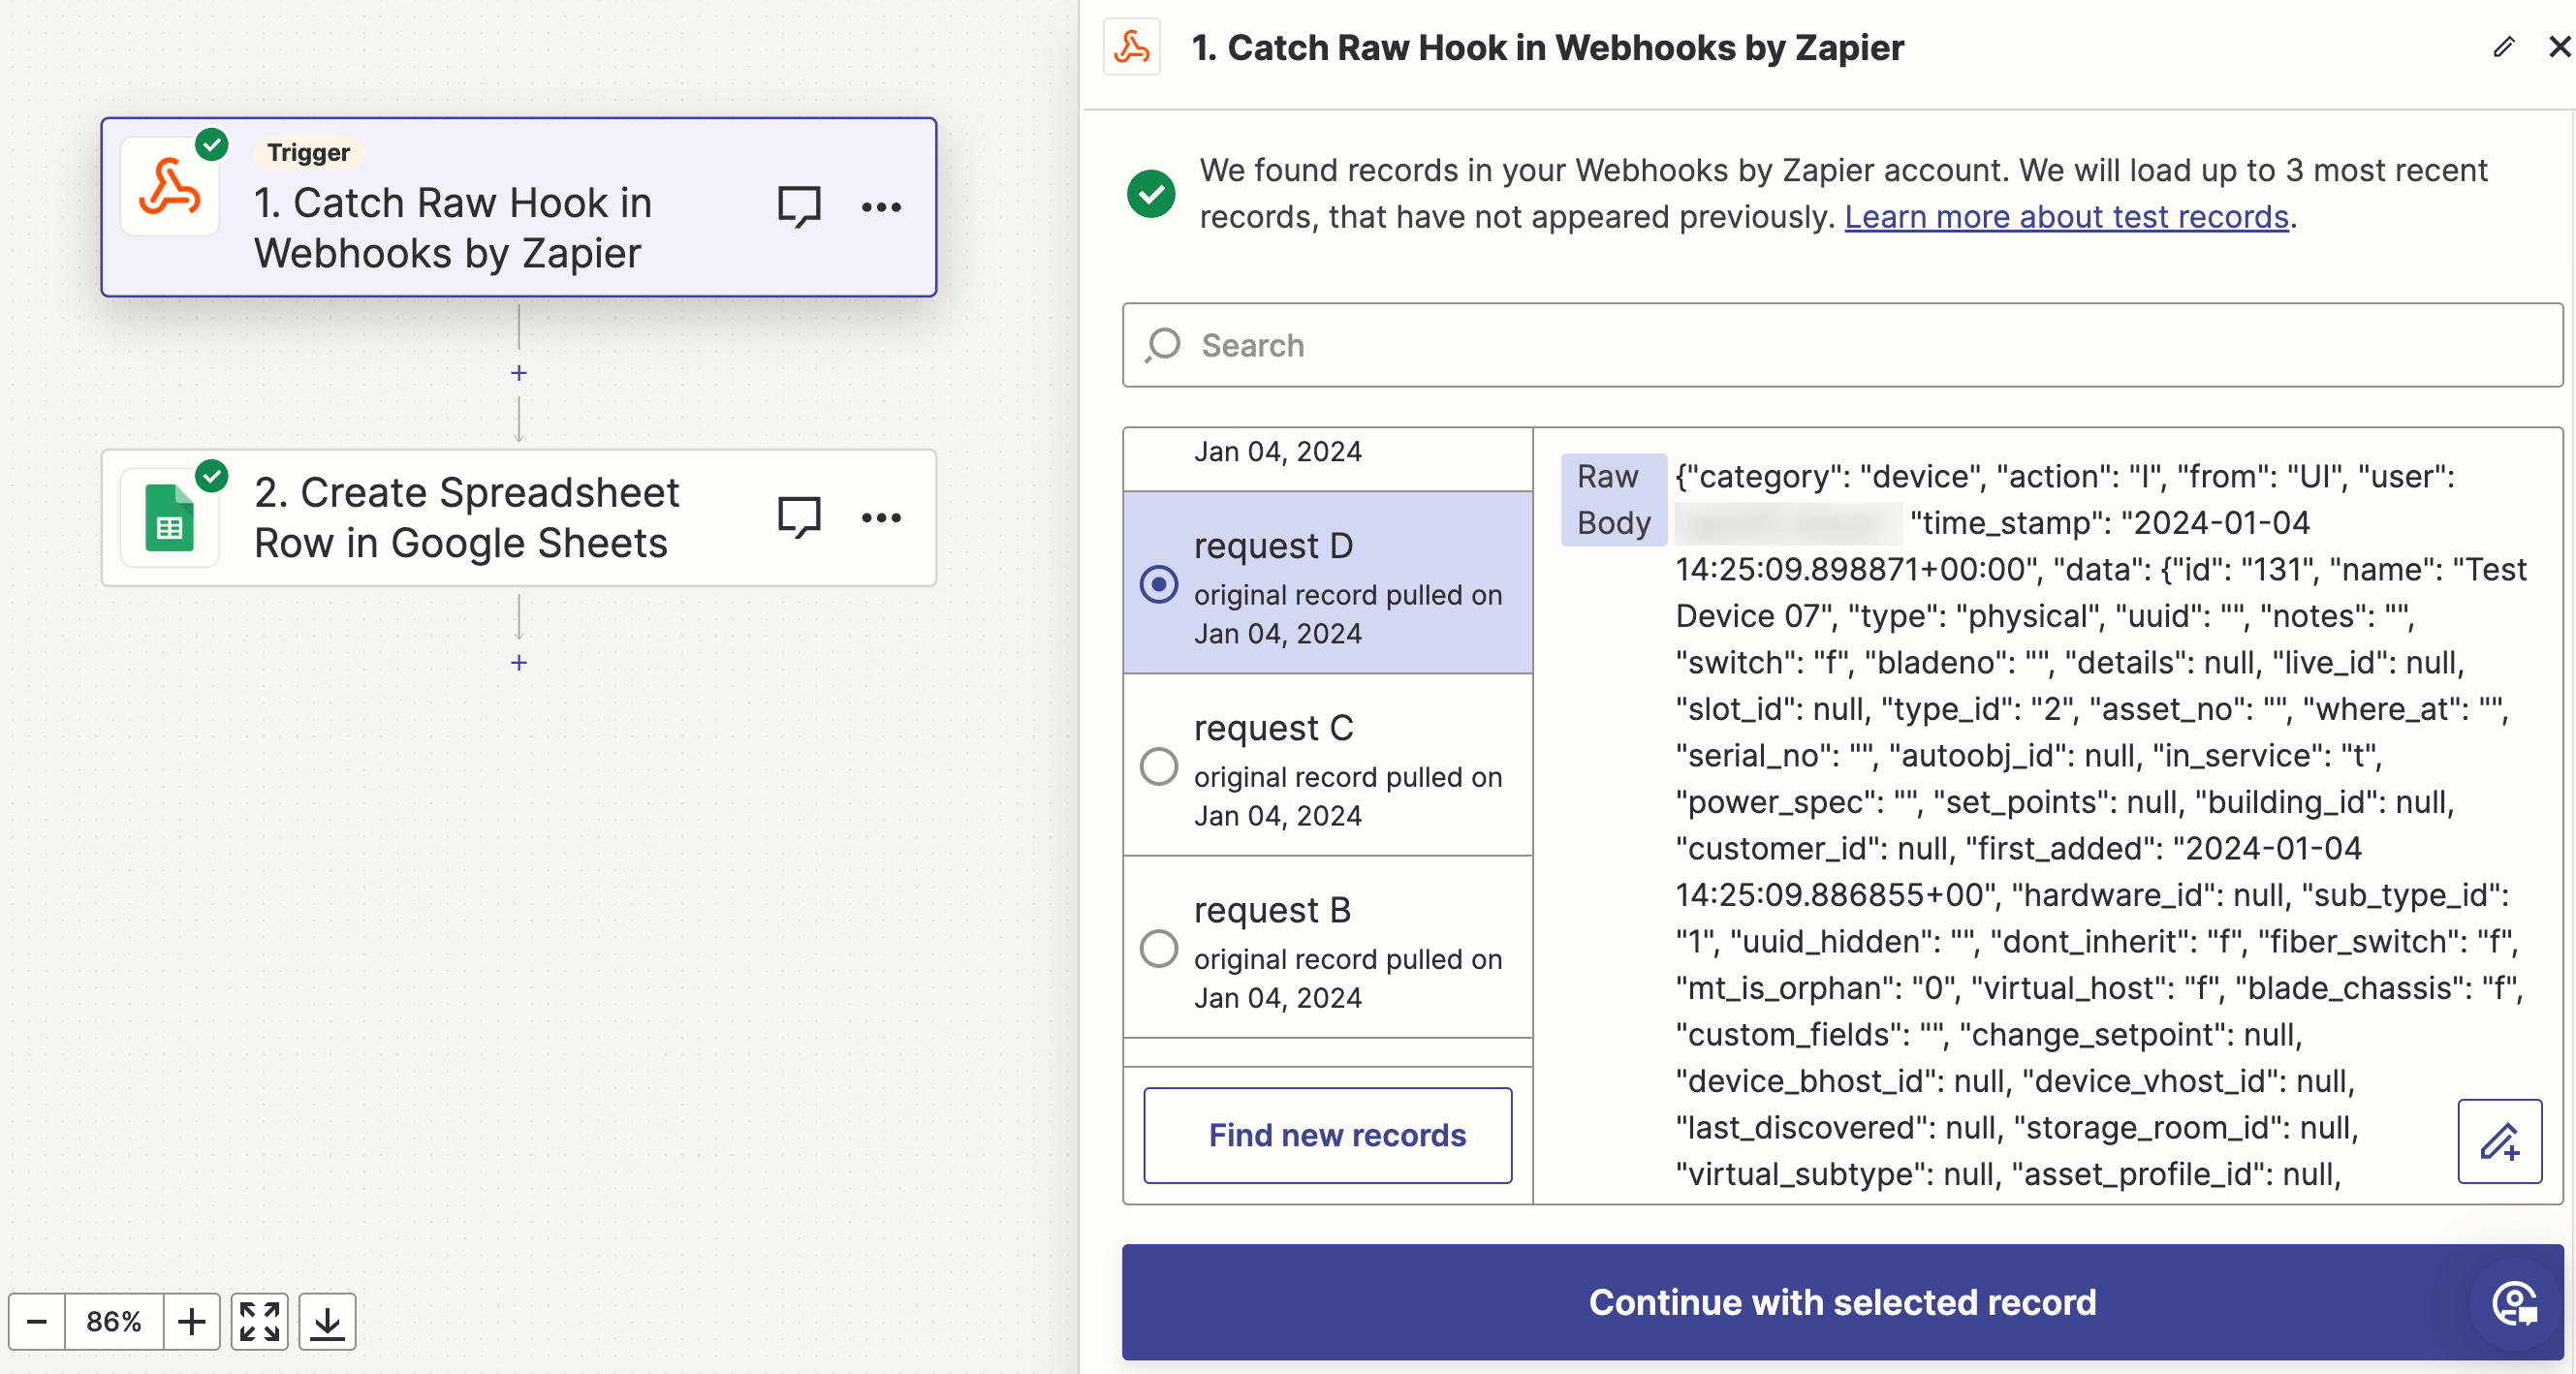
Return to Zapier and click Test trigger.
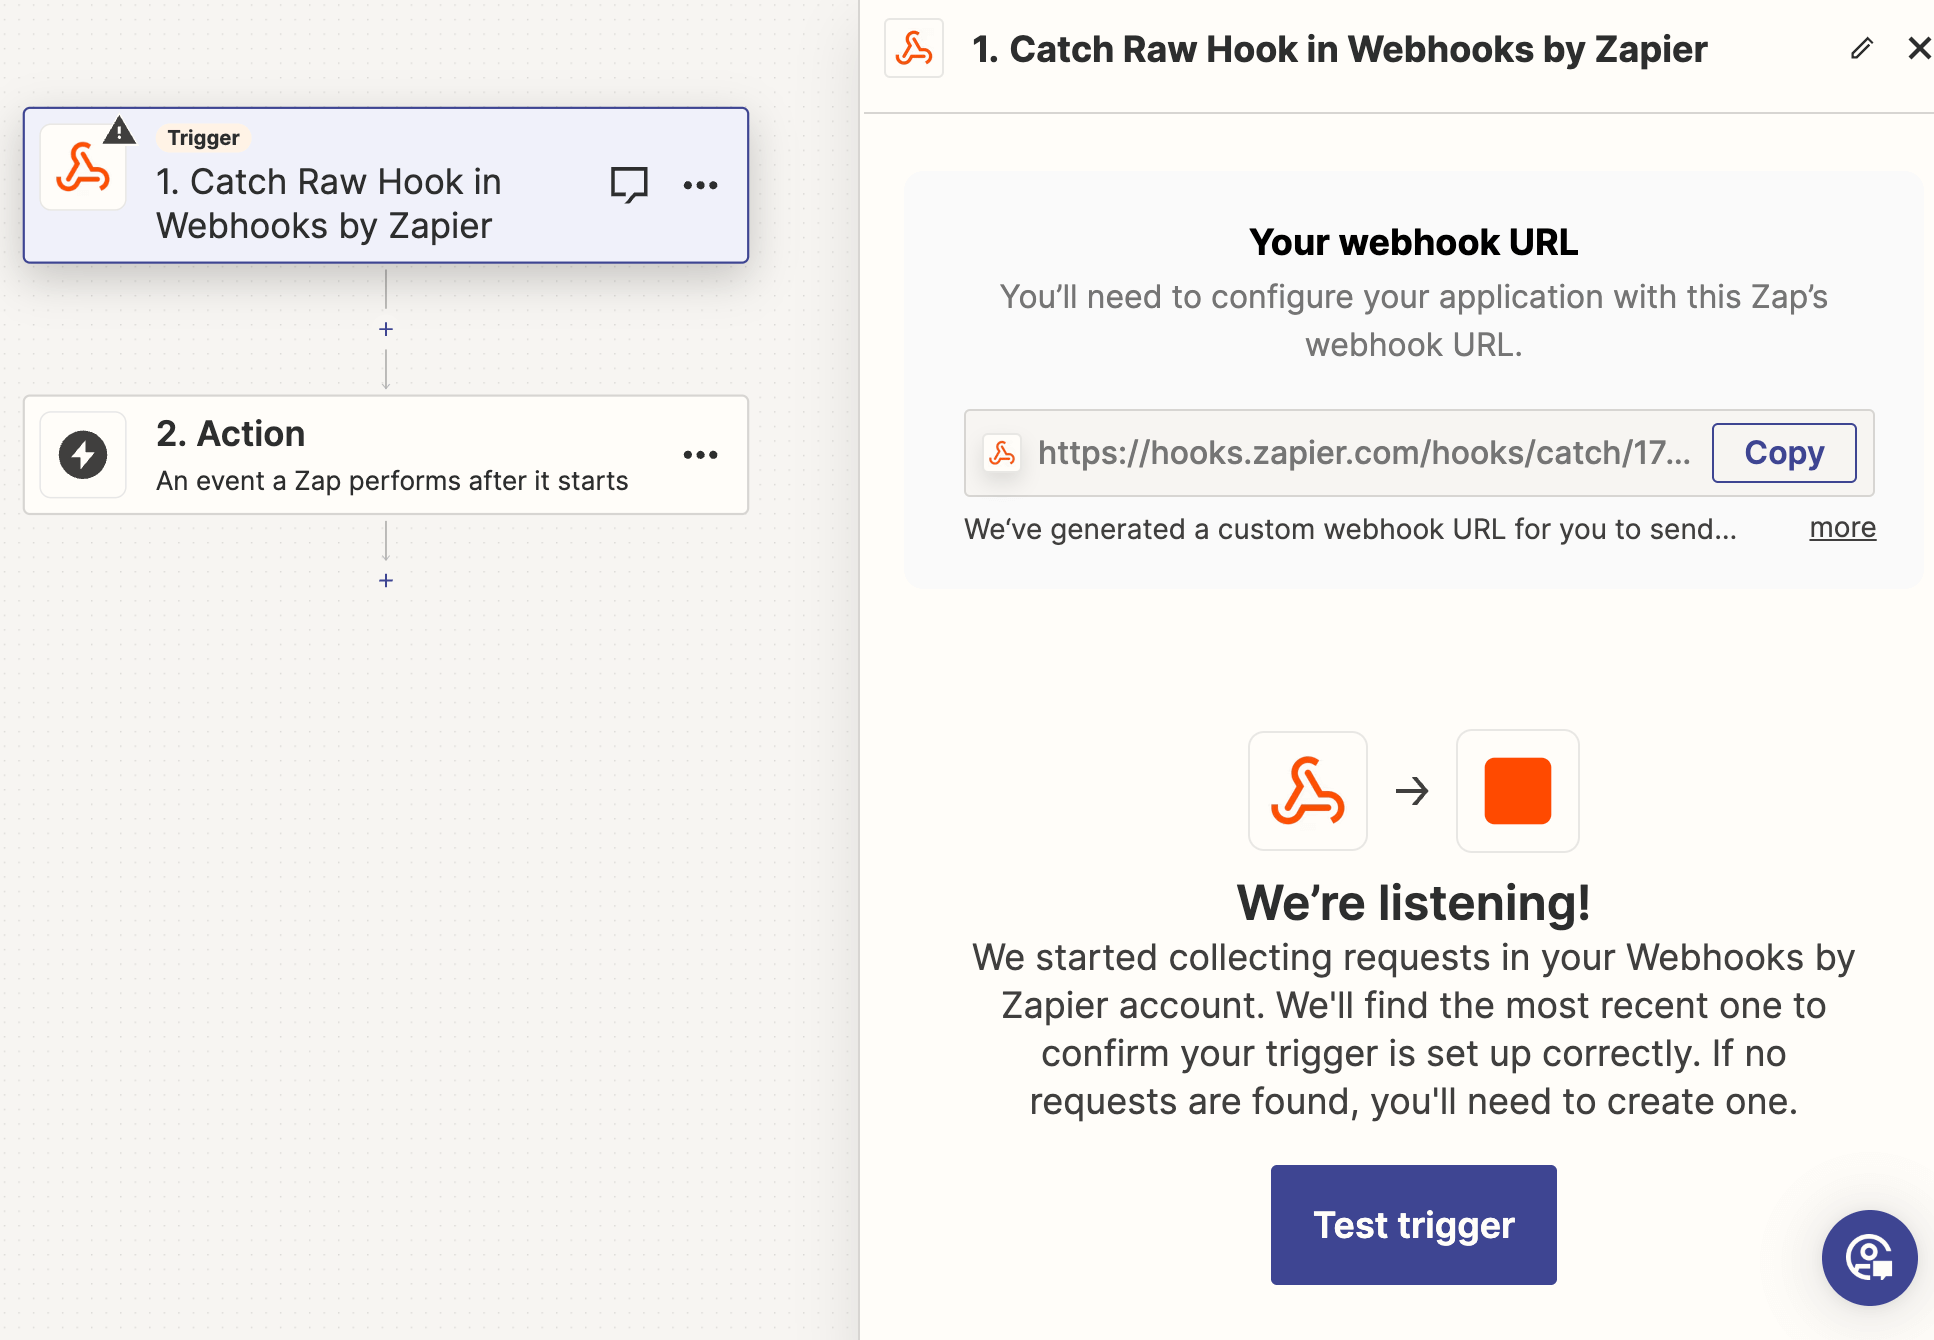
Zapier looks for data about the trigger event. A successful test displays the returned data. You may need to wait a few moments and rerun the test before data appears. Select a record and click Continue with selected record to proceed with configuring the response action.
Configure the Zapier Action
Configure the response action for Zapier to perform when the initial action triggers the webhook. In this example, the webhook data is added as a row in Google Sheets.
-
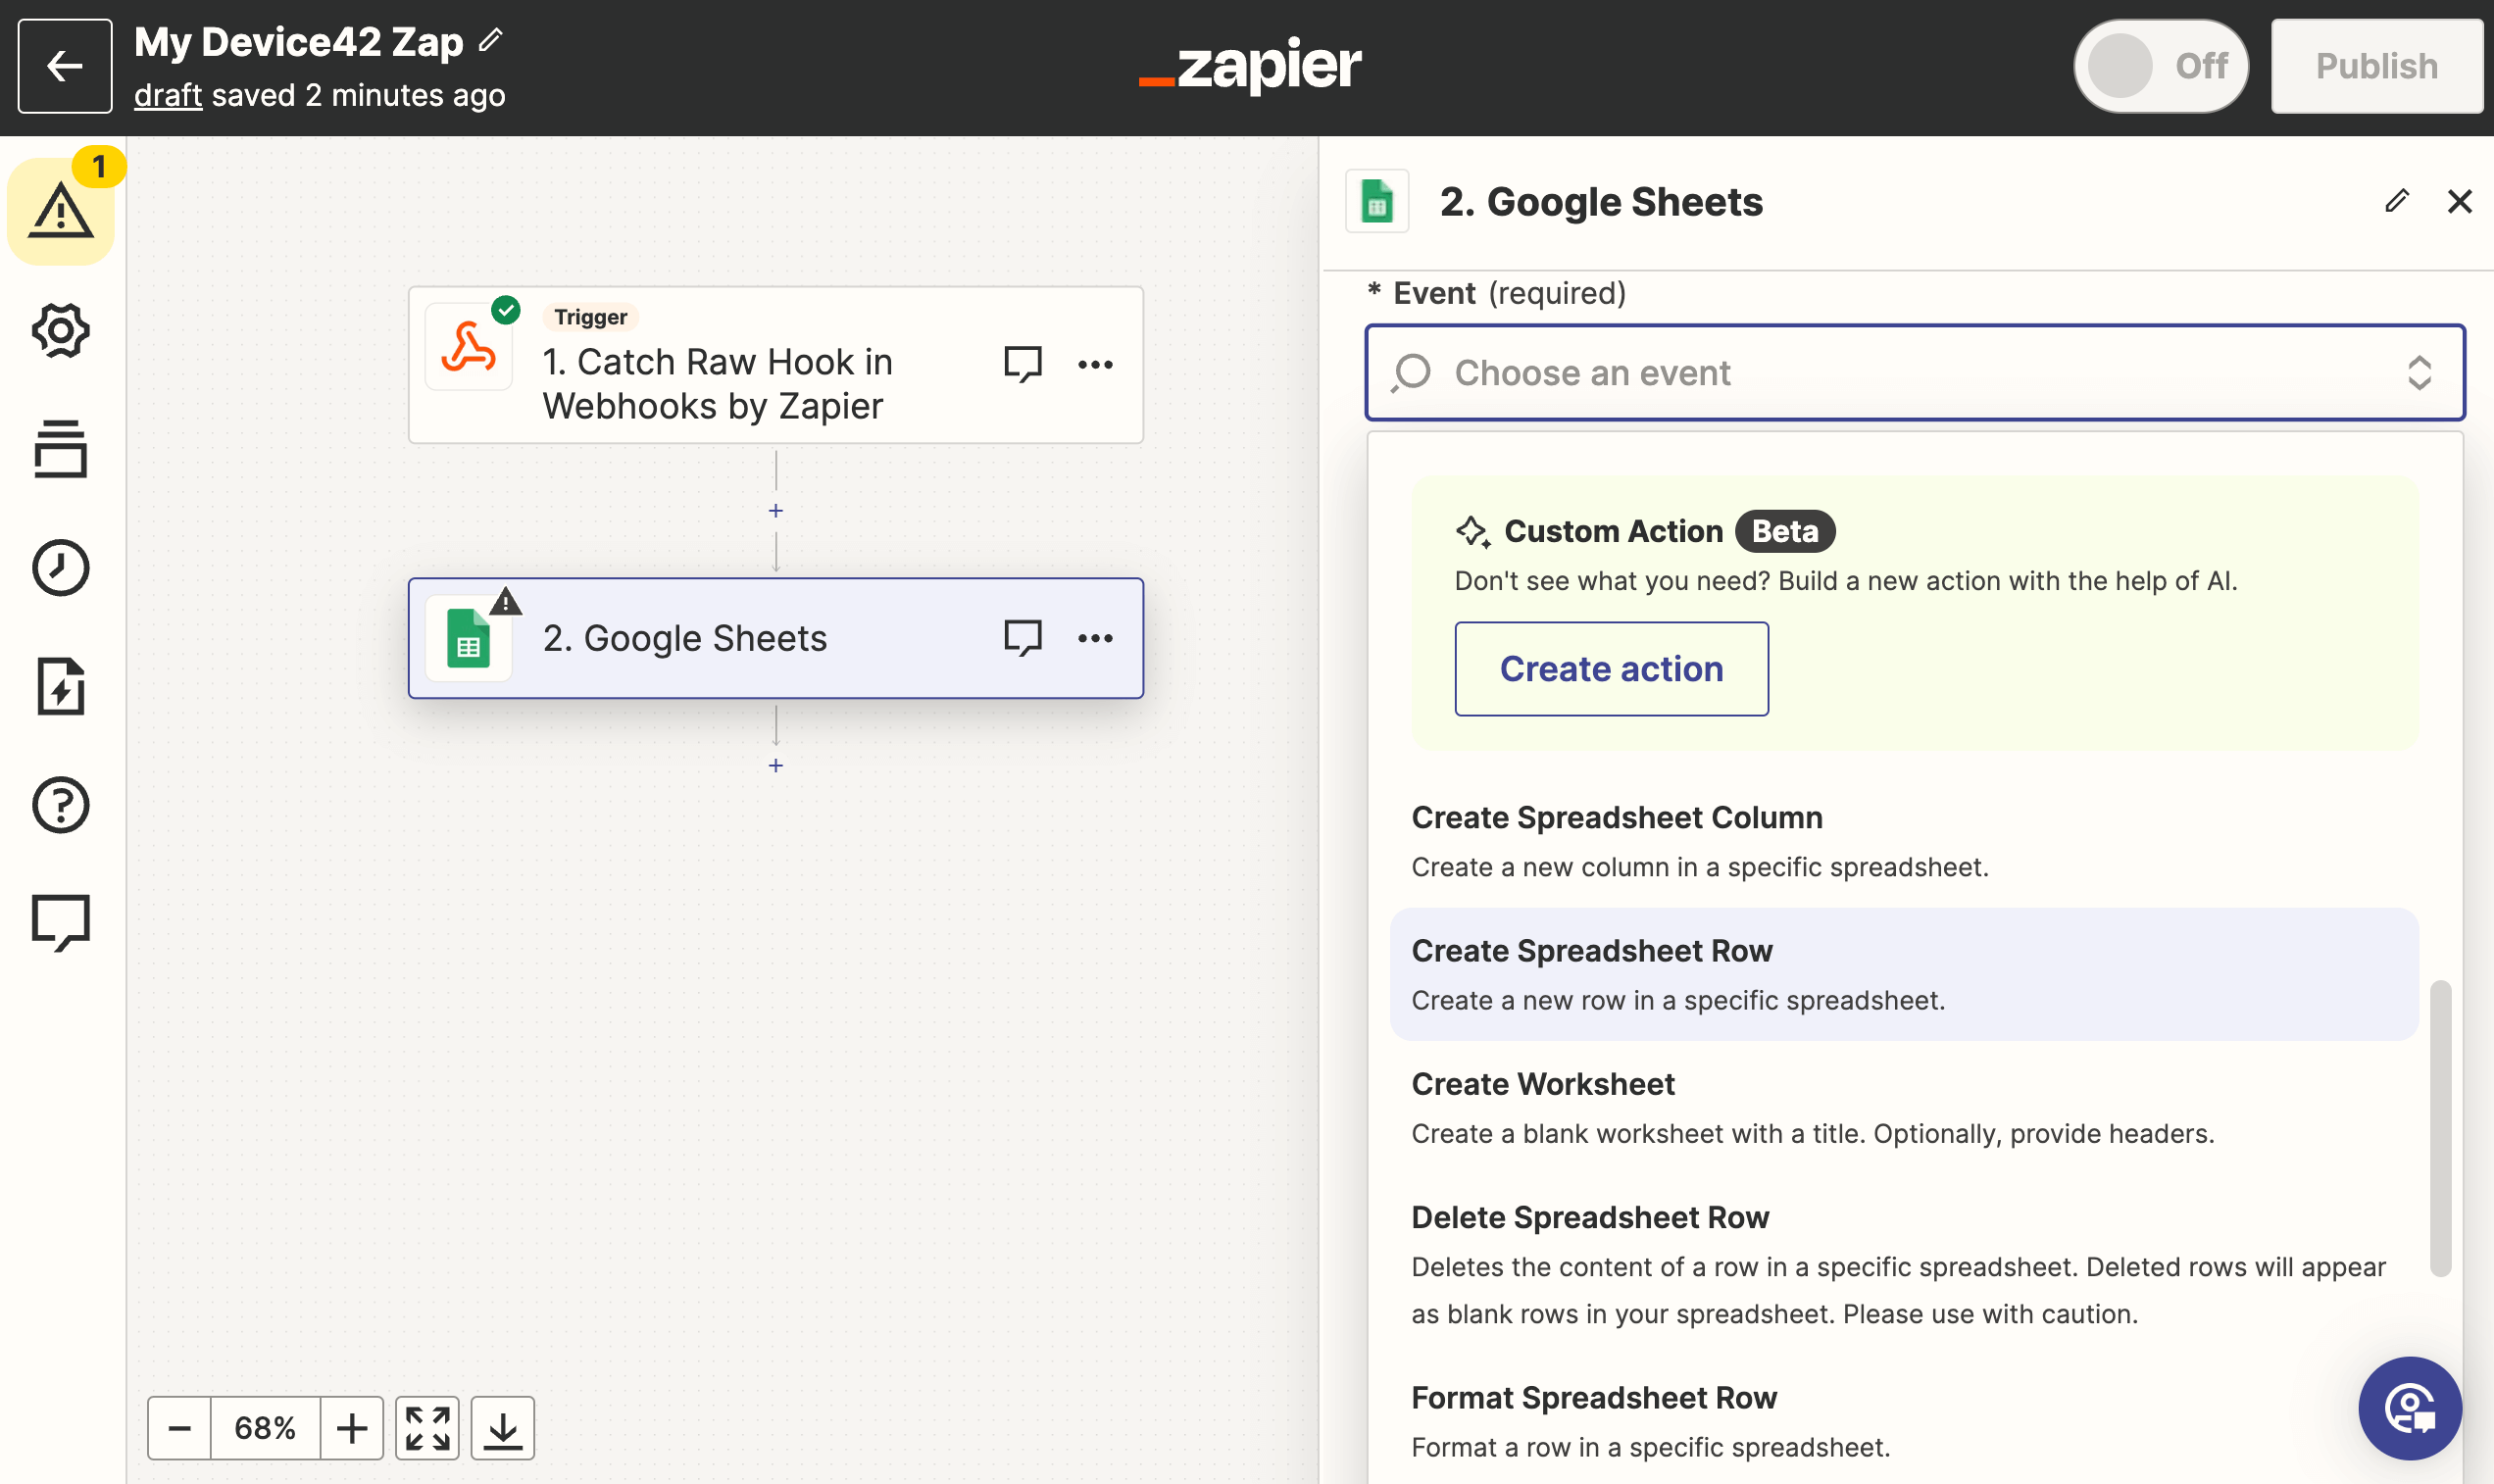
In Zapier, click the 2. Action box and select Google Sheets.
-
Select Create Spreadsheet Row as the Event. Click Continue and link your Google account to the Zap.
-
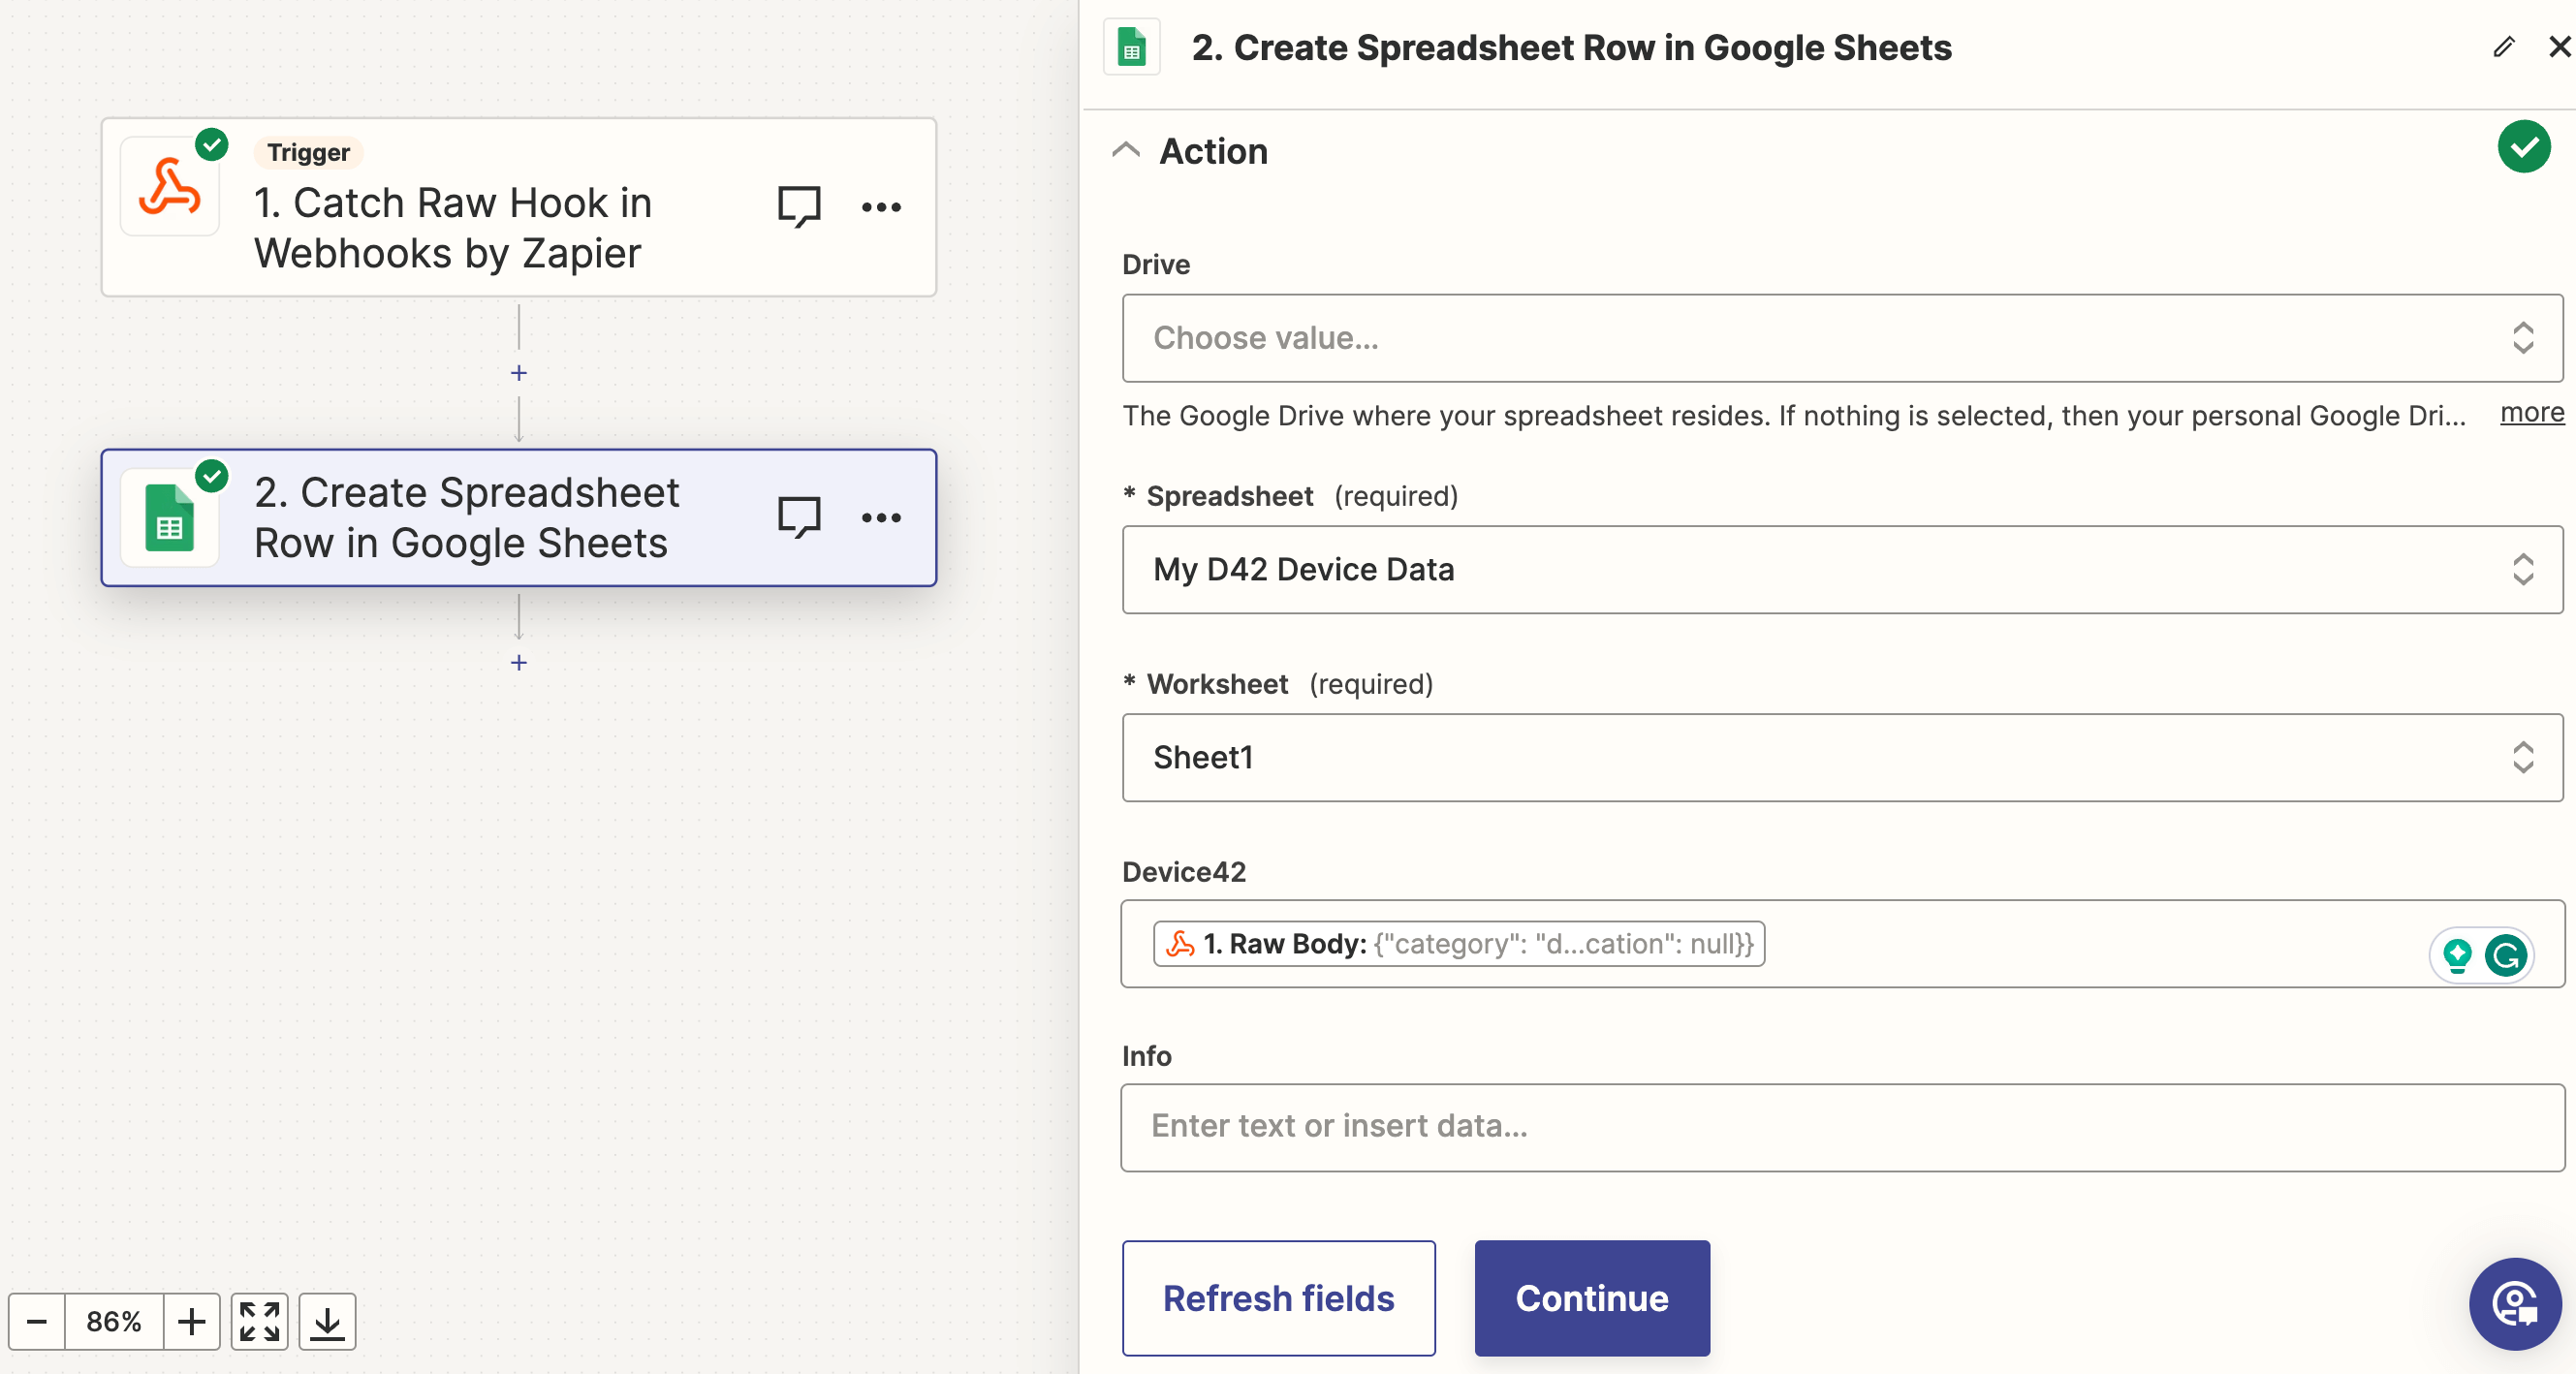
Fill in the Action section:
- Drive: Select the Google Drive where the spreadsheet is stored.
- Spreadsheet: The name of the spreadsheet to add data to.
- Worksheet: Select the worksheet to target.
- Column Name: Zapier fetches the column headings from the spreadsheet and adds them as fields. Select the data to add under each column from the dropdown menu.
Click Continue.
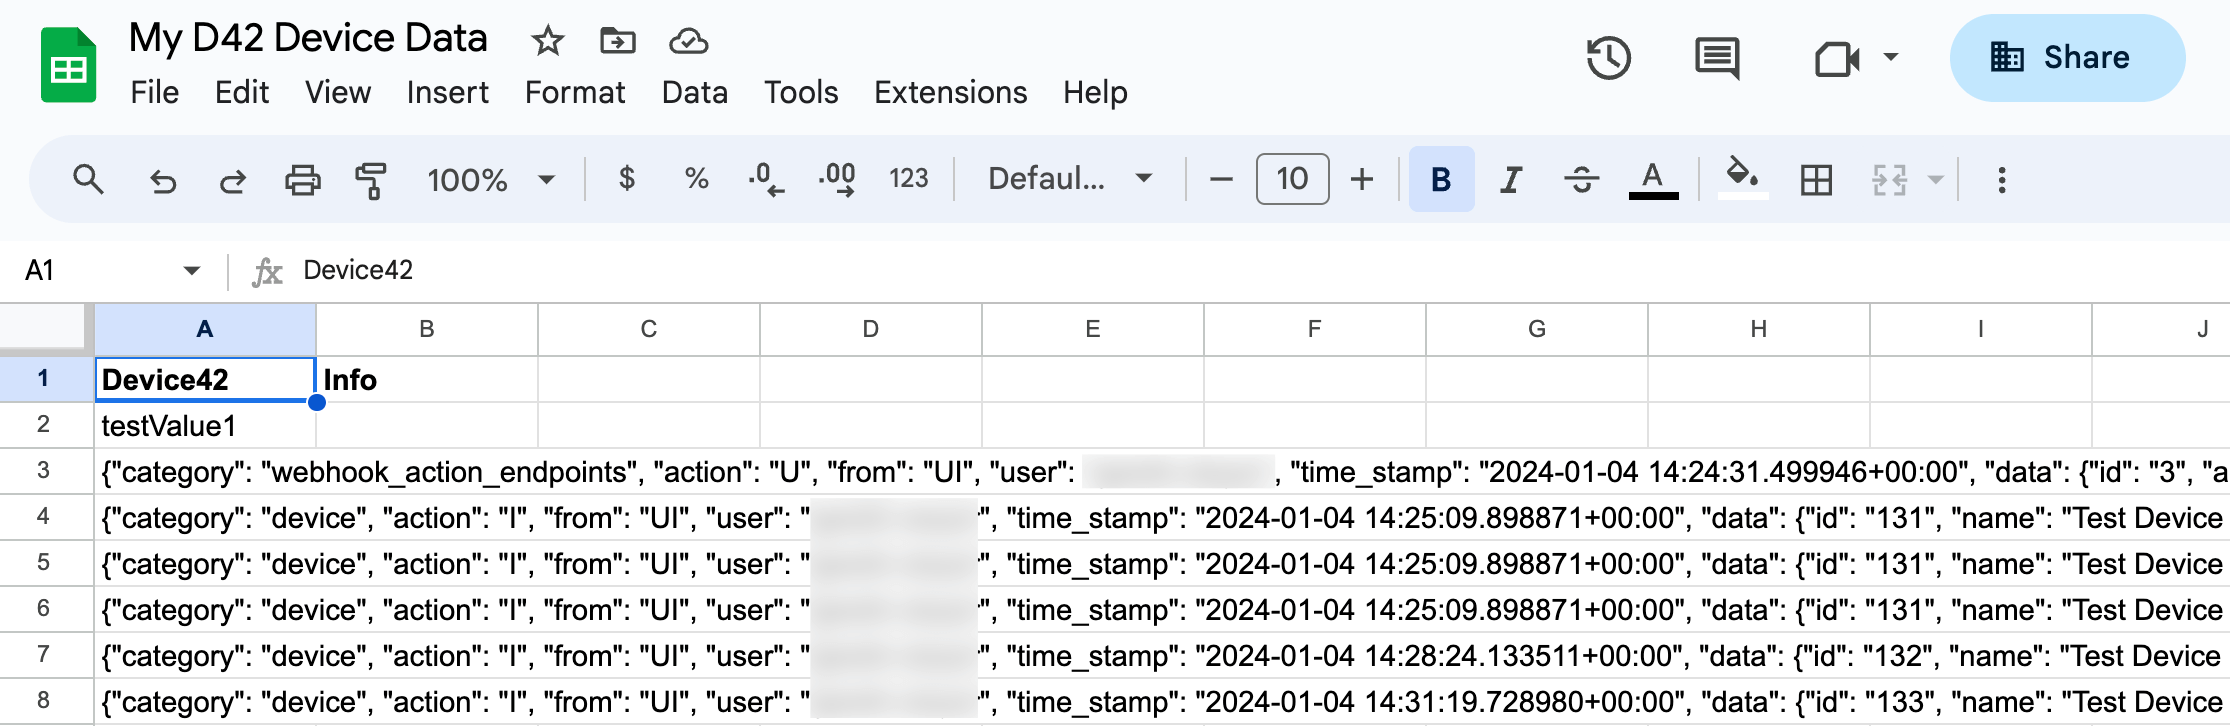
- Test that Zapier creates a new row in your spreadsheet as expected, then check the spreadsheet for the expected data.
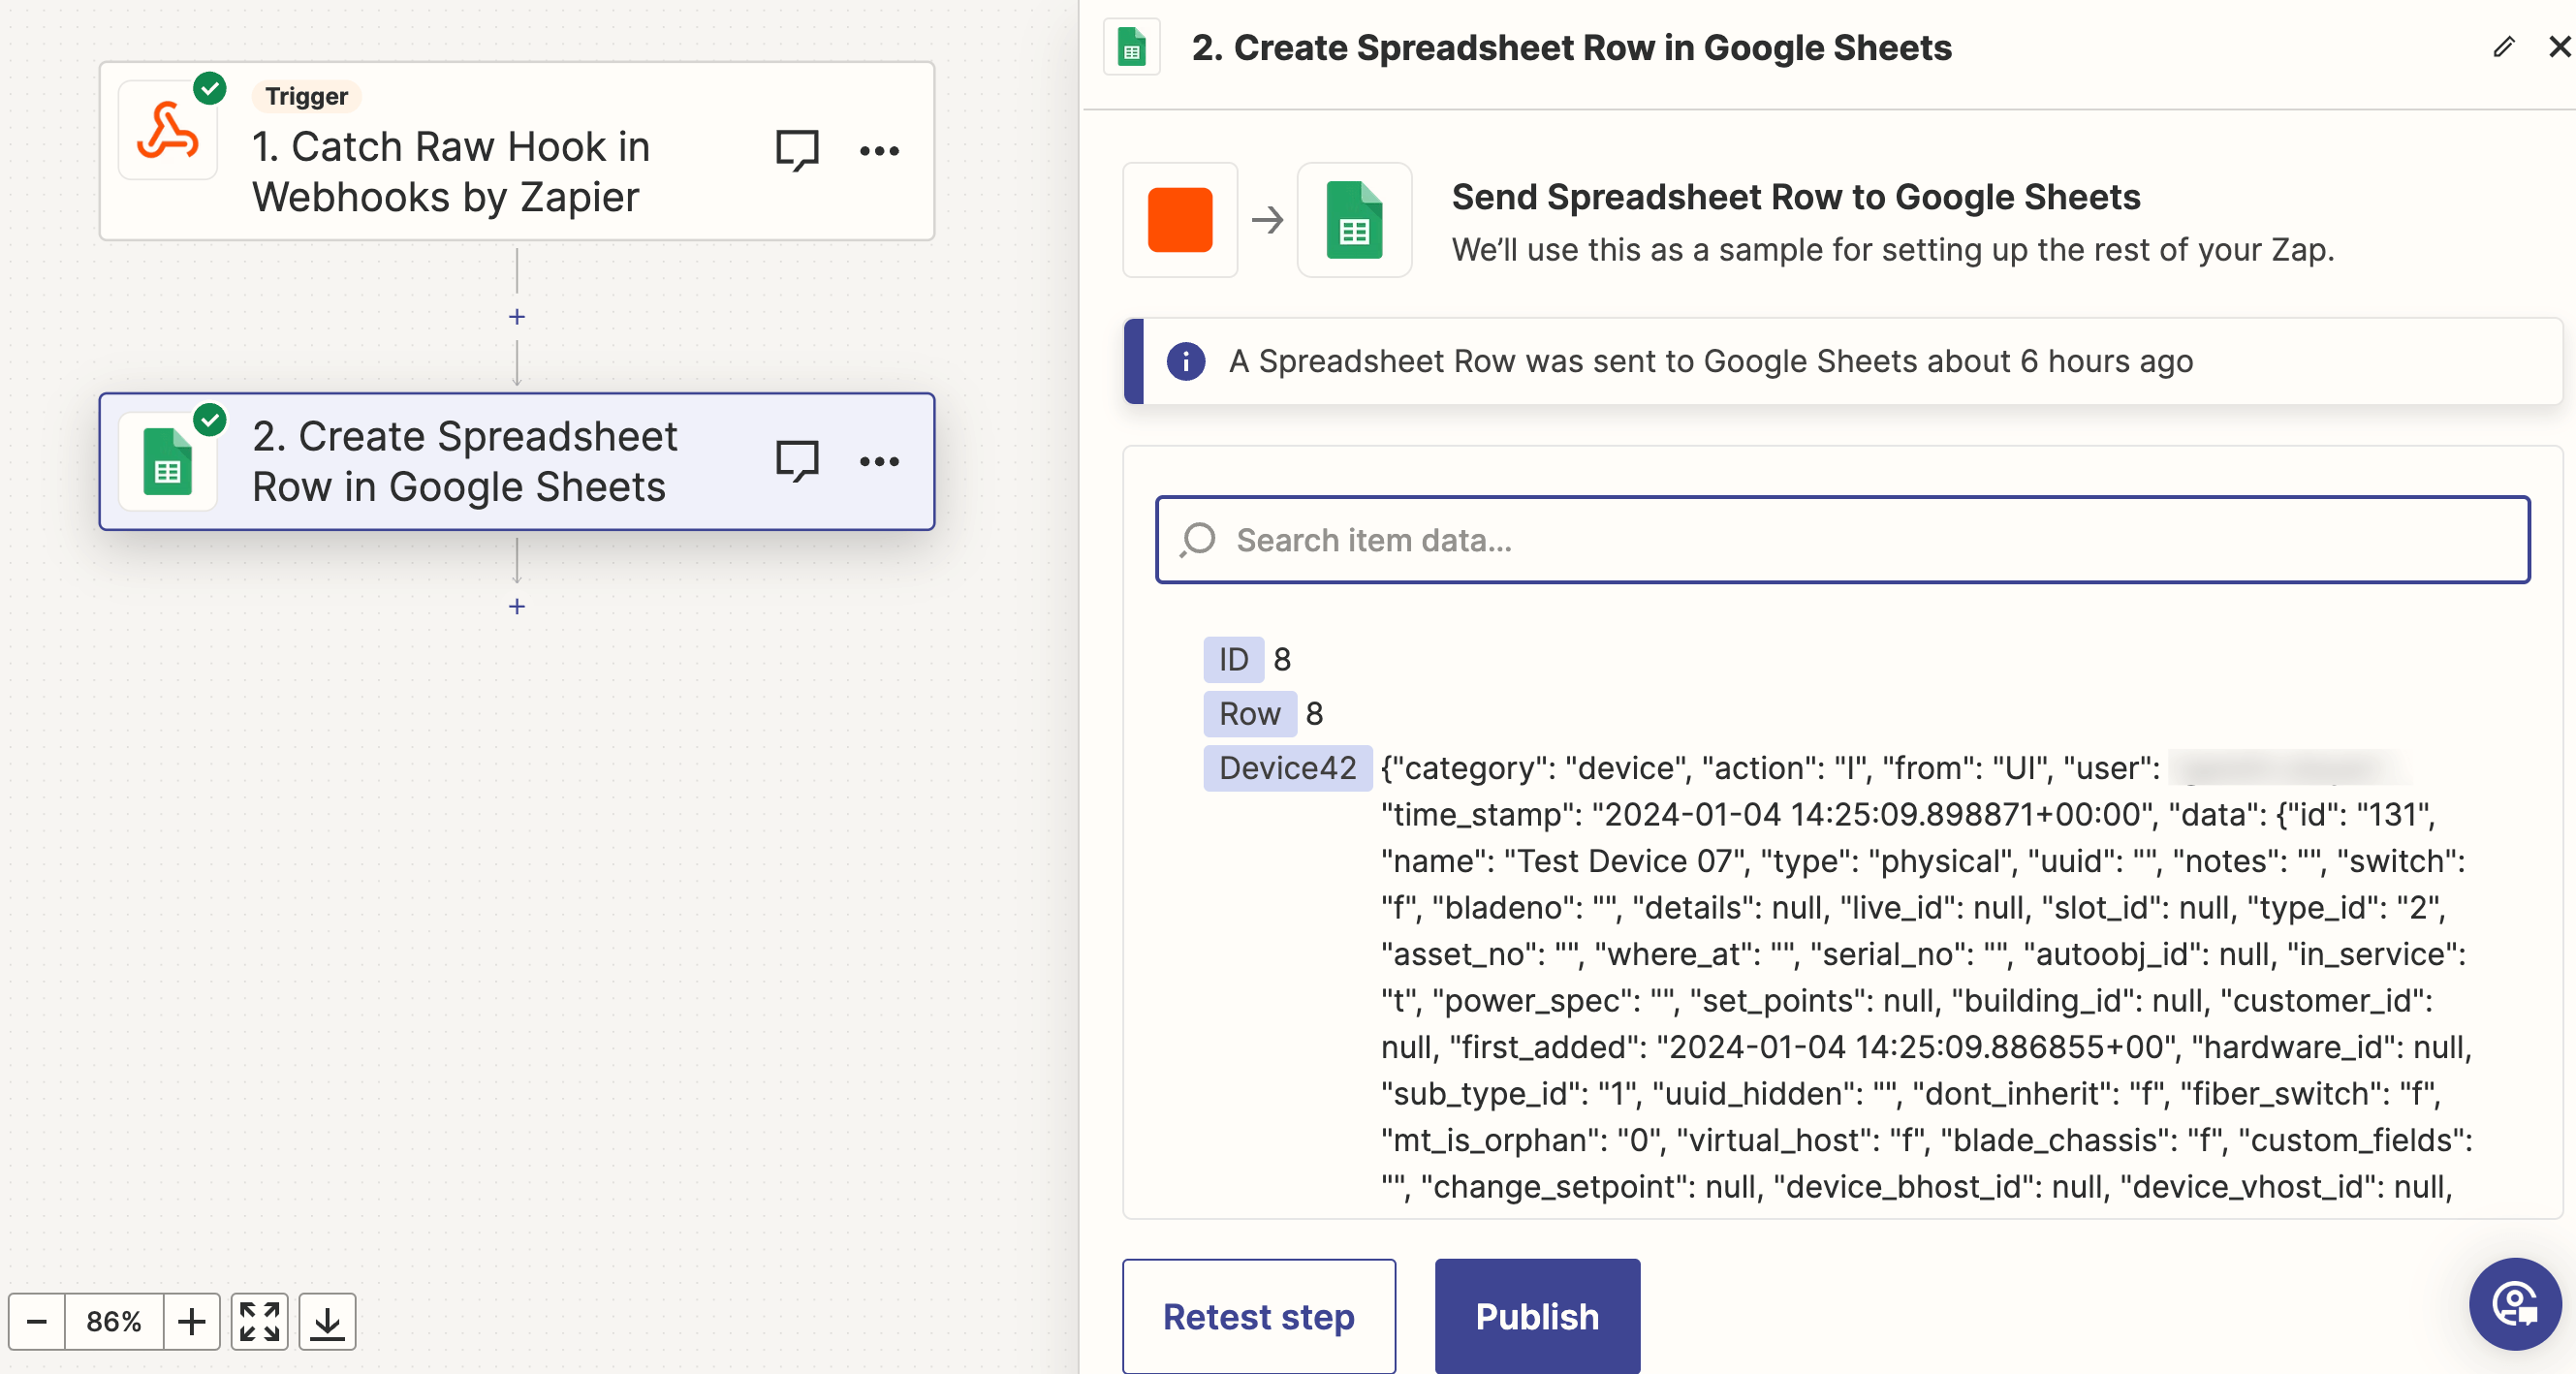
- When the test passes, click Publish.
Test the Zap
Test the Zap by making a change to the resource category you chose when setting up the action in Device42. In this example, Zapier adds new rows containing data about new devices added to the main appliance.
To view webhooks that are triggered and pending, navigate to Tools > Webhooks > Pending.