Zendesk Integration
This page is for administrators who want to give their Zendesk help desk access to Device42 infrastructure data through support tickets. By the end, you can link Device42 CIs to Zendesk tickets and view Device42 infrastructure details from within Zendesk.
Device42 discovery keeps your infrastructure documentation up-to-date, and with the Zendesk connector, your help desk can access IT infrastructure information directly from support tickets. This page covers how to set up the integration and use it to link Device42 CIs to Zendesk tickets.
Prerequisites
Before setting up the integration, make sure you have:
- Access to Zendesk and Device42 to configure the integration
- Your Device42 Cloud Connector configured (under Tools > Integrations > Cloud Services) to allow communication between Device42 and Zendesk
- A Zendesk API token, created as described in Create a Zendesk API Token below
Benefits of the Device42-Zendesk Integration
With the Device42-Zendesk integration, you can:
- Click links in Zendesk that go directly to the relevant CI details page in Device42.
- Attach any part of your discovered IT infrastructure in Device42 — including devices, racks, parts, and PDUs — directly to Zendesk tickets.
- View details like device type, service level, and serial numbers stored in Device42 from within Zendesk.
- Customize Zendesk by adding discovered Device42 infrastructure items as columns in custom views.
Set Up the Integration
Before creating an External Integration in Device42 and installing the integration plugin in Zendesk, you need to create a Zendesk API token.
As a prerequisite, ensure your Device42 Cloud Connector is configured under Tools > Integrations > Cloud Services to allow communication between Device42 and Zendesk.
Create a Zendesk API Token
-
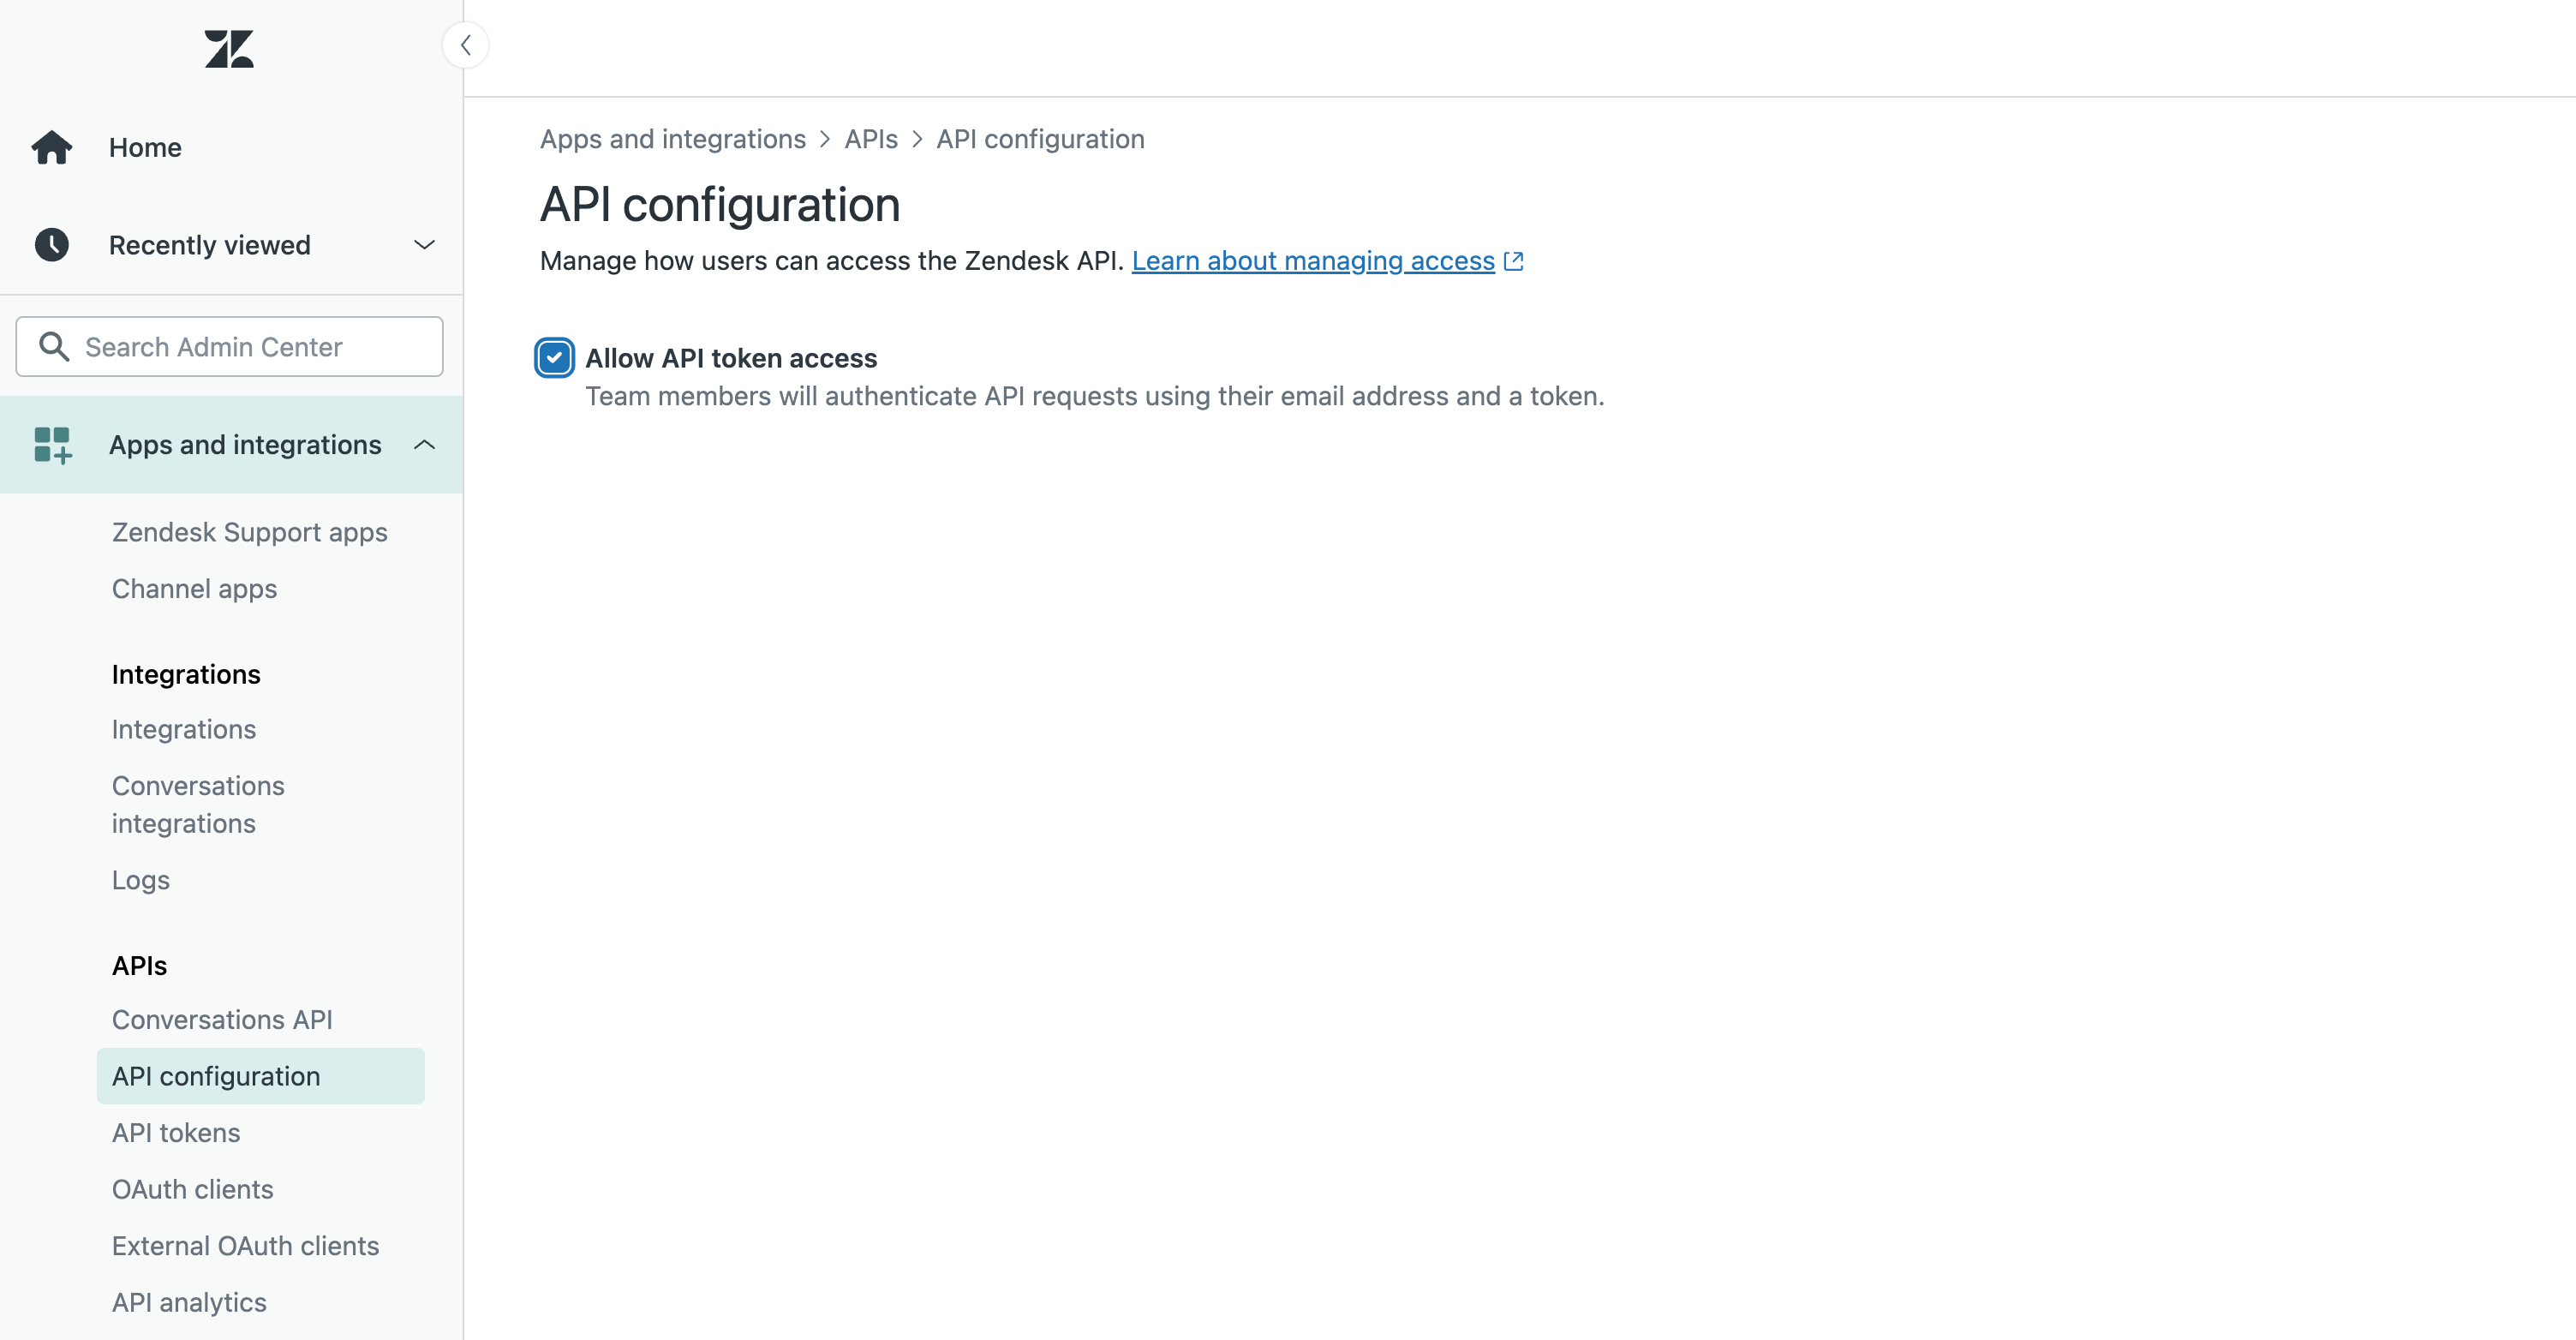
Open Zendesk and click the gear icon on the left sidebar. Navigate to Apps and integrations > API configuration to enable API token access if it is not already enabled.
-
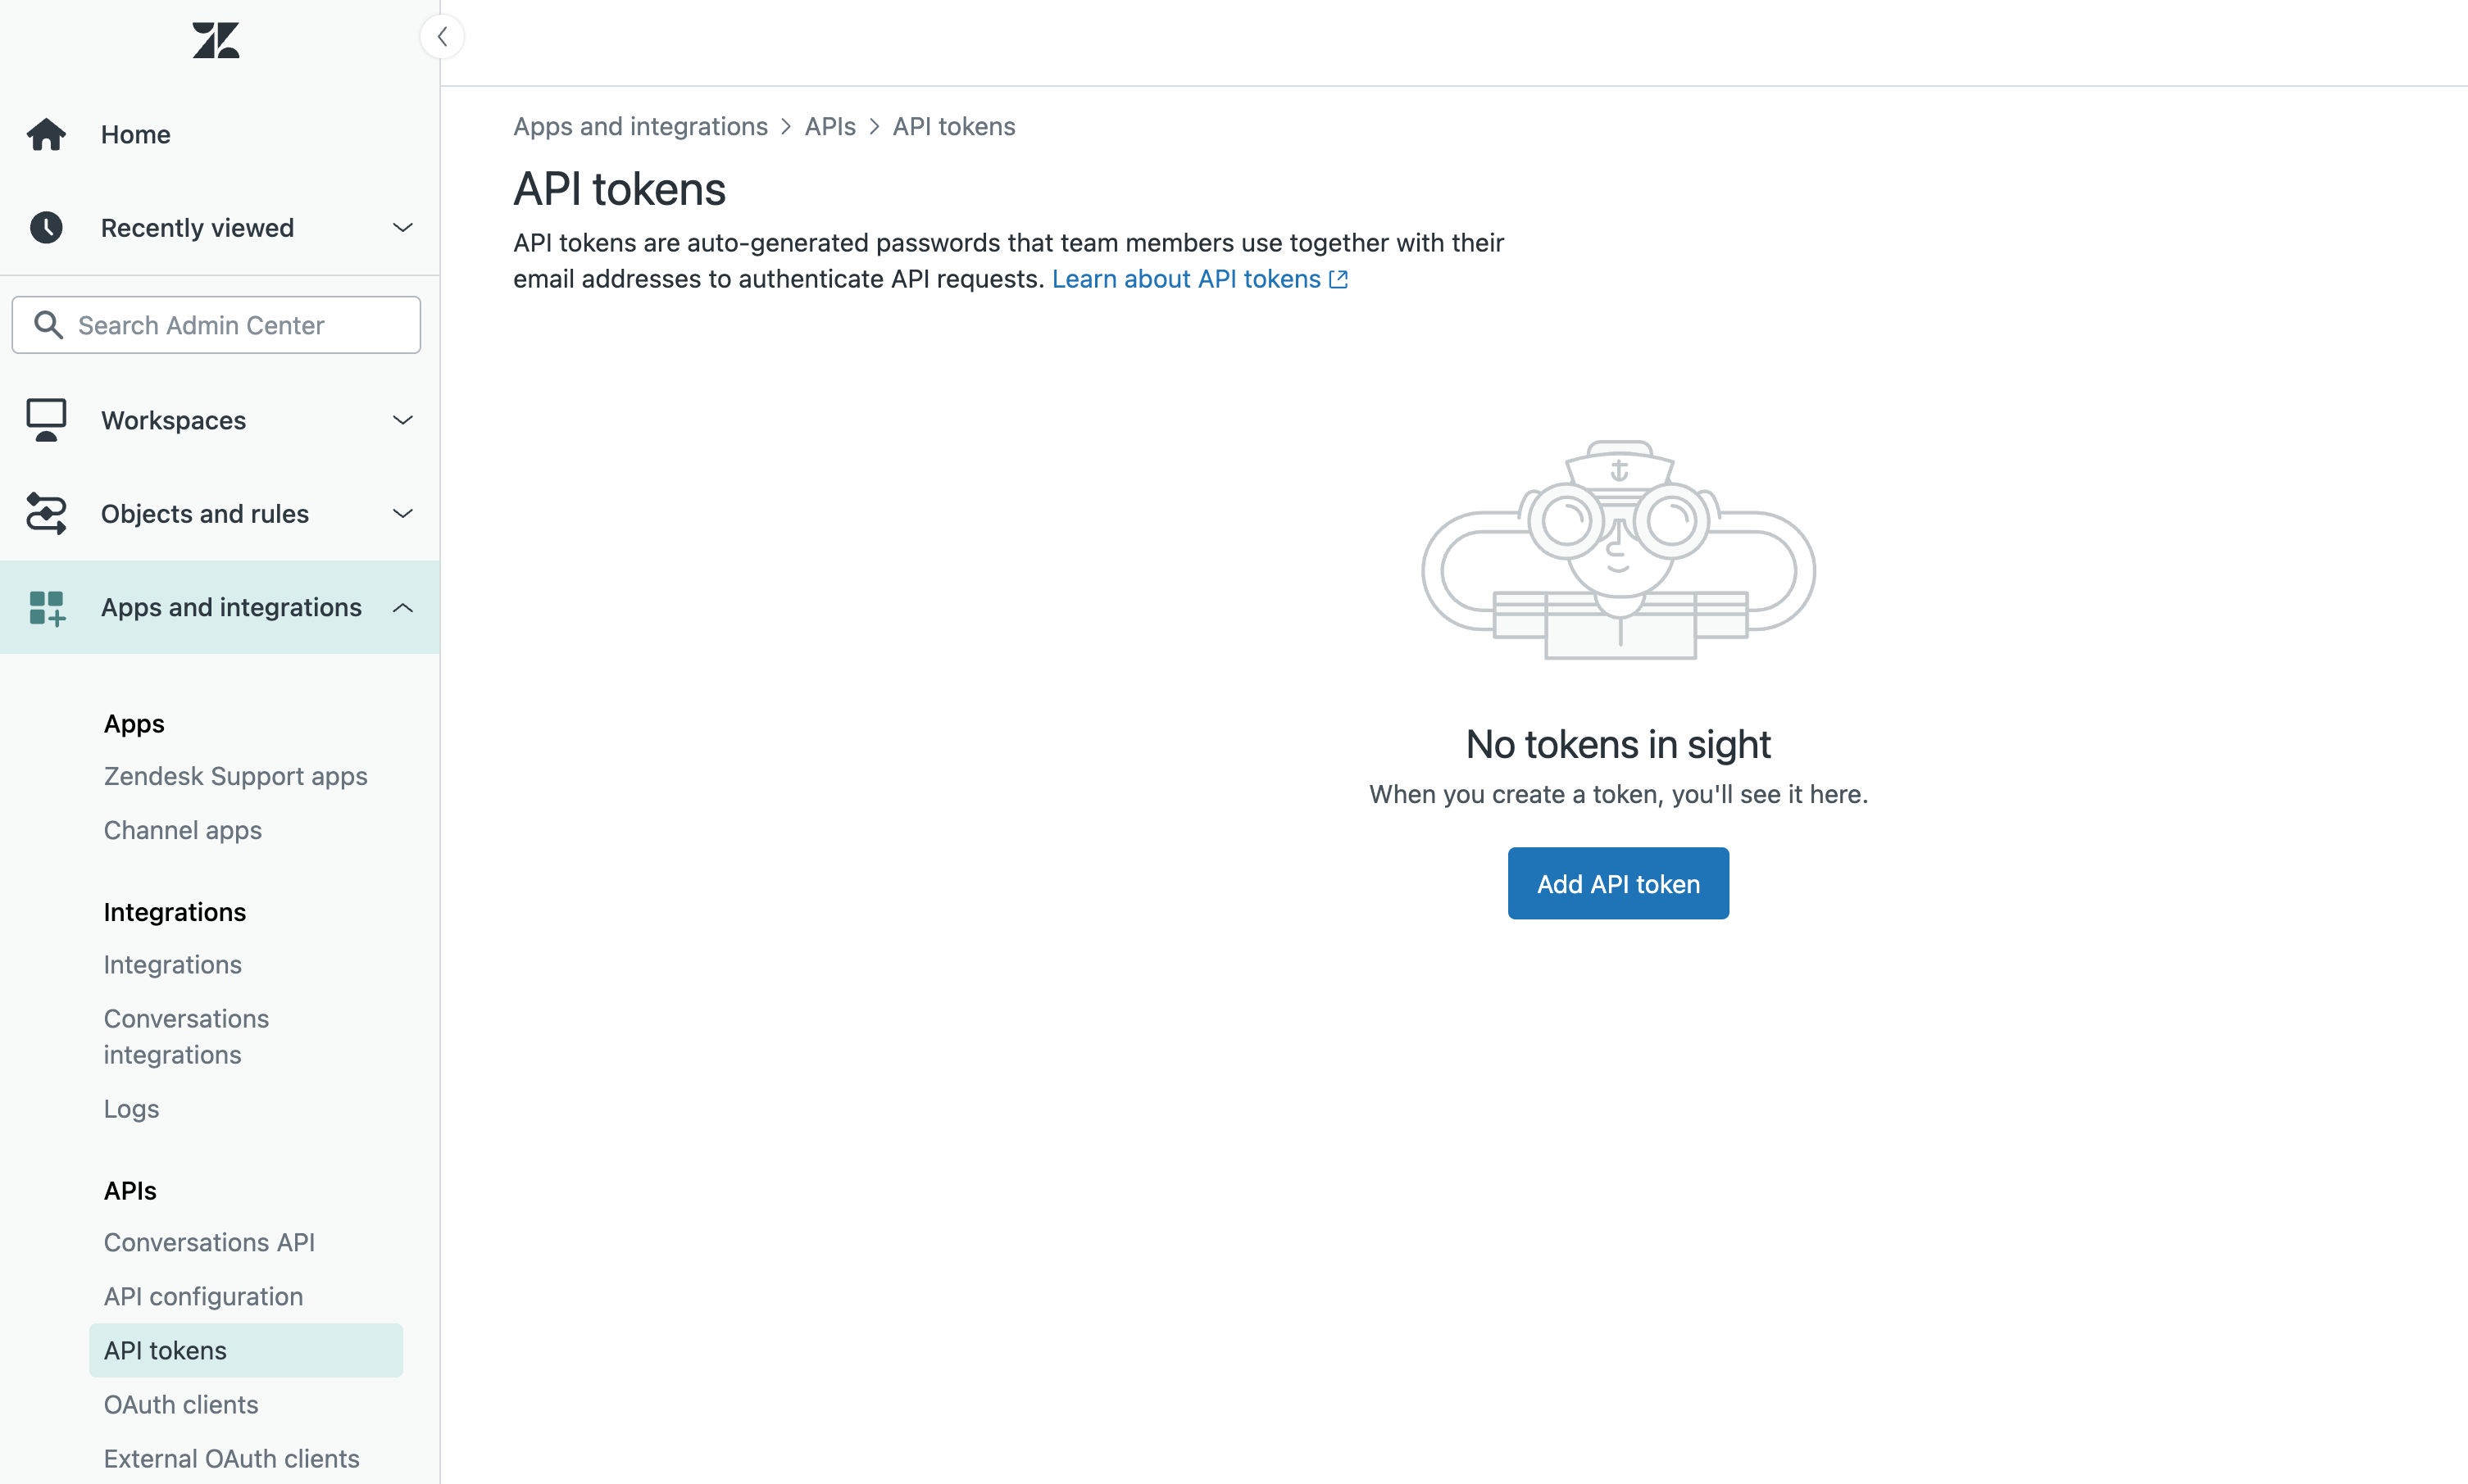
Go to Apps and integrations > API tokens and click Add API Token to generate a new token.
-
Name the token
Device42 Integration(or something similar), then copy the token value and save it in a secure location.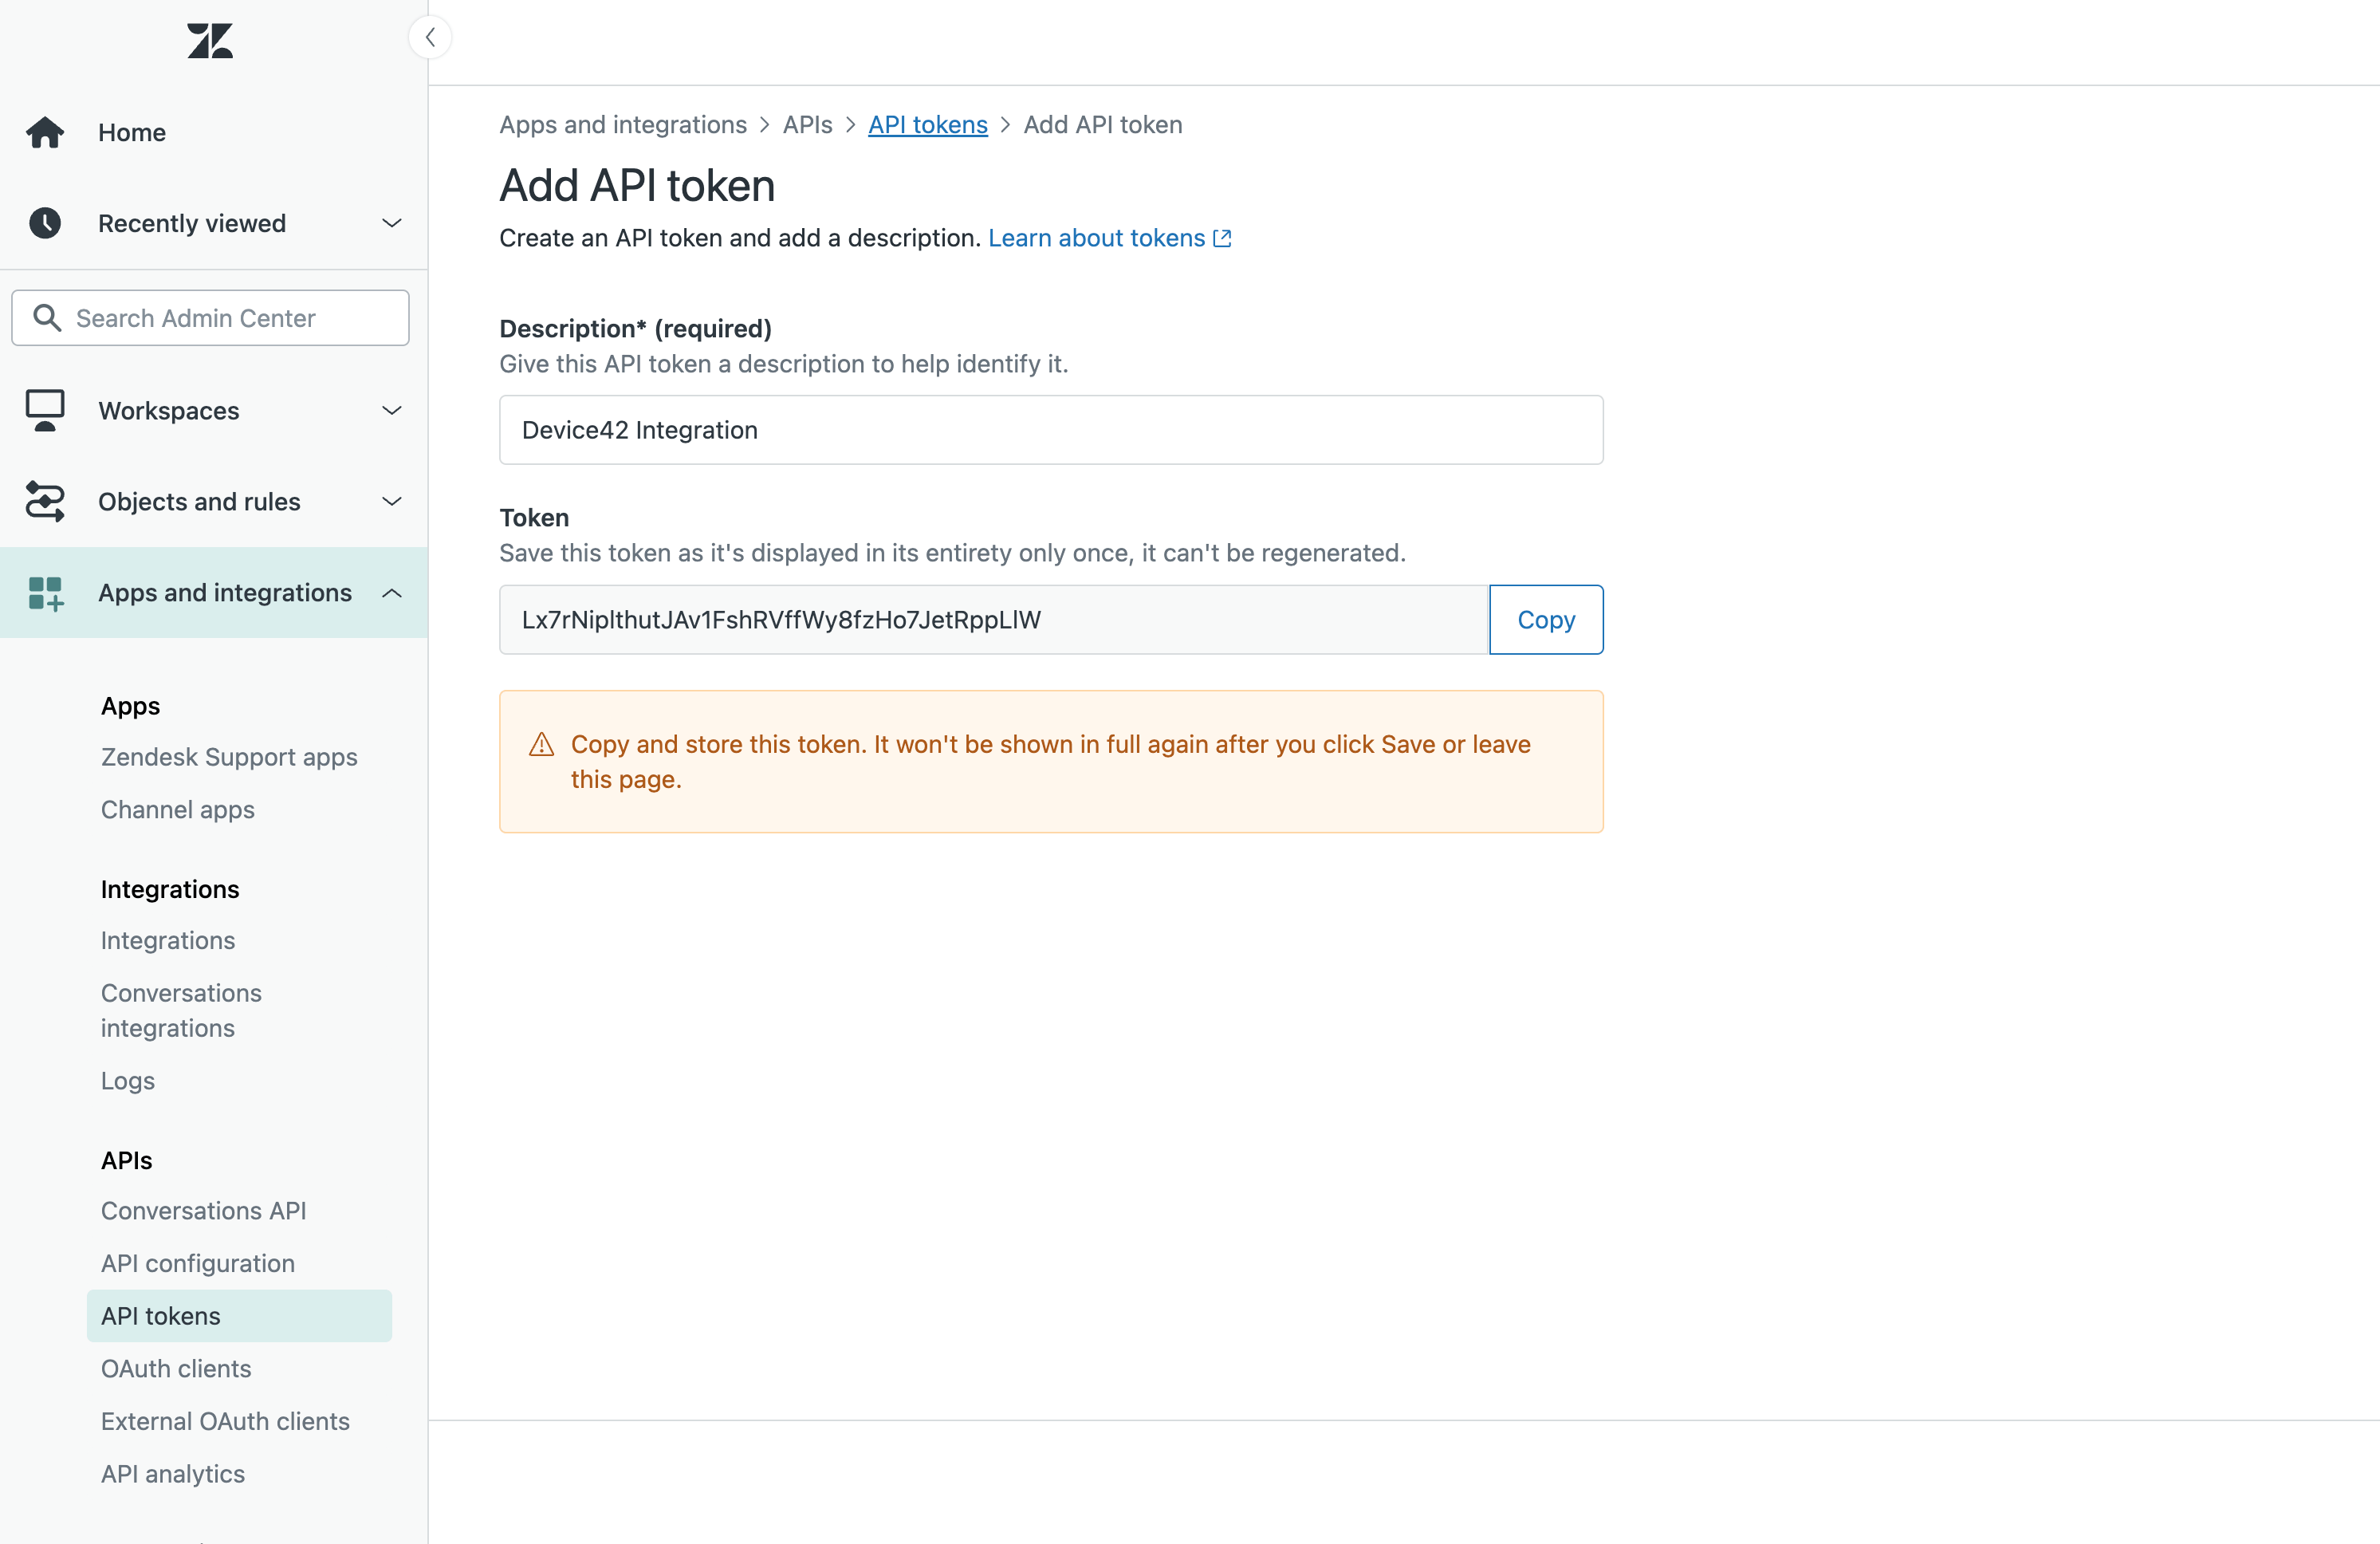
Add a Device42 External Integration
Next, enable the Zendesk integration from Device42.
-
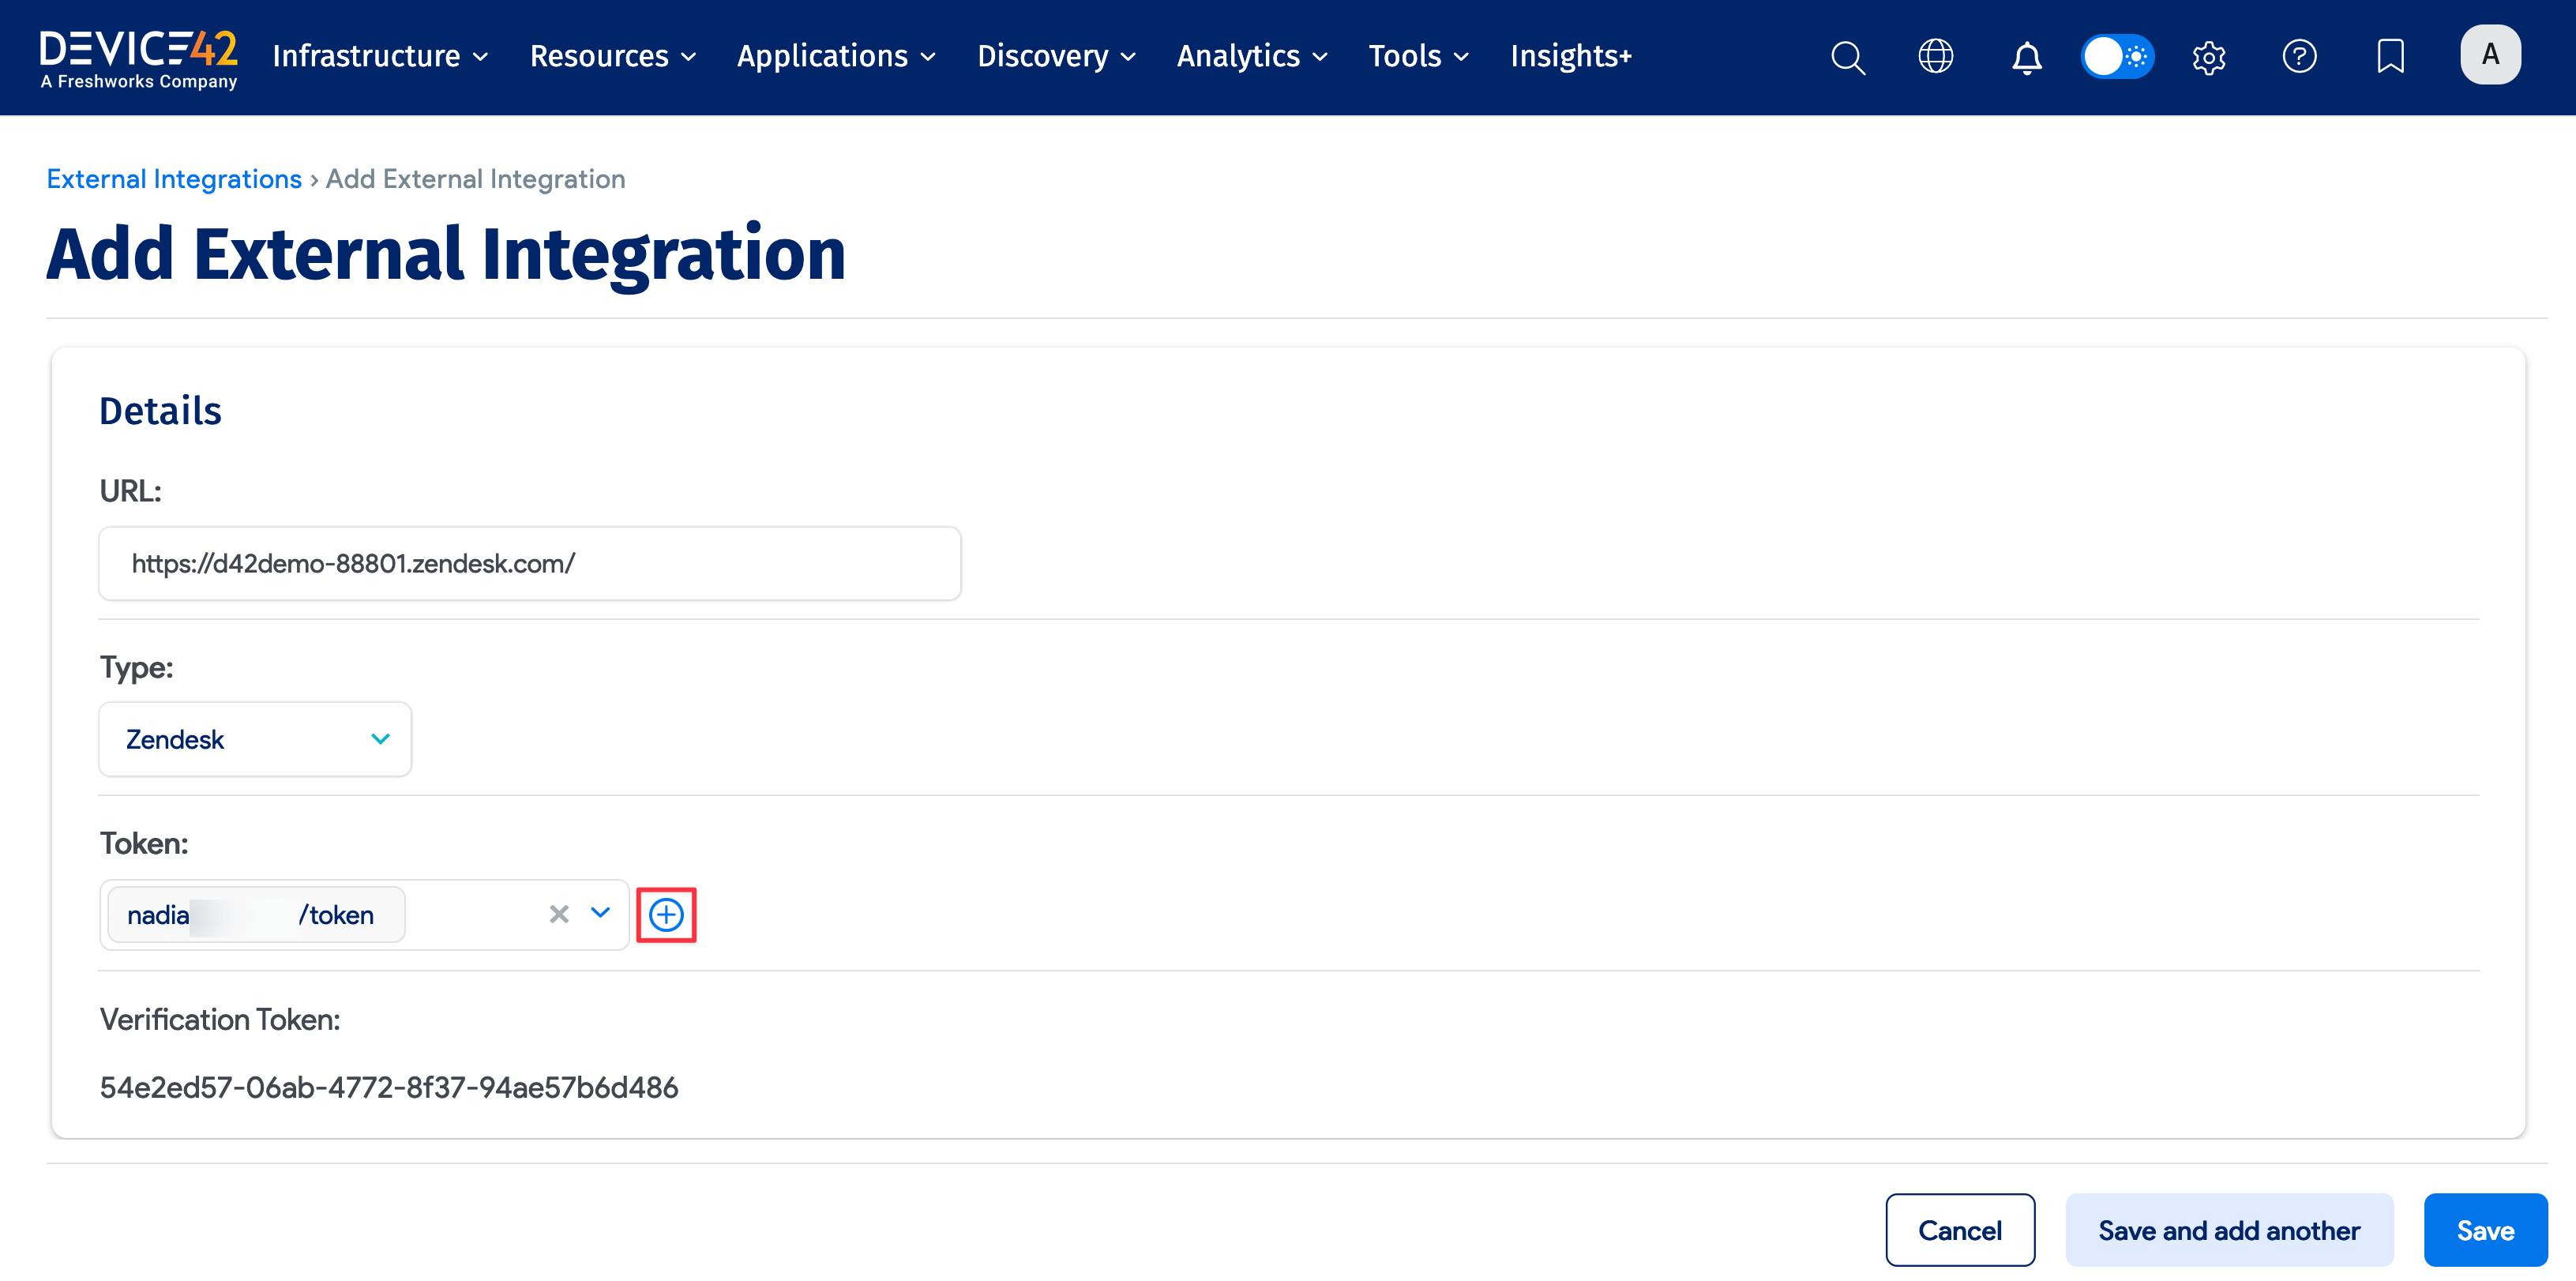
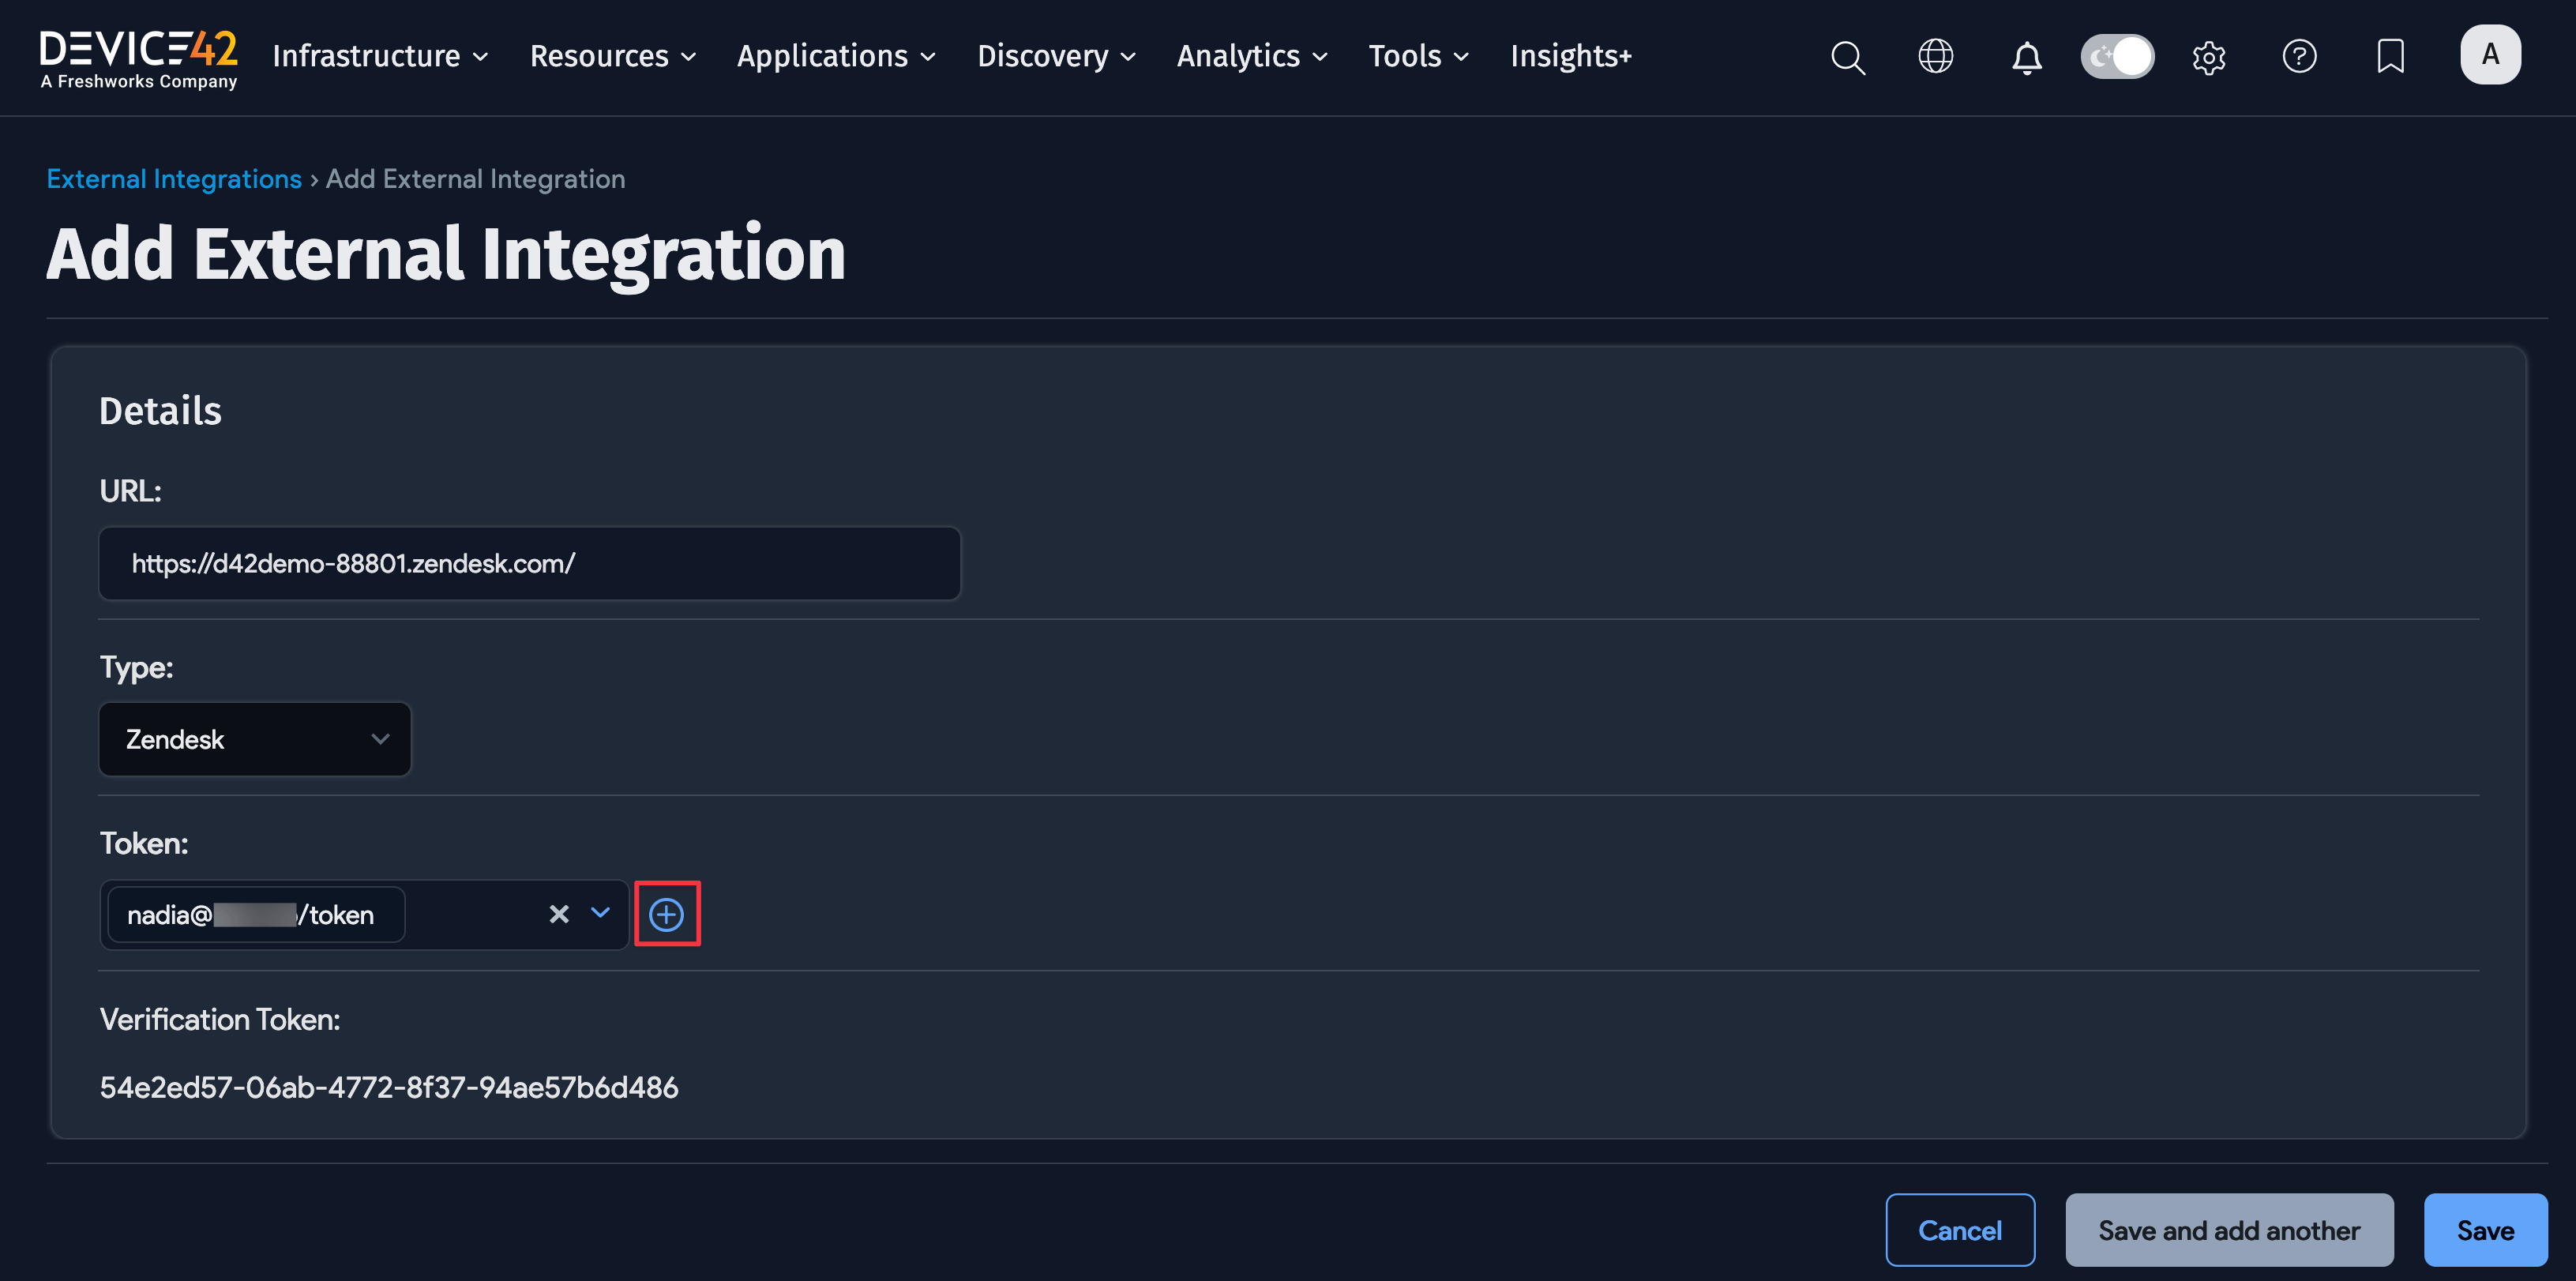
Navigate to Tools > Integrations > External Integrations and click Create.
-
Under Type, select Zendesk.
-
Enter the URL of your Zendesk instance.
-
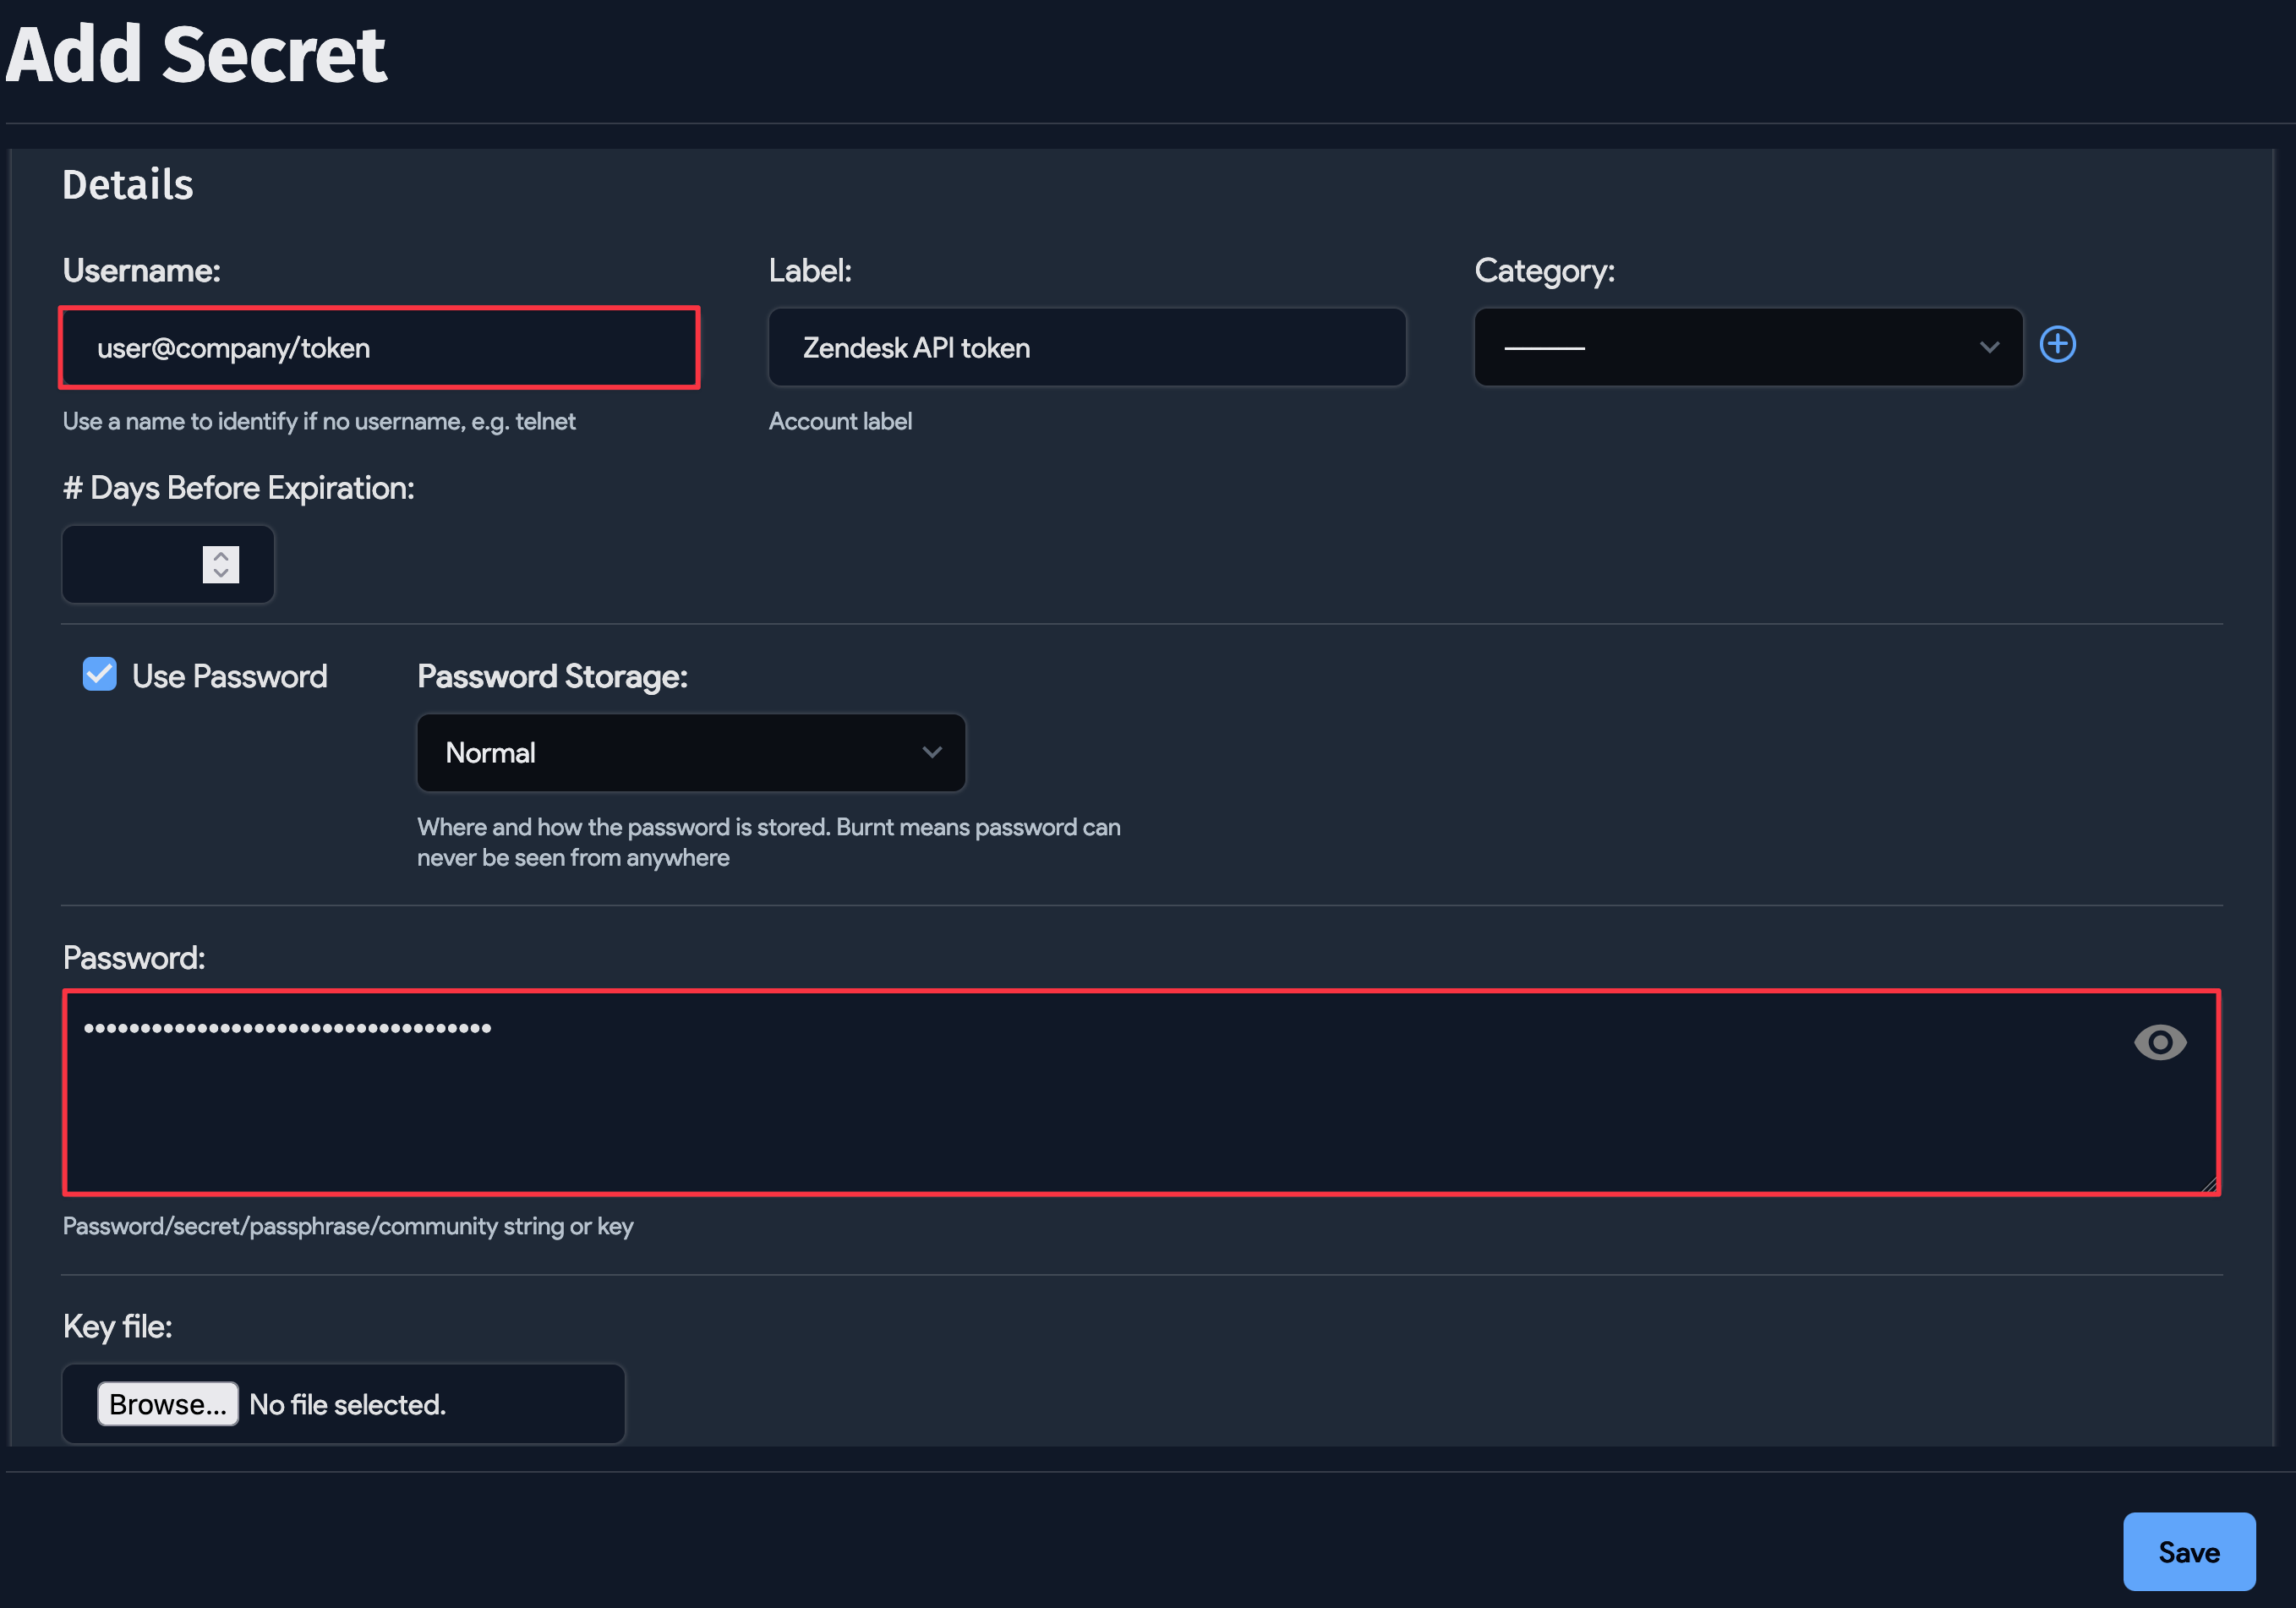
In the Token field, click the plus icon and create a new Secret. Enter your Zendesk username followed by
/tokenin the Username field (for example,name@company.com/token). Paste the Zendesk API token into the Password field.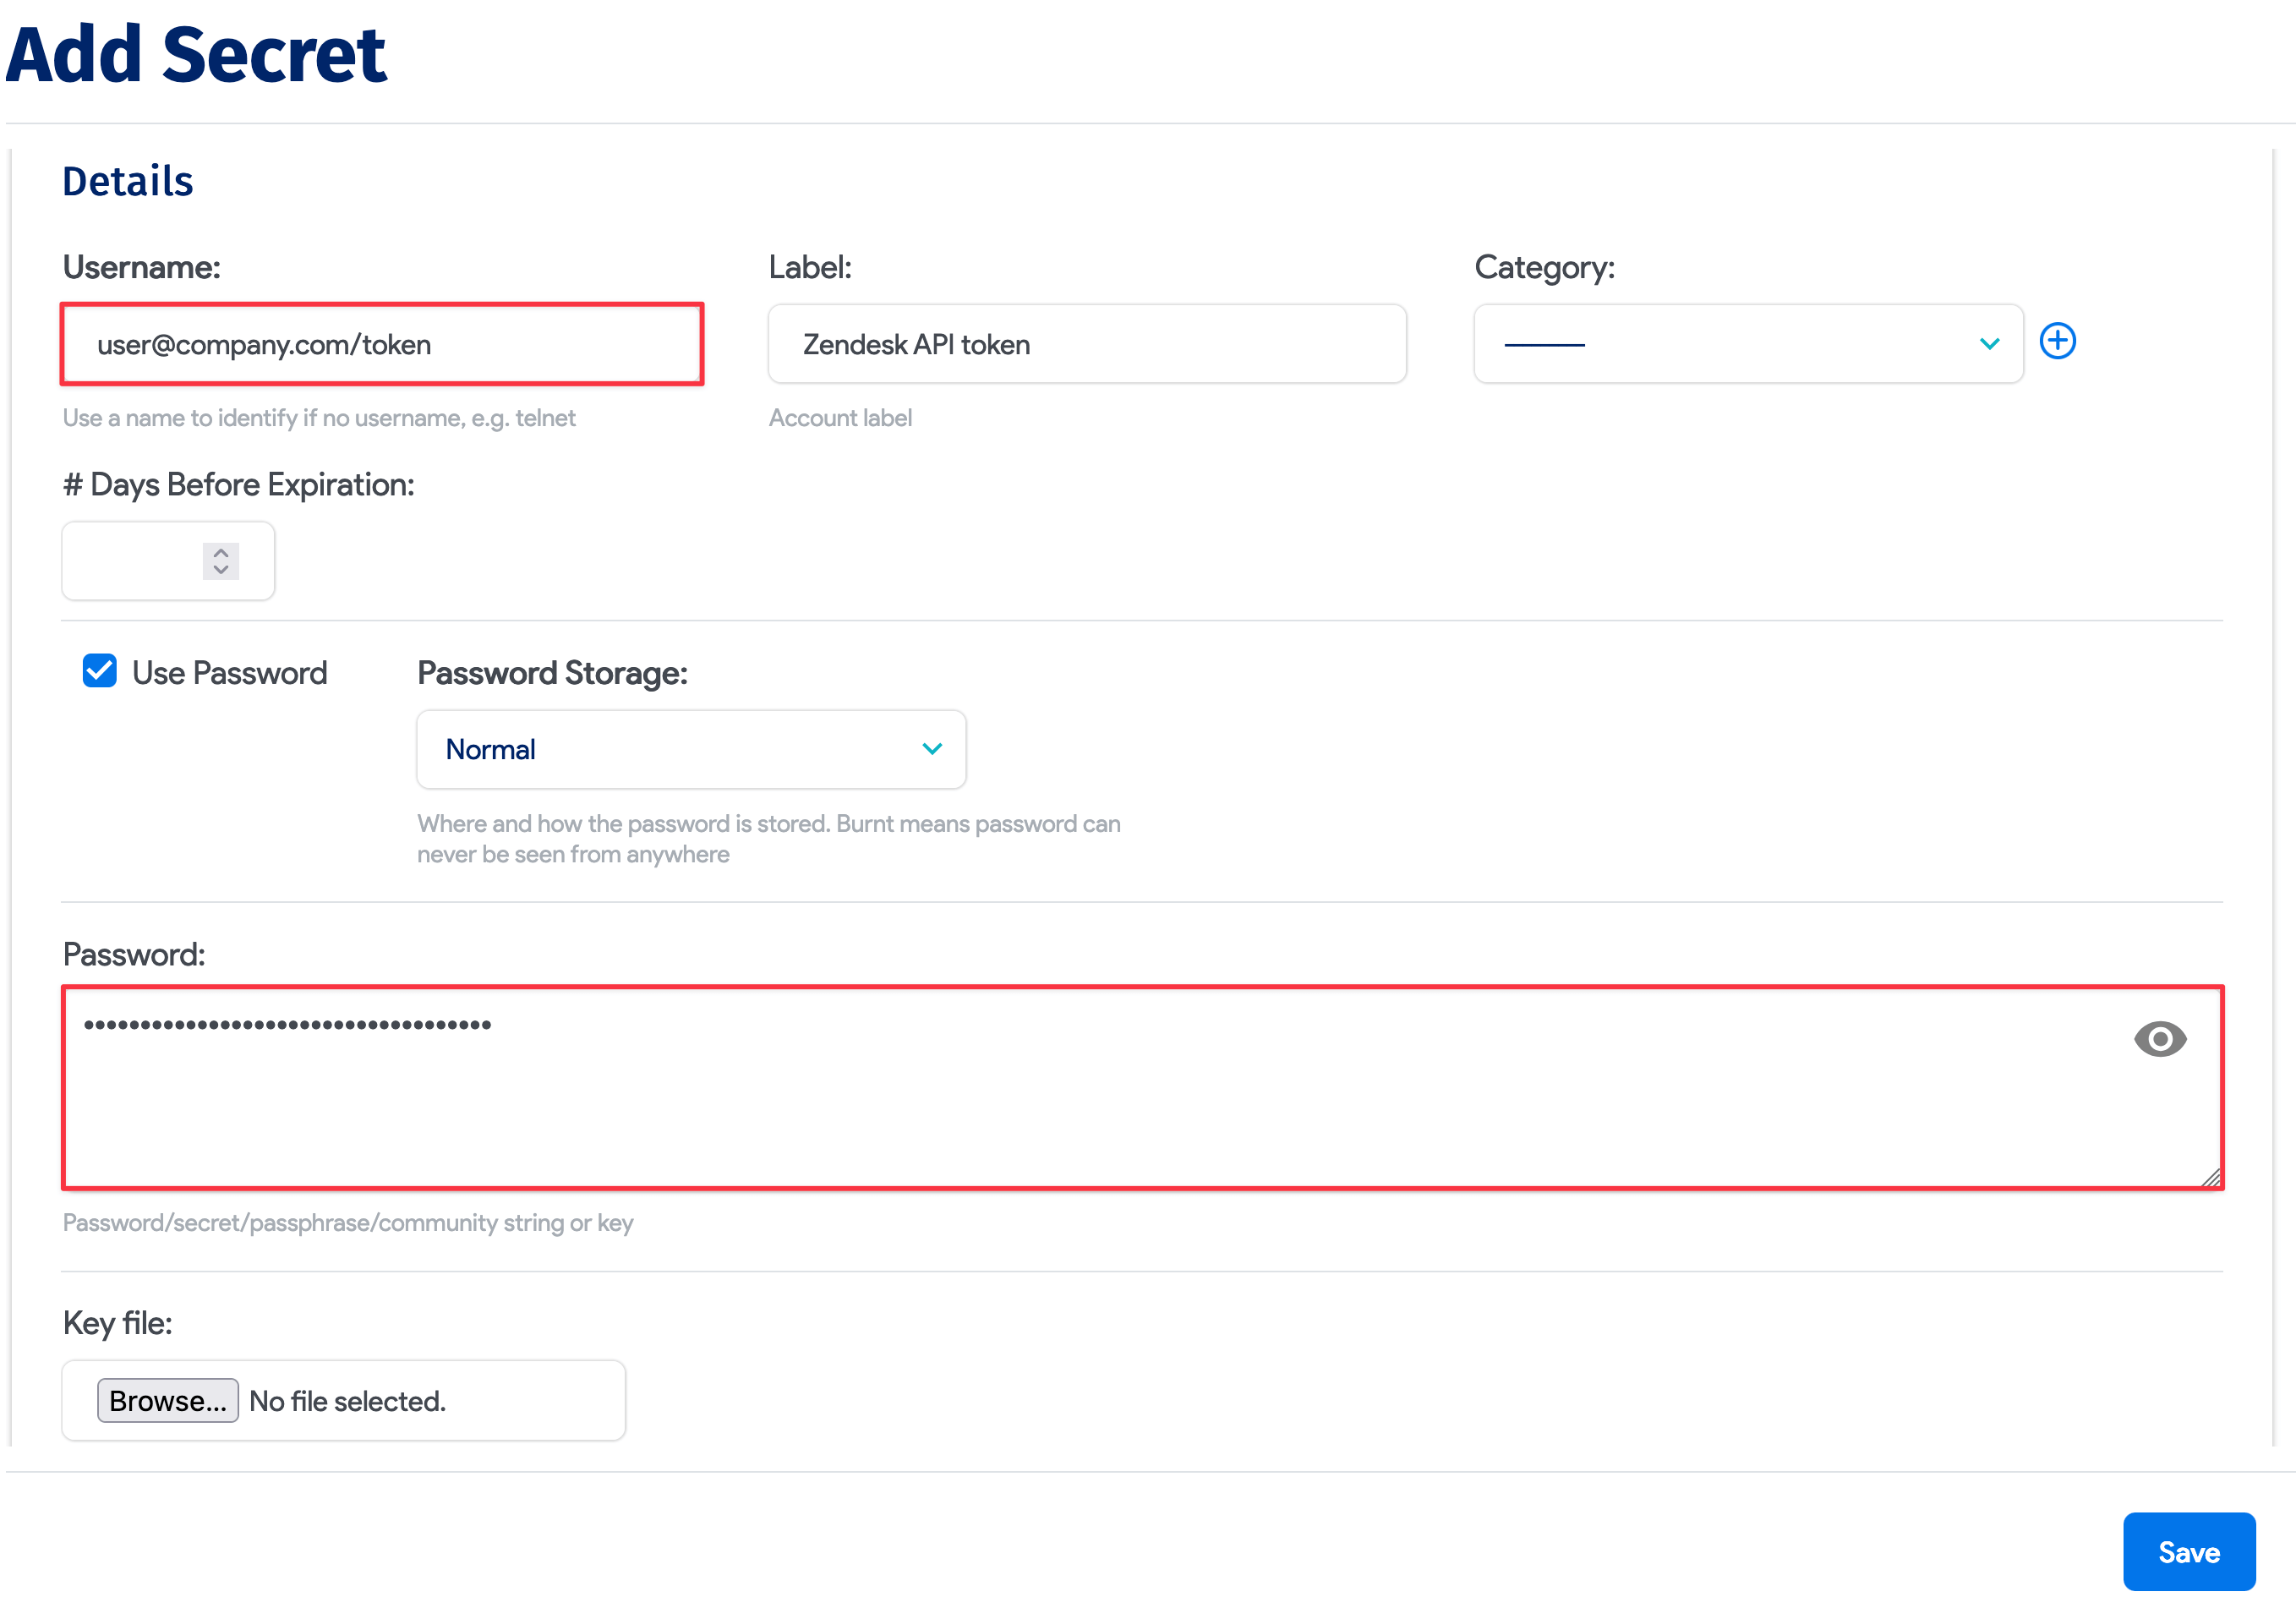
 note
noteWhen authenticating with token access, add
/tokento the end of your username, as required by Zendesk. -
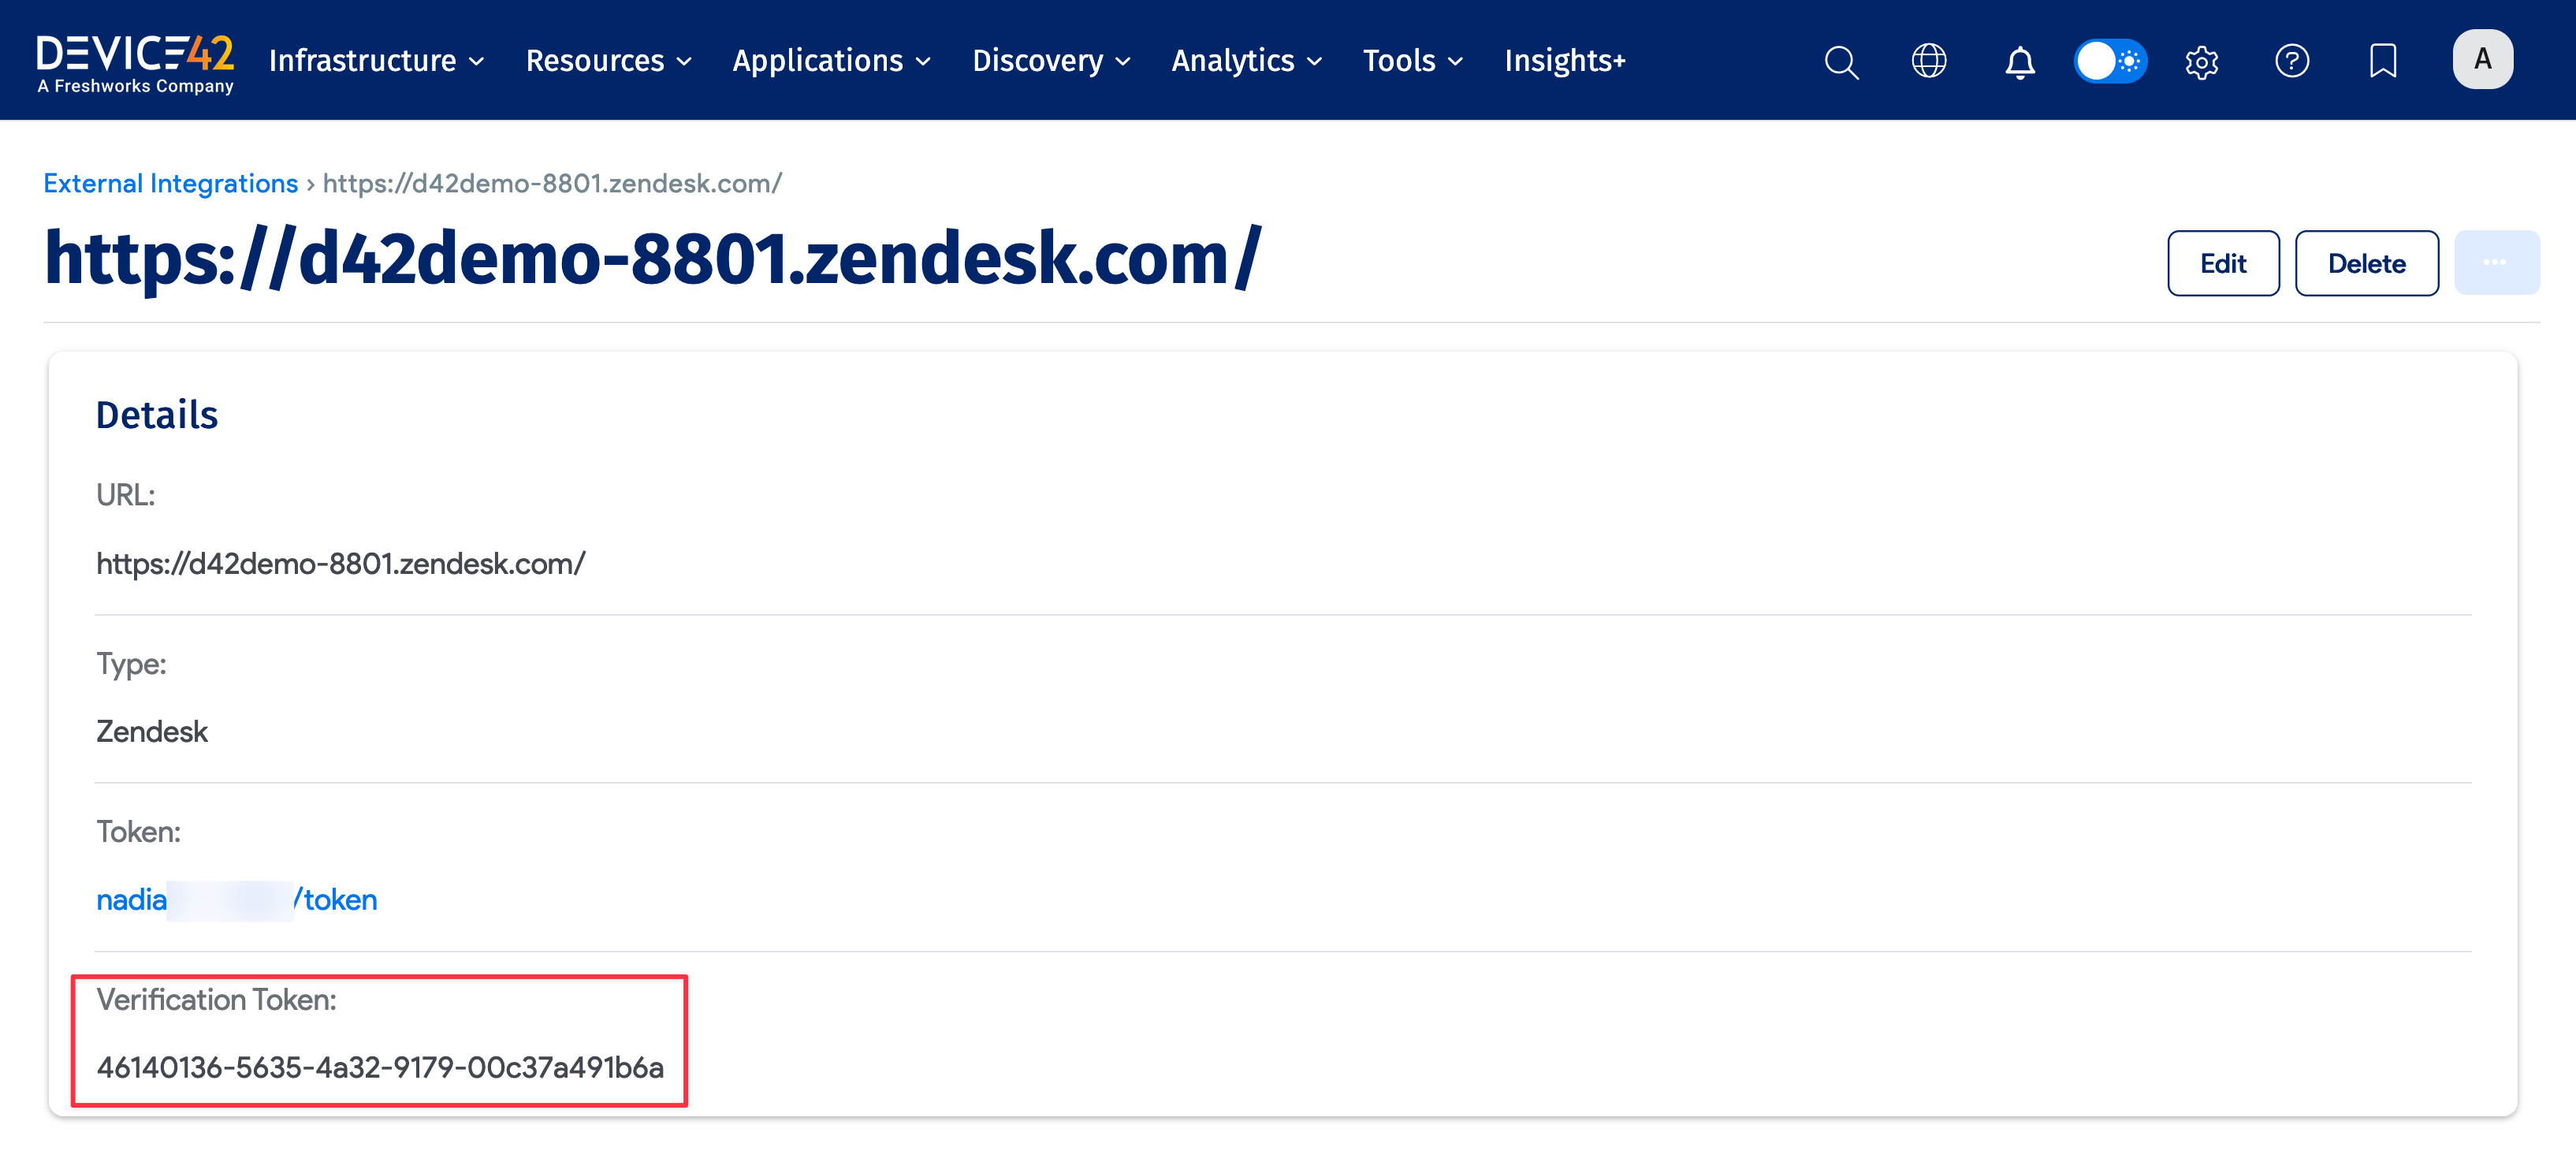
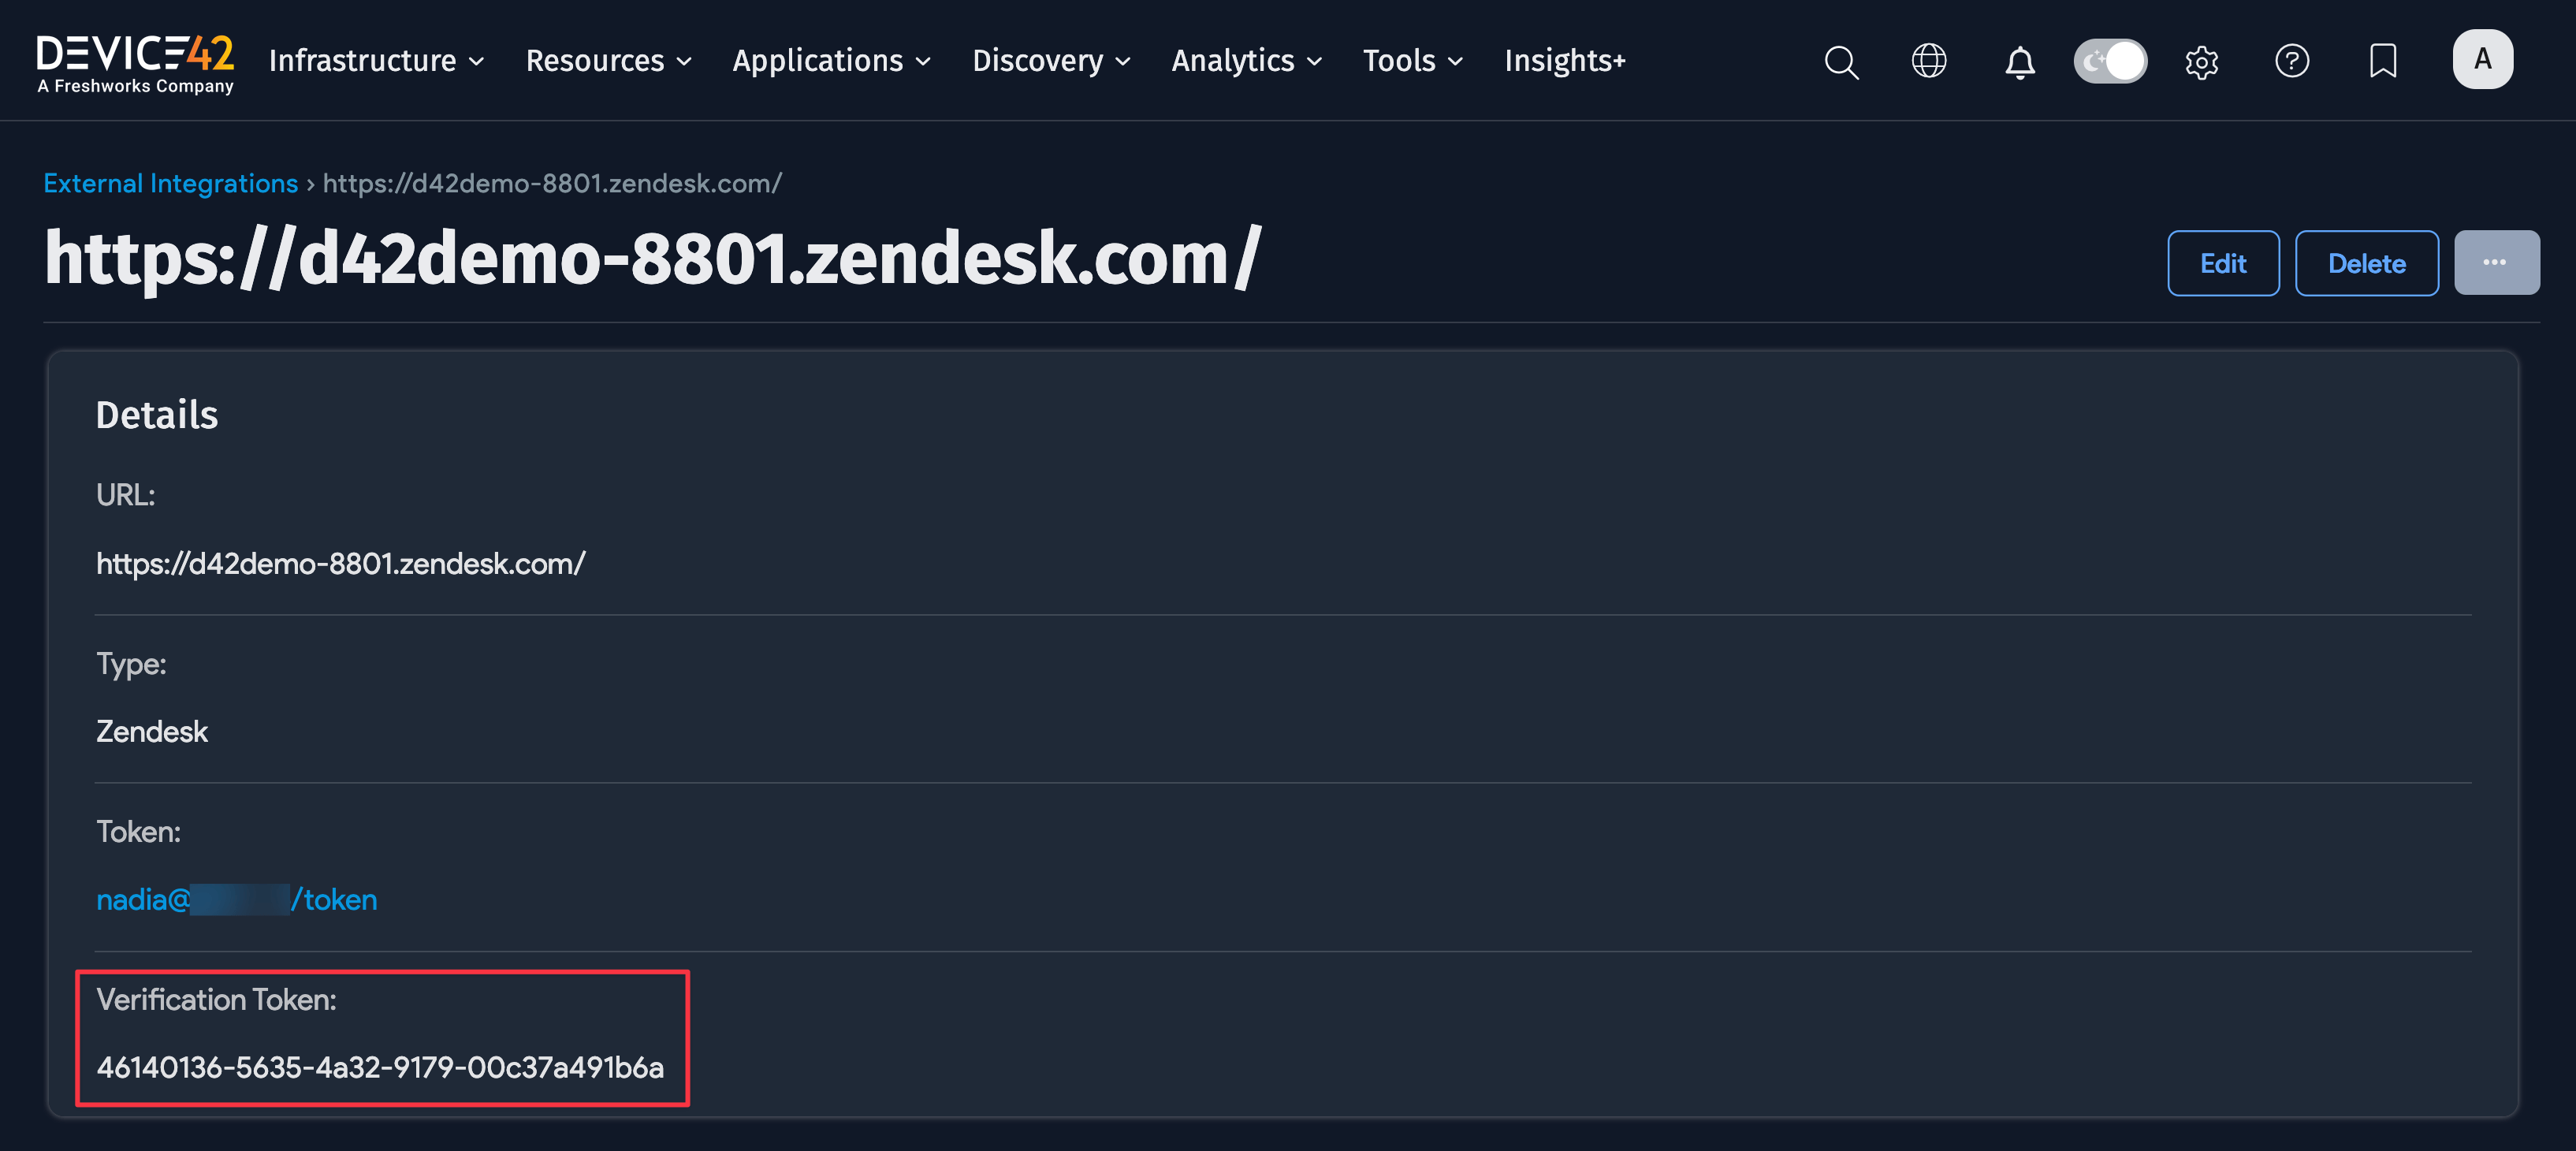
Save the new Zendesk integration and copy the Verification Token — Device42 generates a new token on saving.
Install the Device42 Add-On for Zendesk
Go to the Zendesk Marketplace. If you have trouble accessing the link, ensure you are signed in to your Zendesk account.
-
Search for
Device42 Connectorto locate the integration add-on.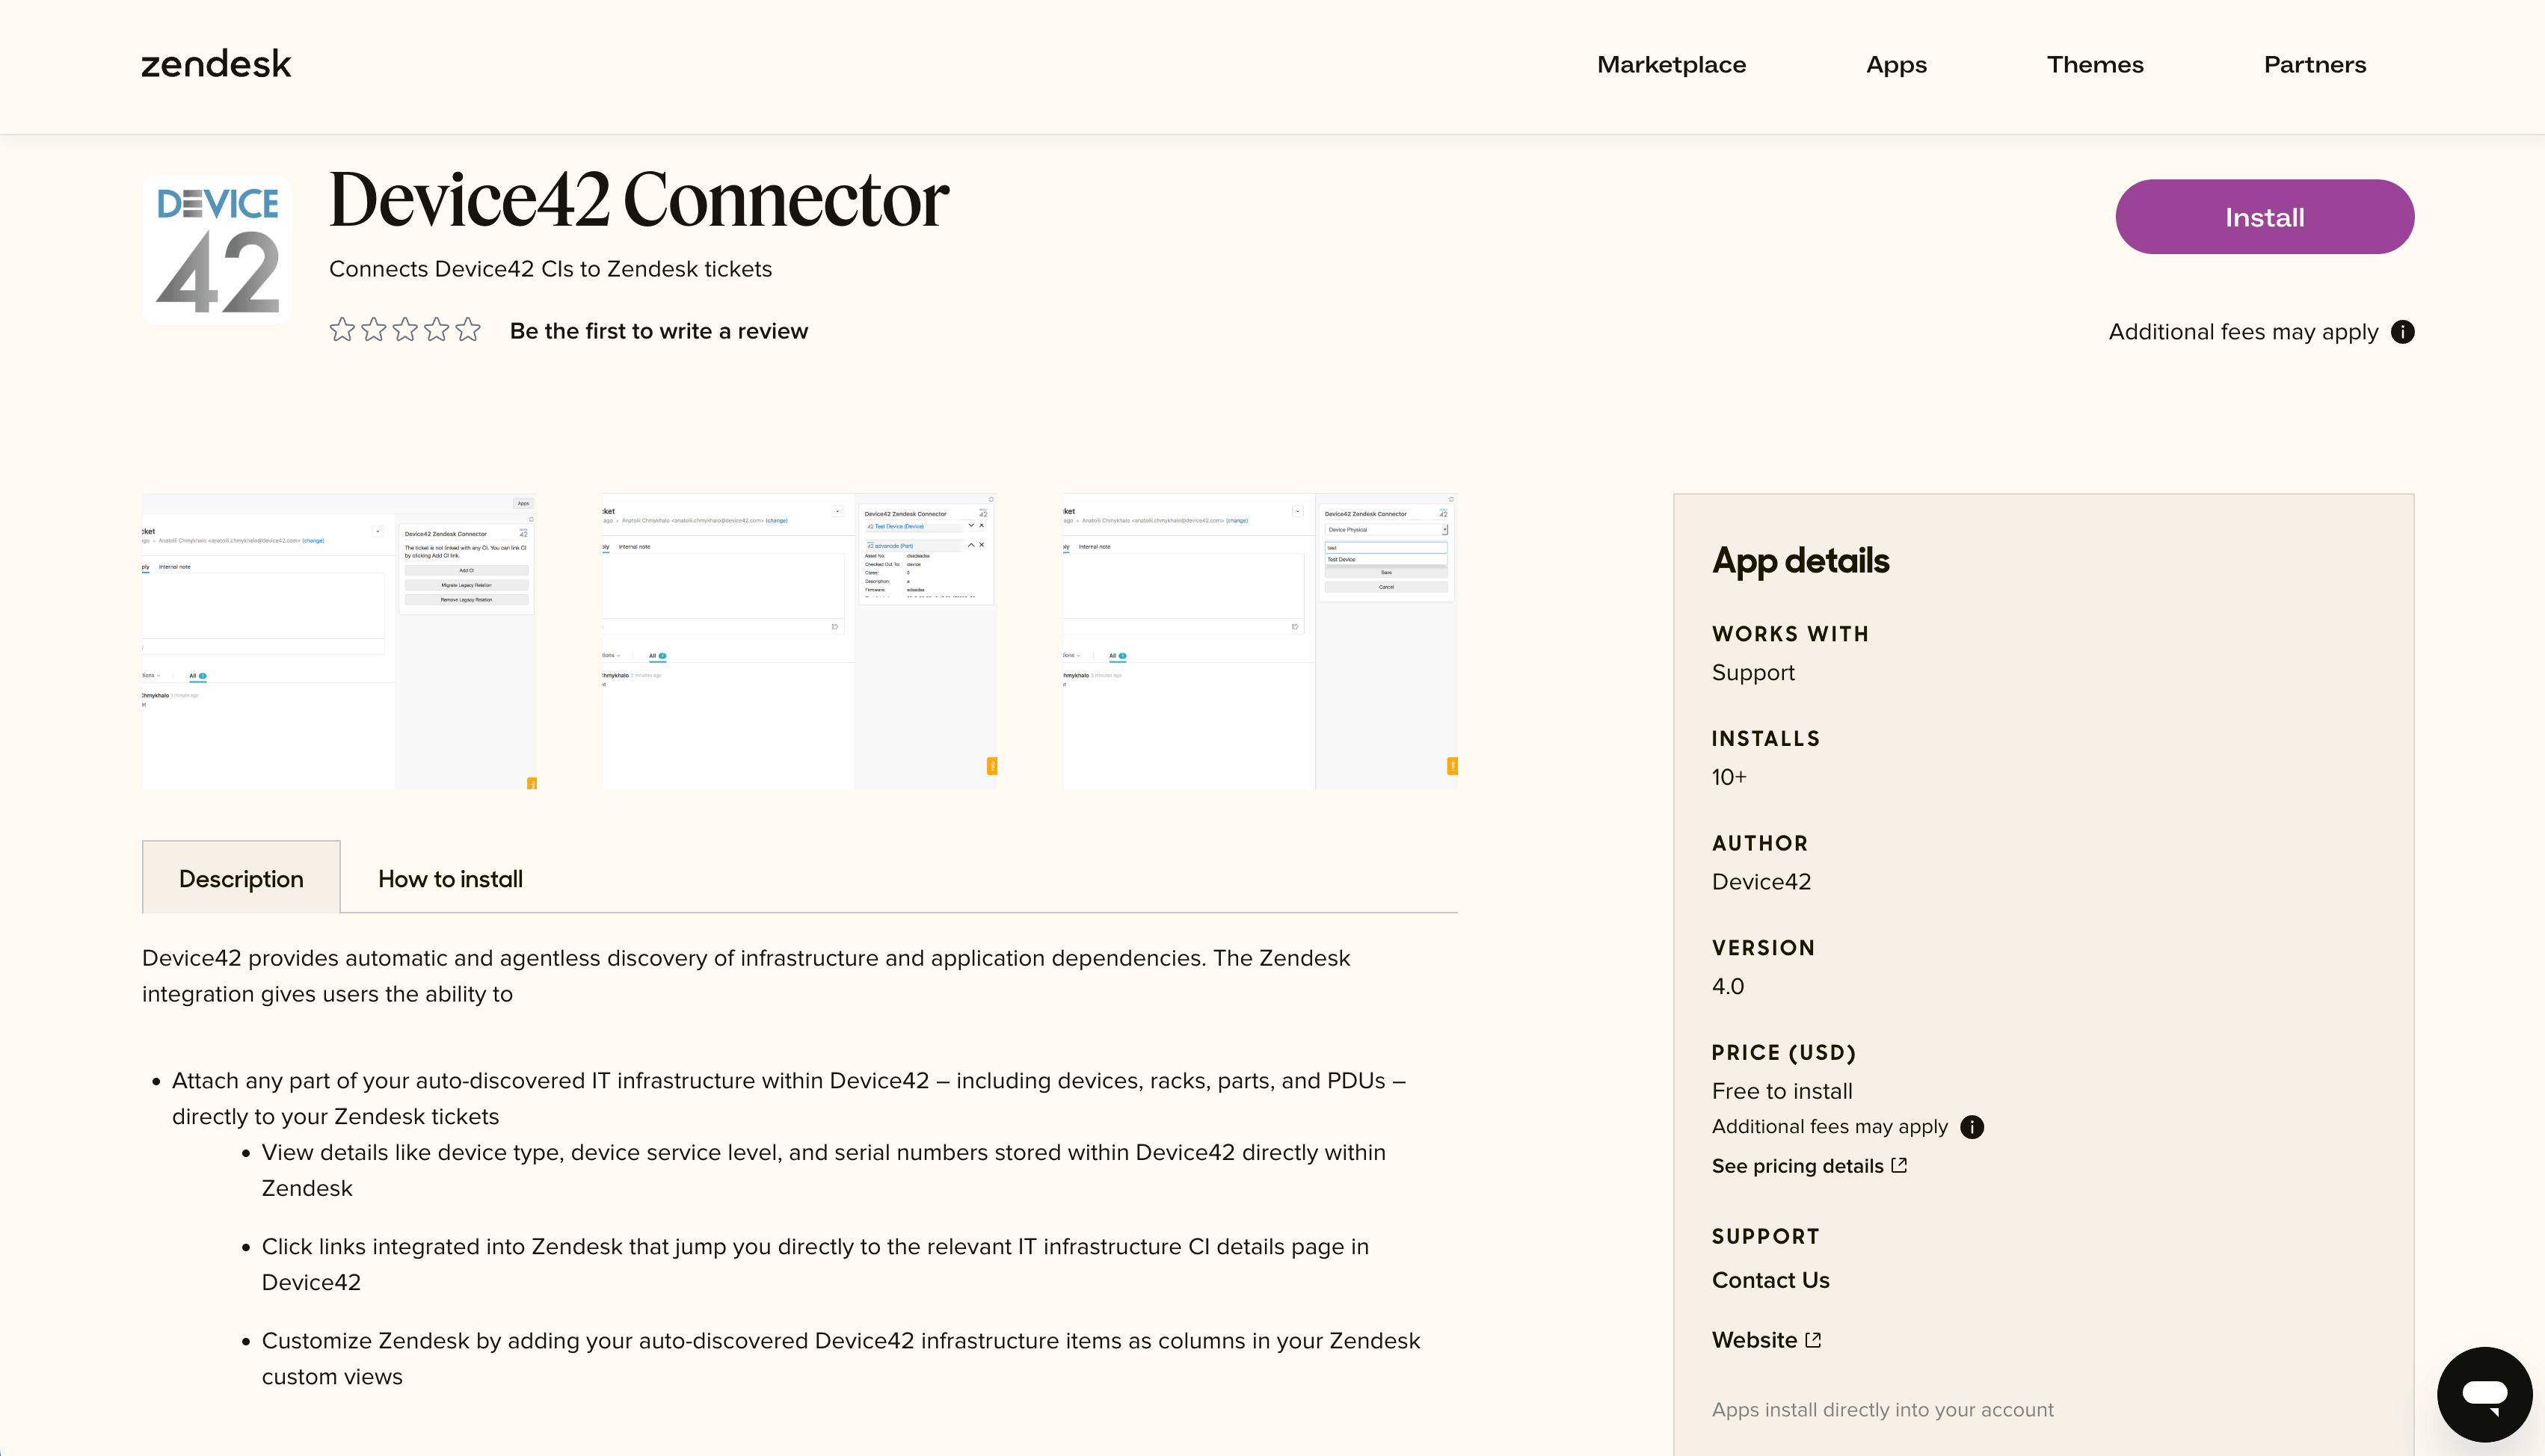
-
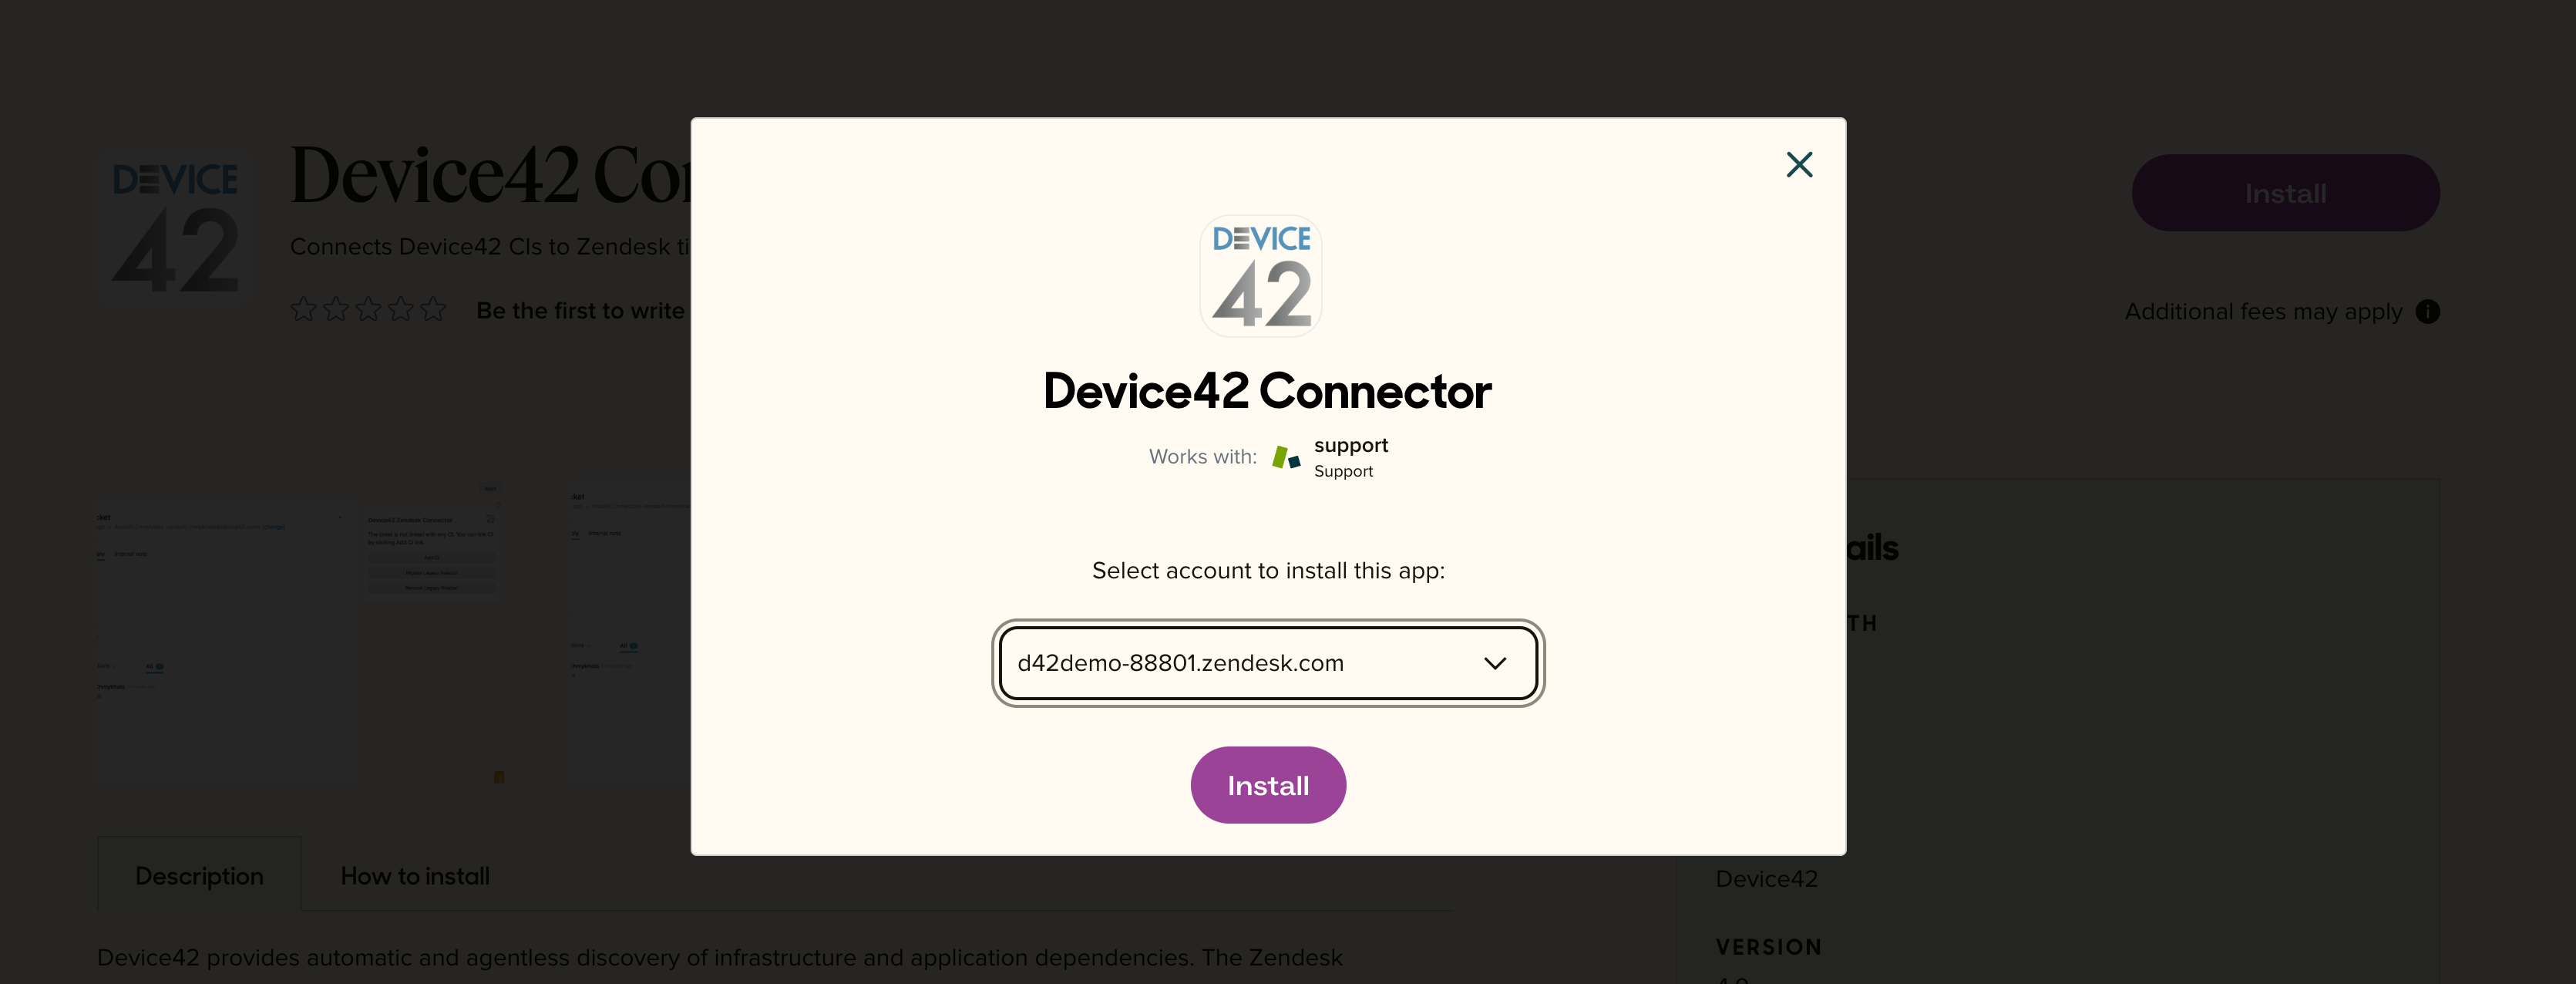
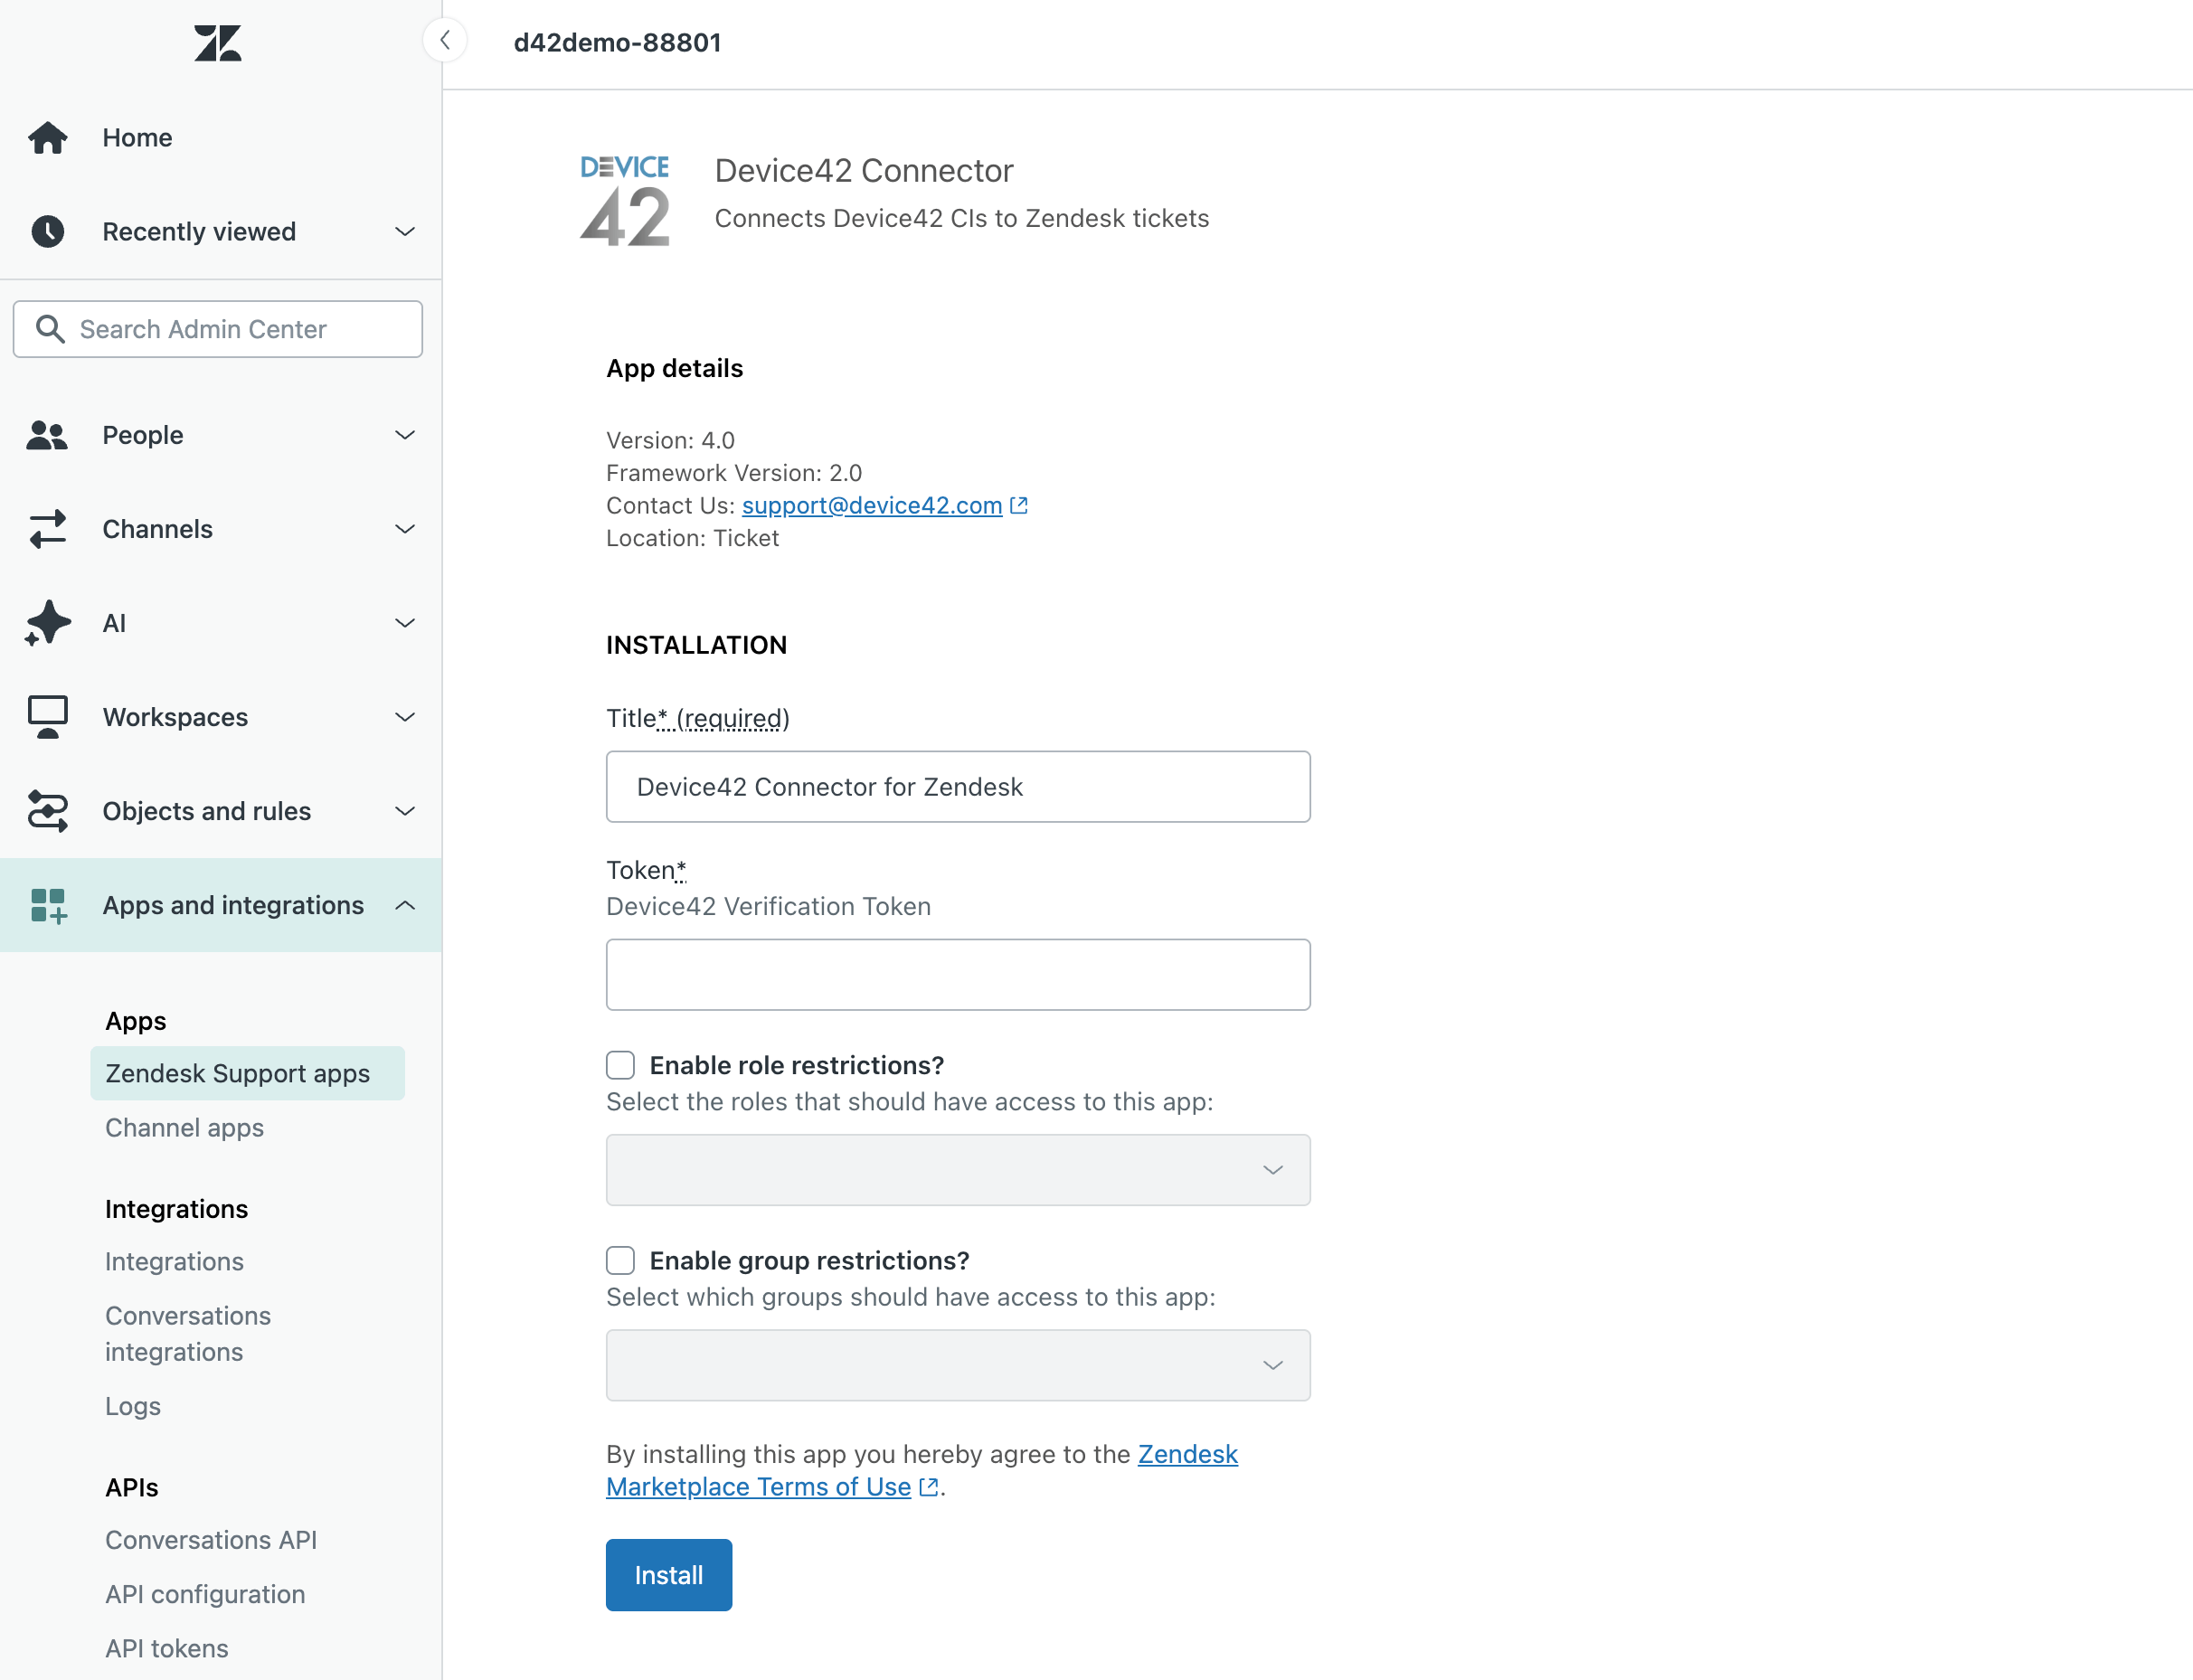
Click Install, choose your account from the dropdown, and click Install again to continue.
-
Name your integration (for example,
Device42 connector for Zendesk). -
In the Token field, enter the Verification Token from the Device42 External Integration setup.
-
Enable role and group restrictions if desired.
-
Click Install to complete the installation.
Use the Zendesk Connector
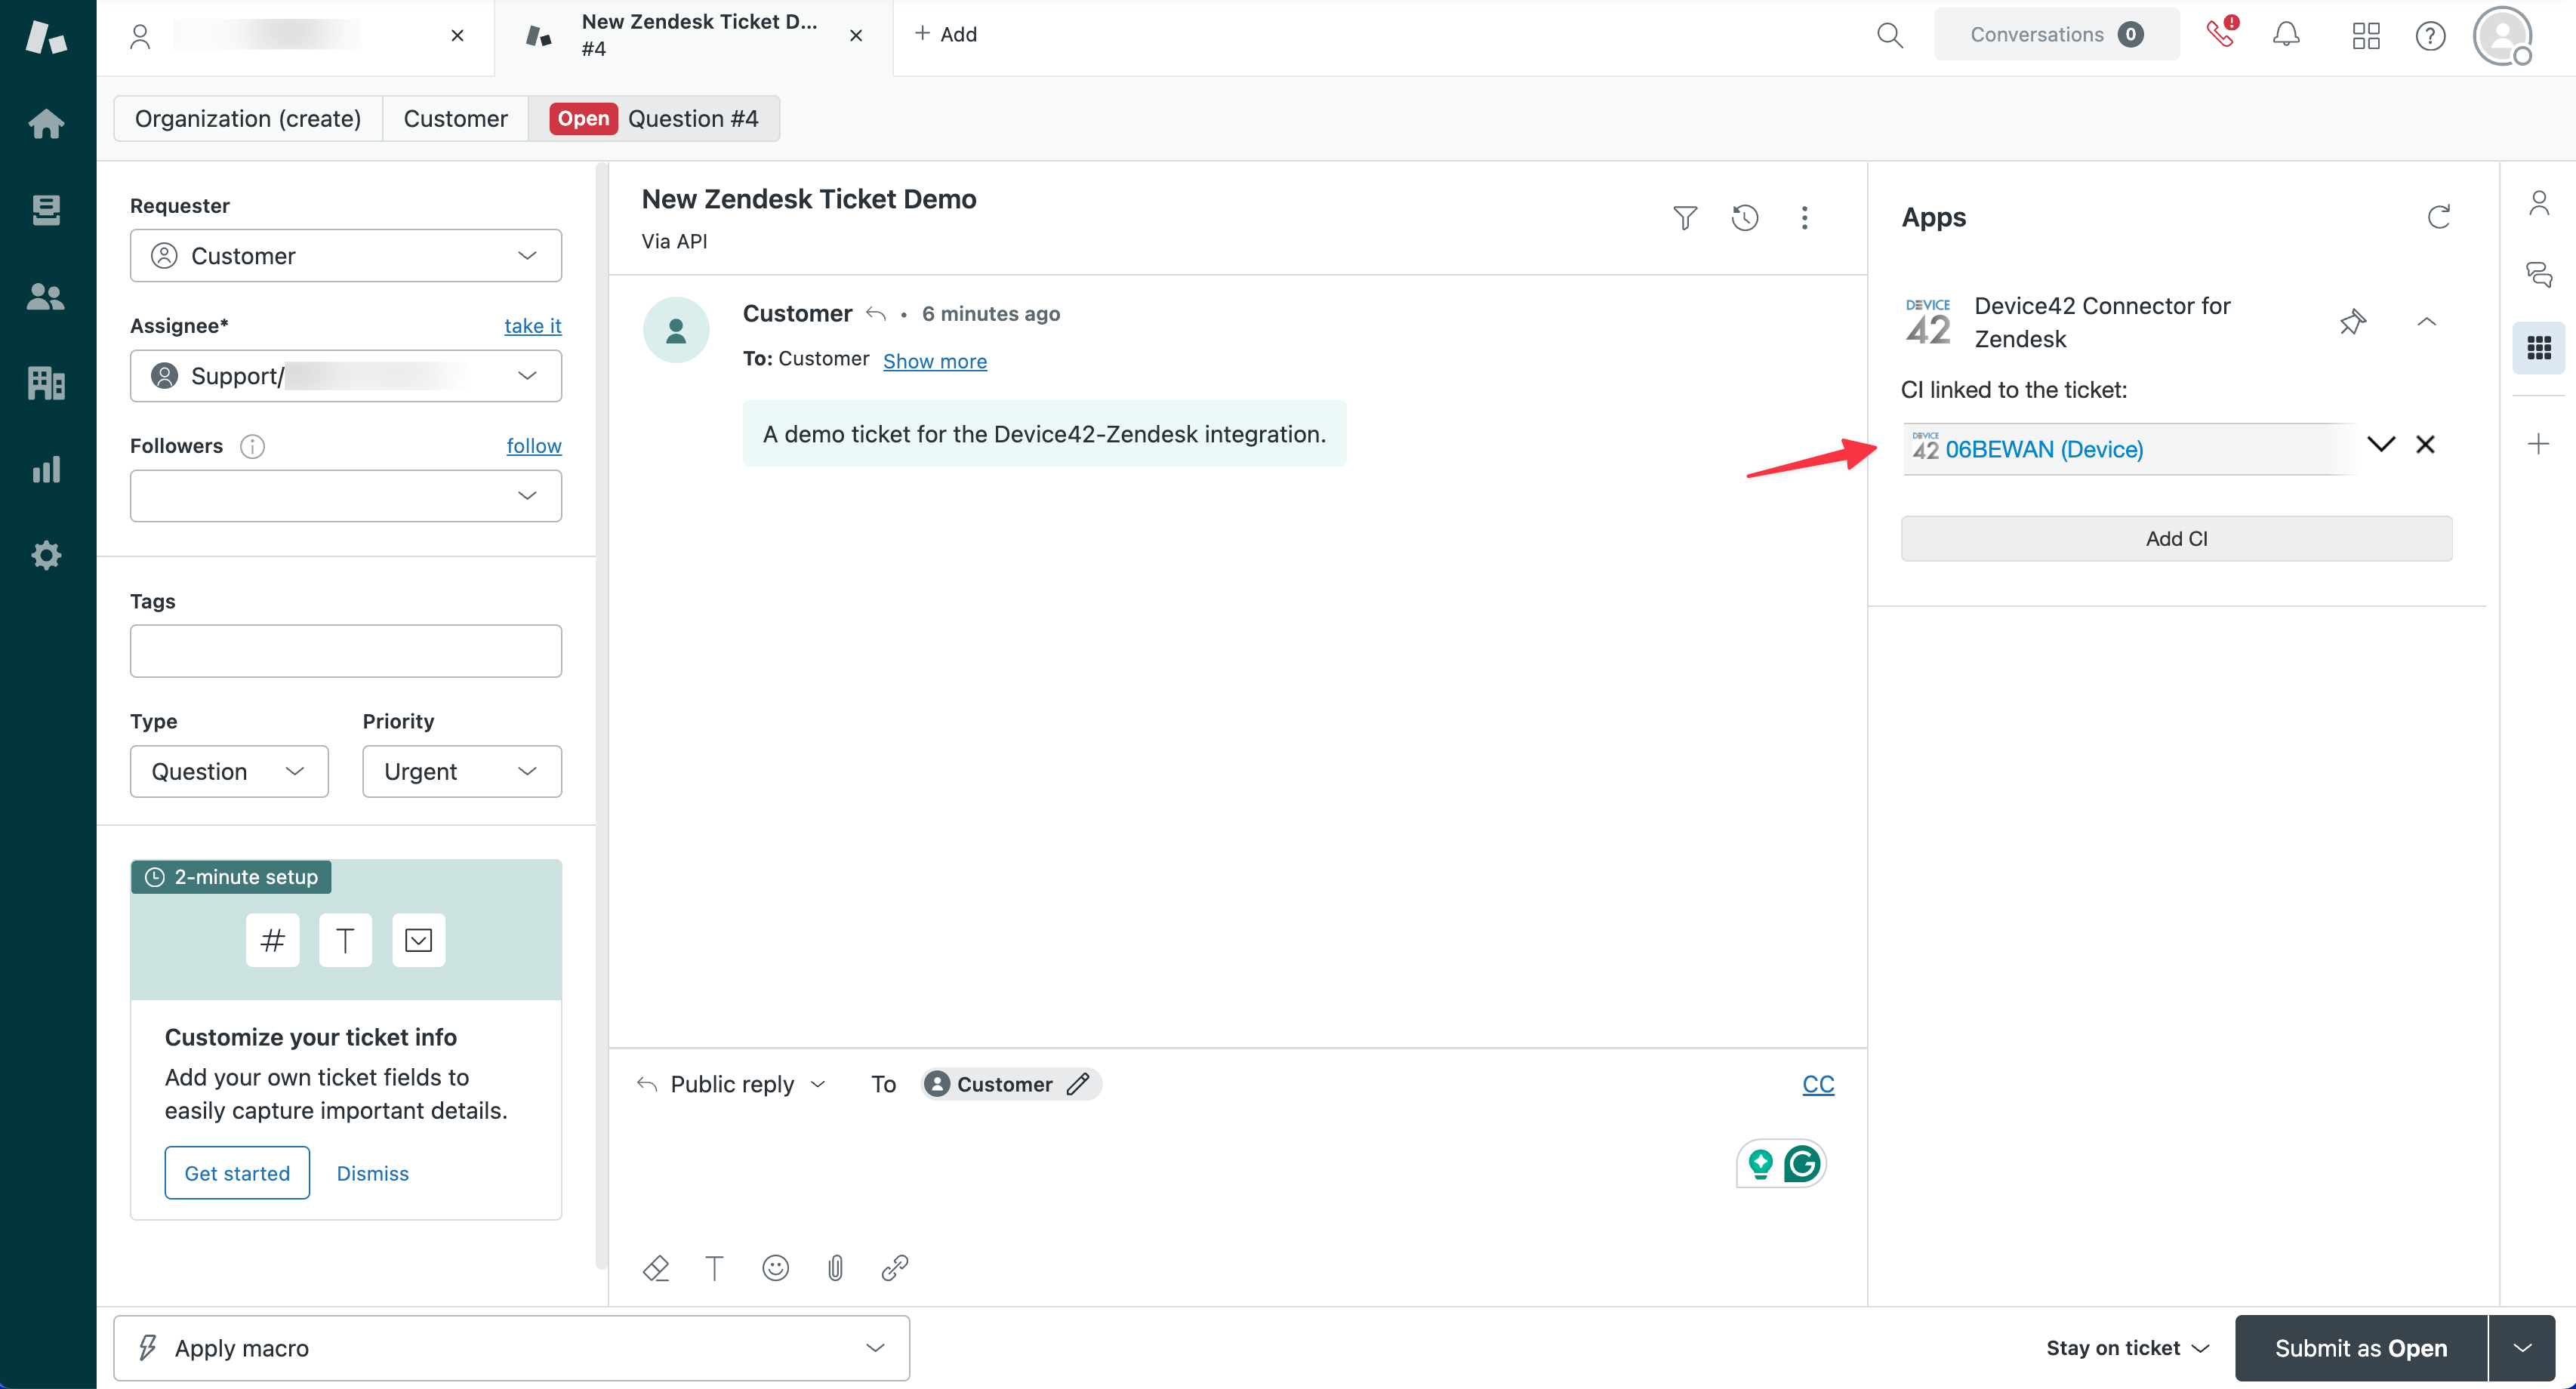
Once the plugin is installed, you can associate CIs (Configuration Items) from Device42 with tickets.
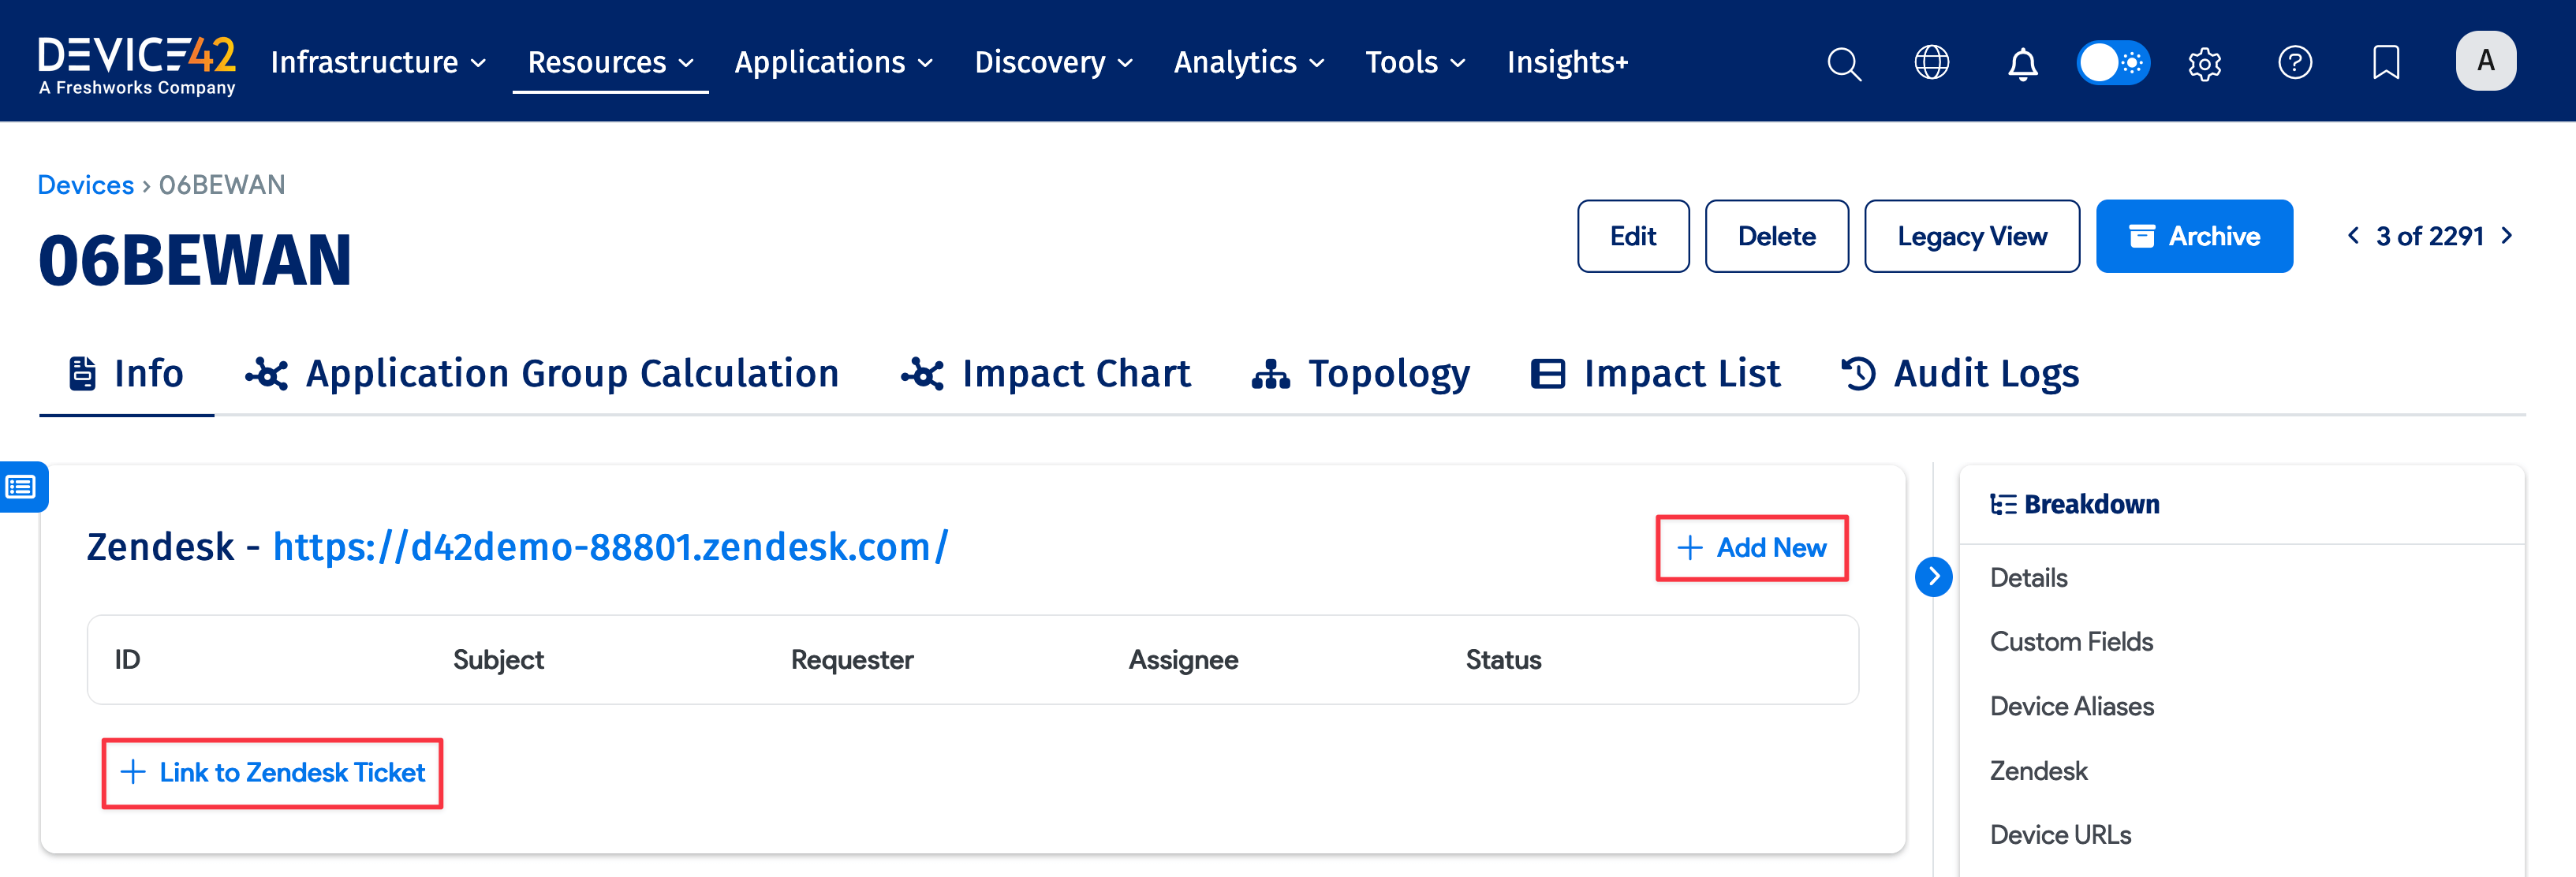
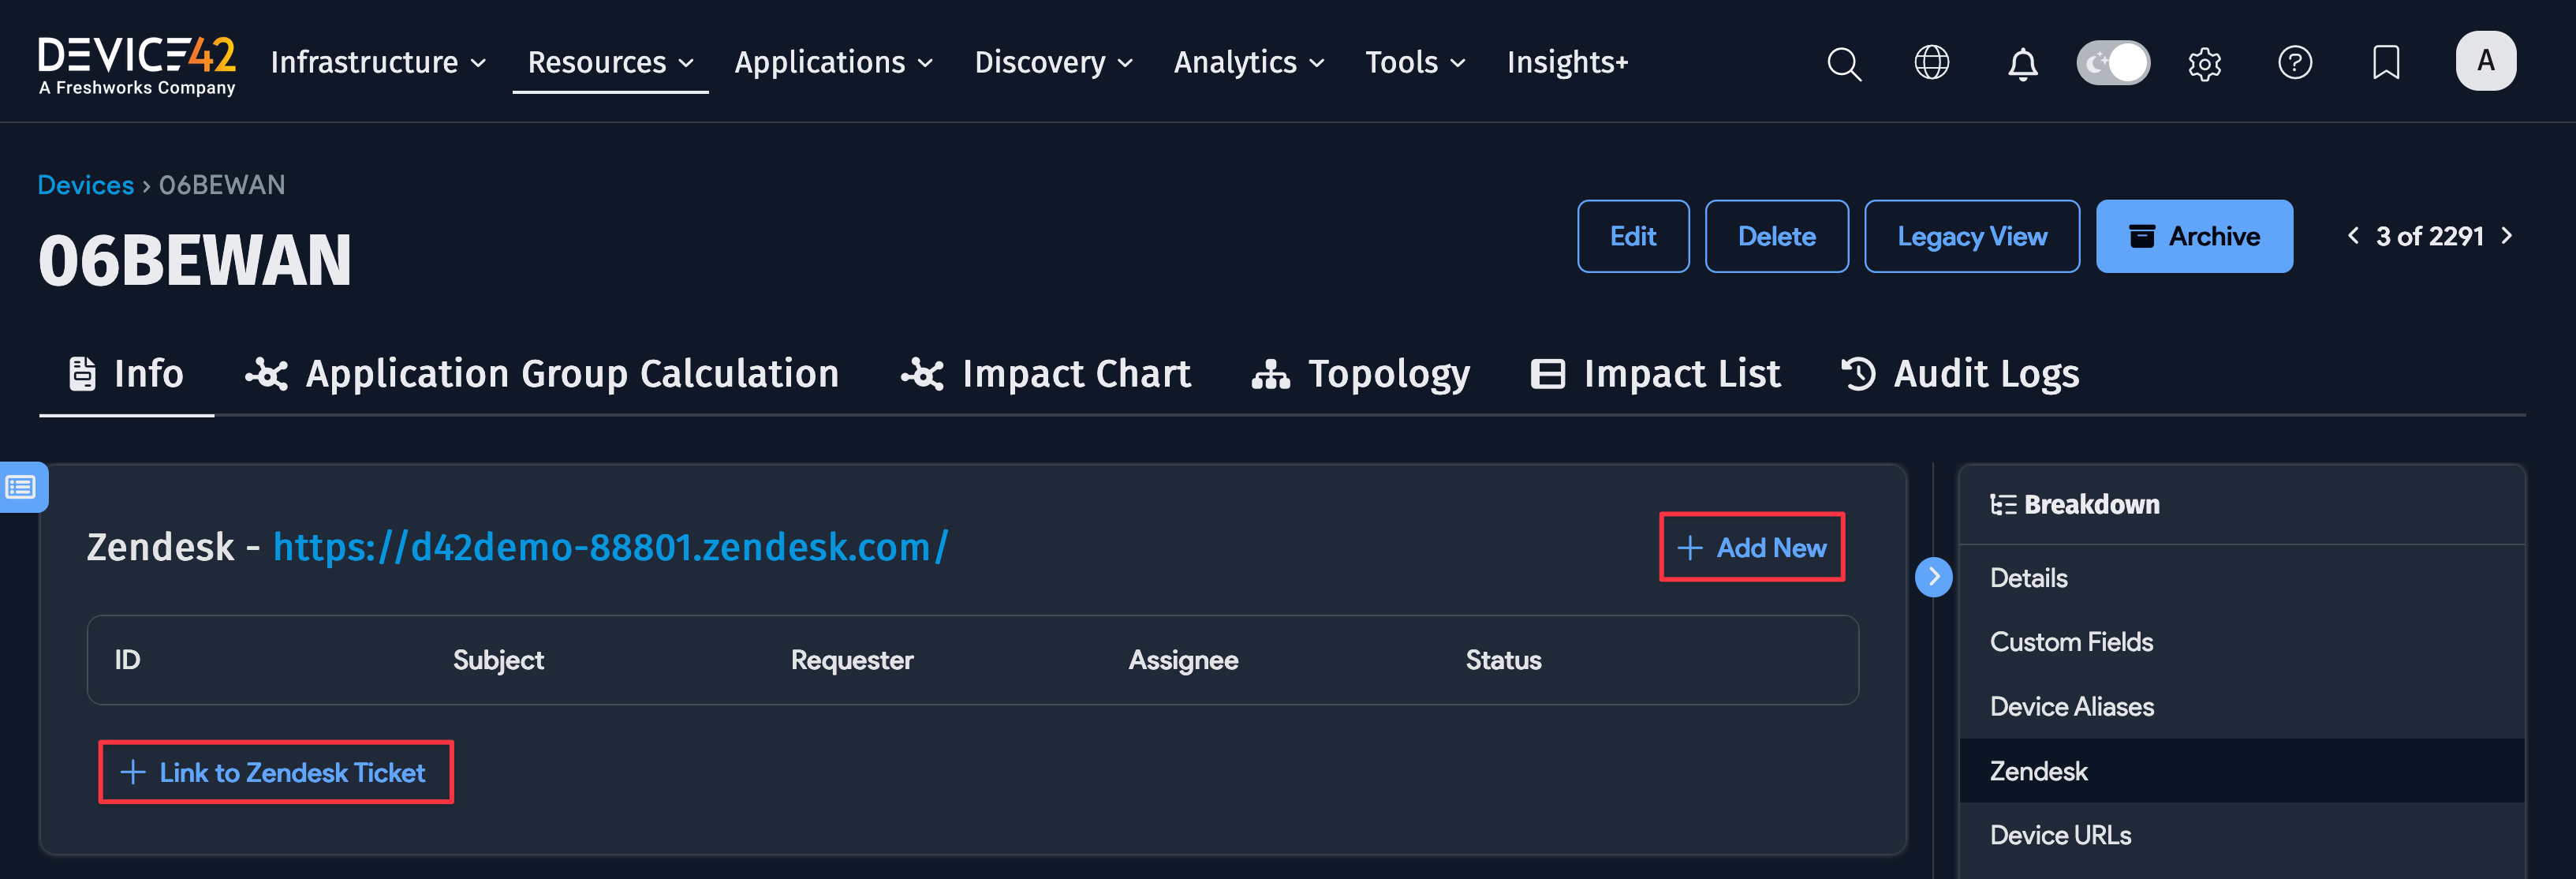
- In Device42, navigate to any device, building, room, or CI, and find the Zendesk section:
-
Click + Link to Zendesk ticket to link an existing ticket by entering the ticket's ID or URL.
-
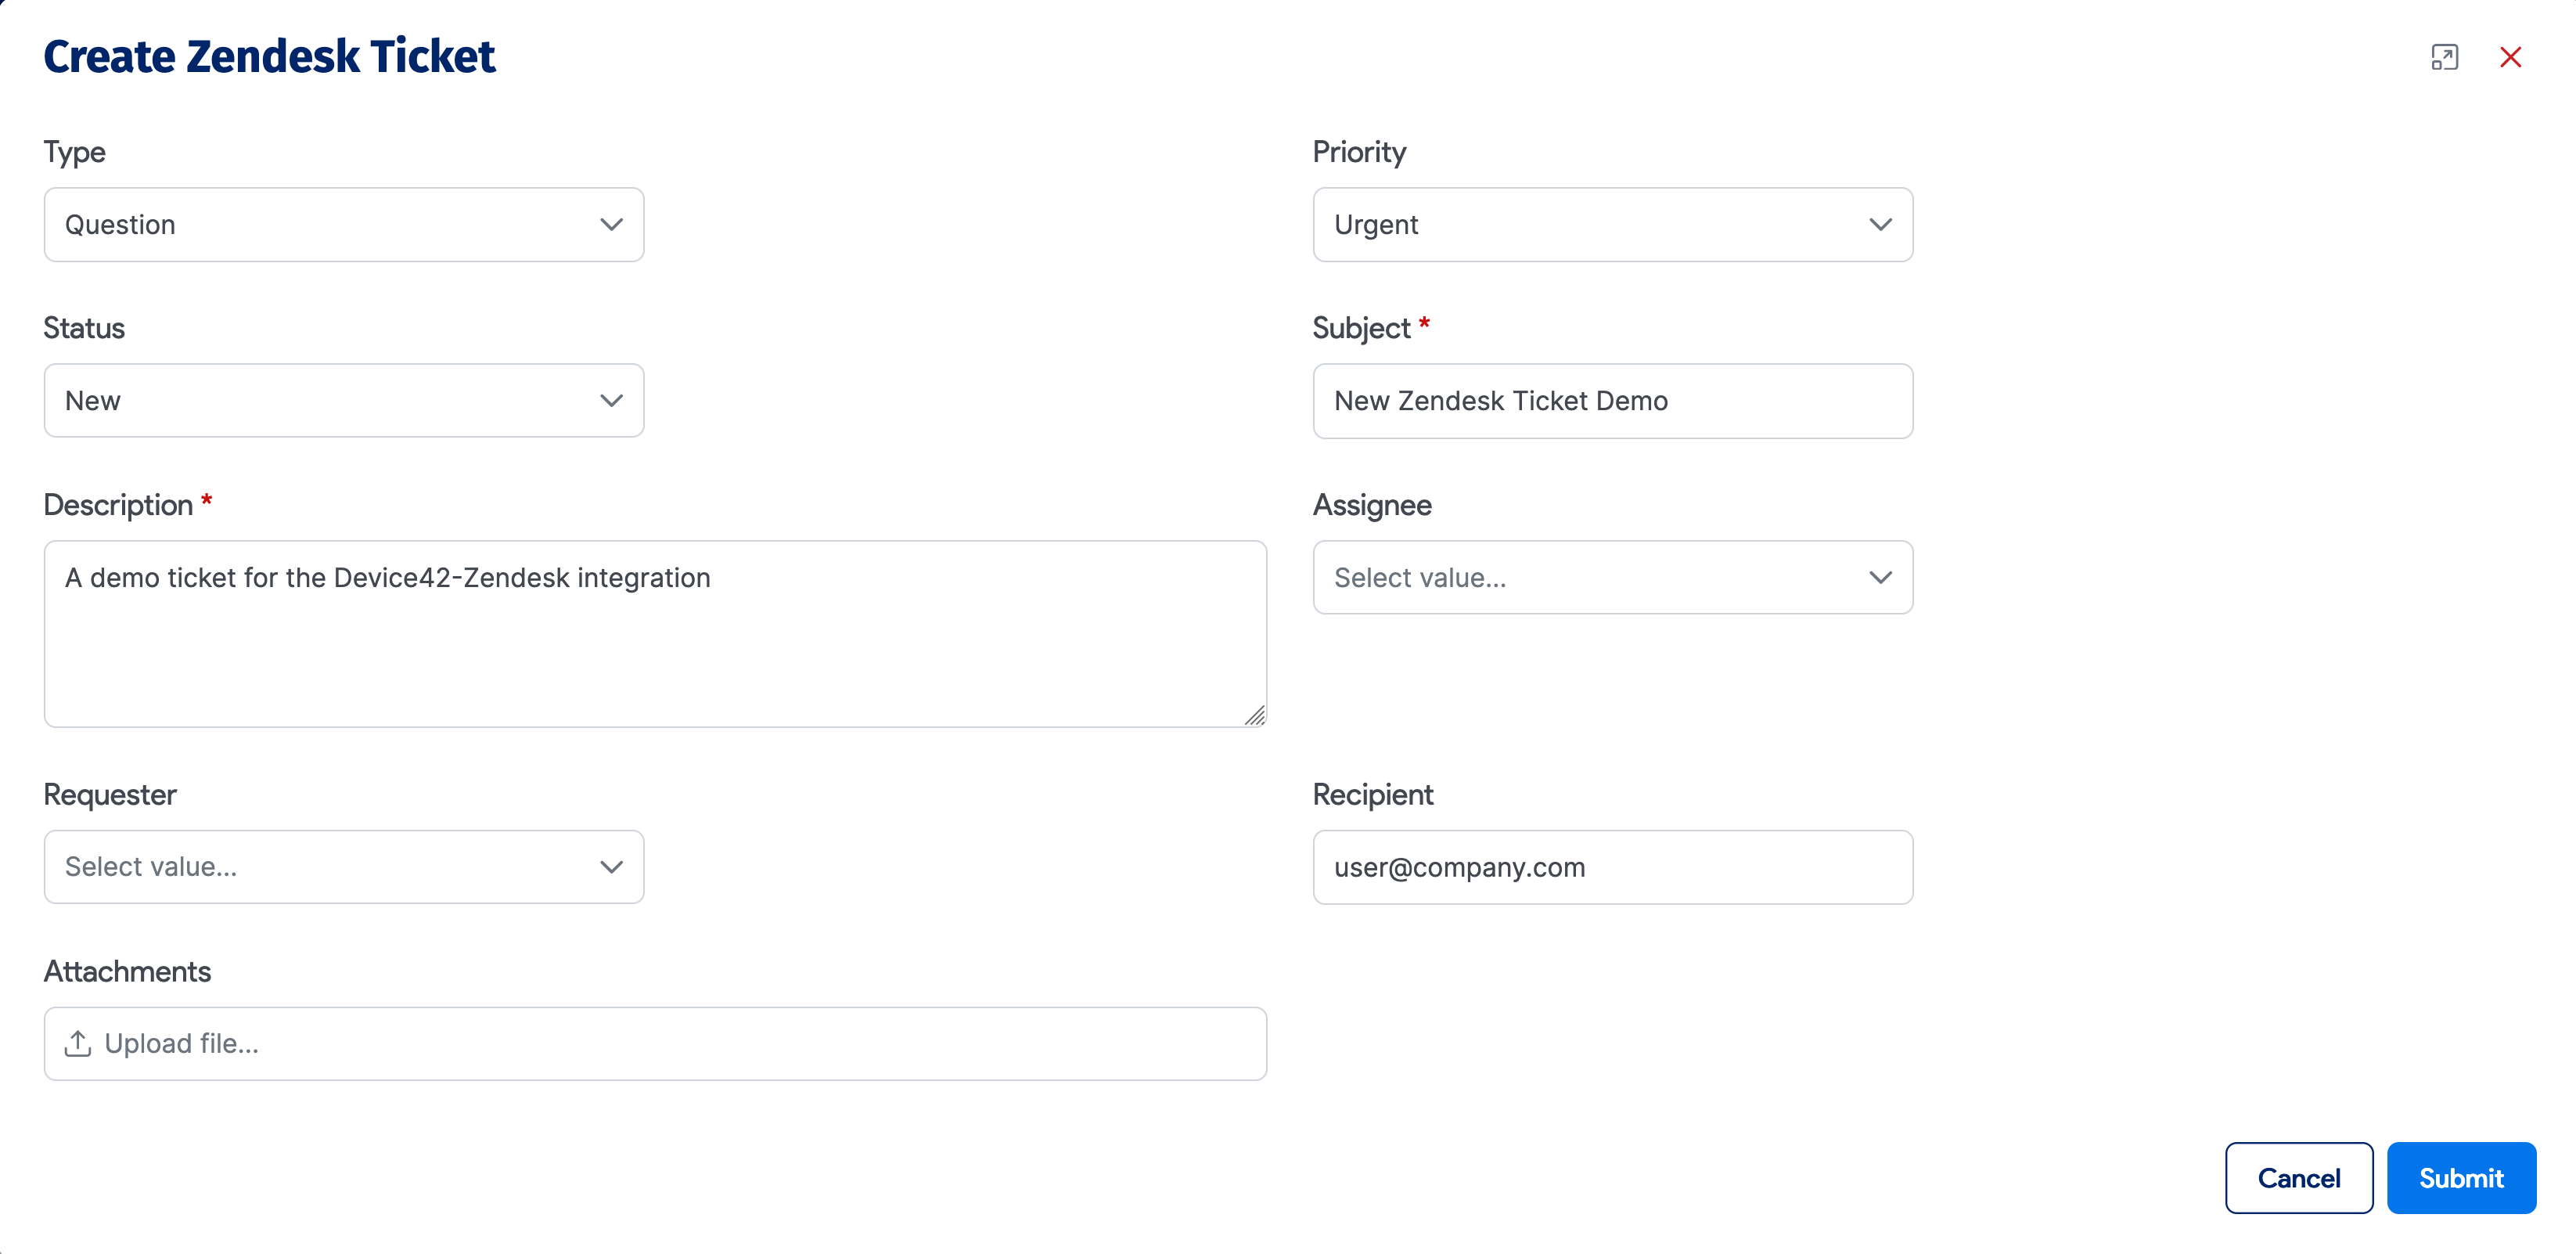
Click + Add New to create a new ticket:
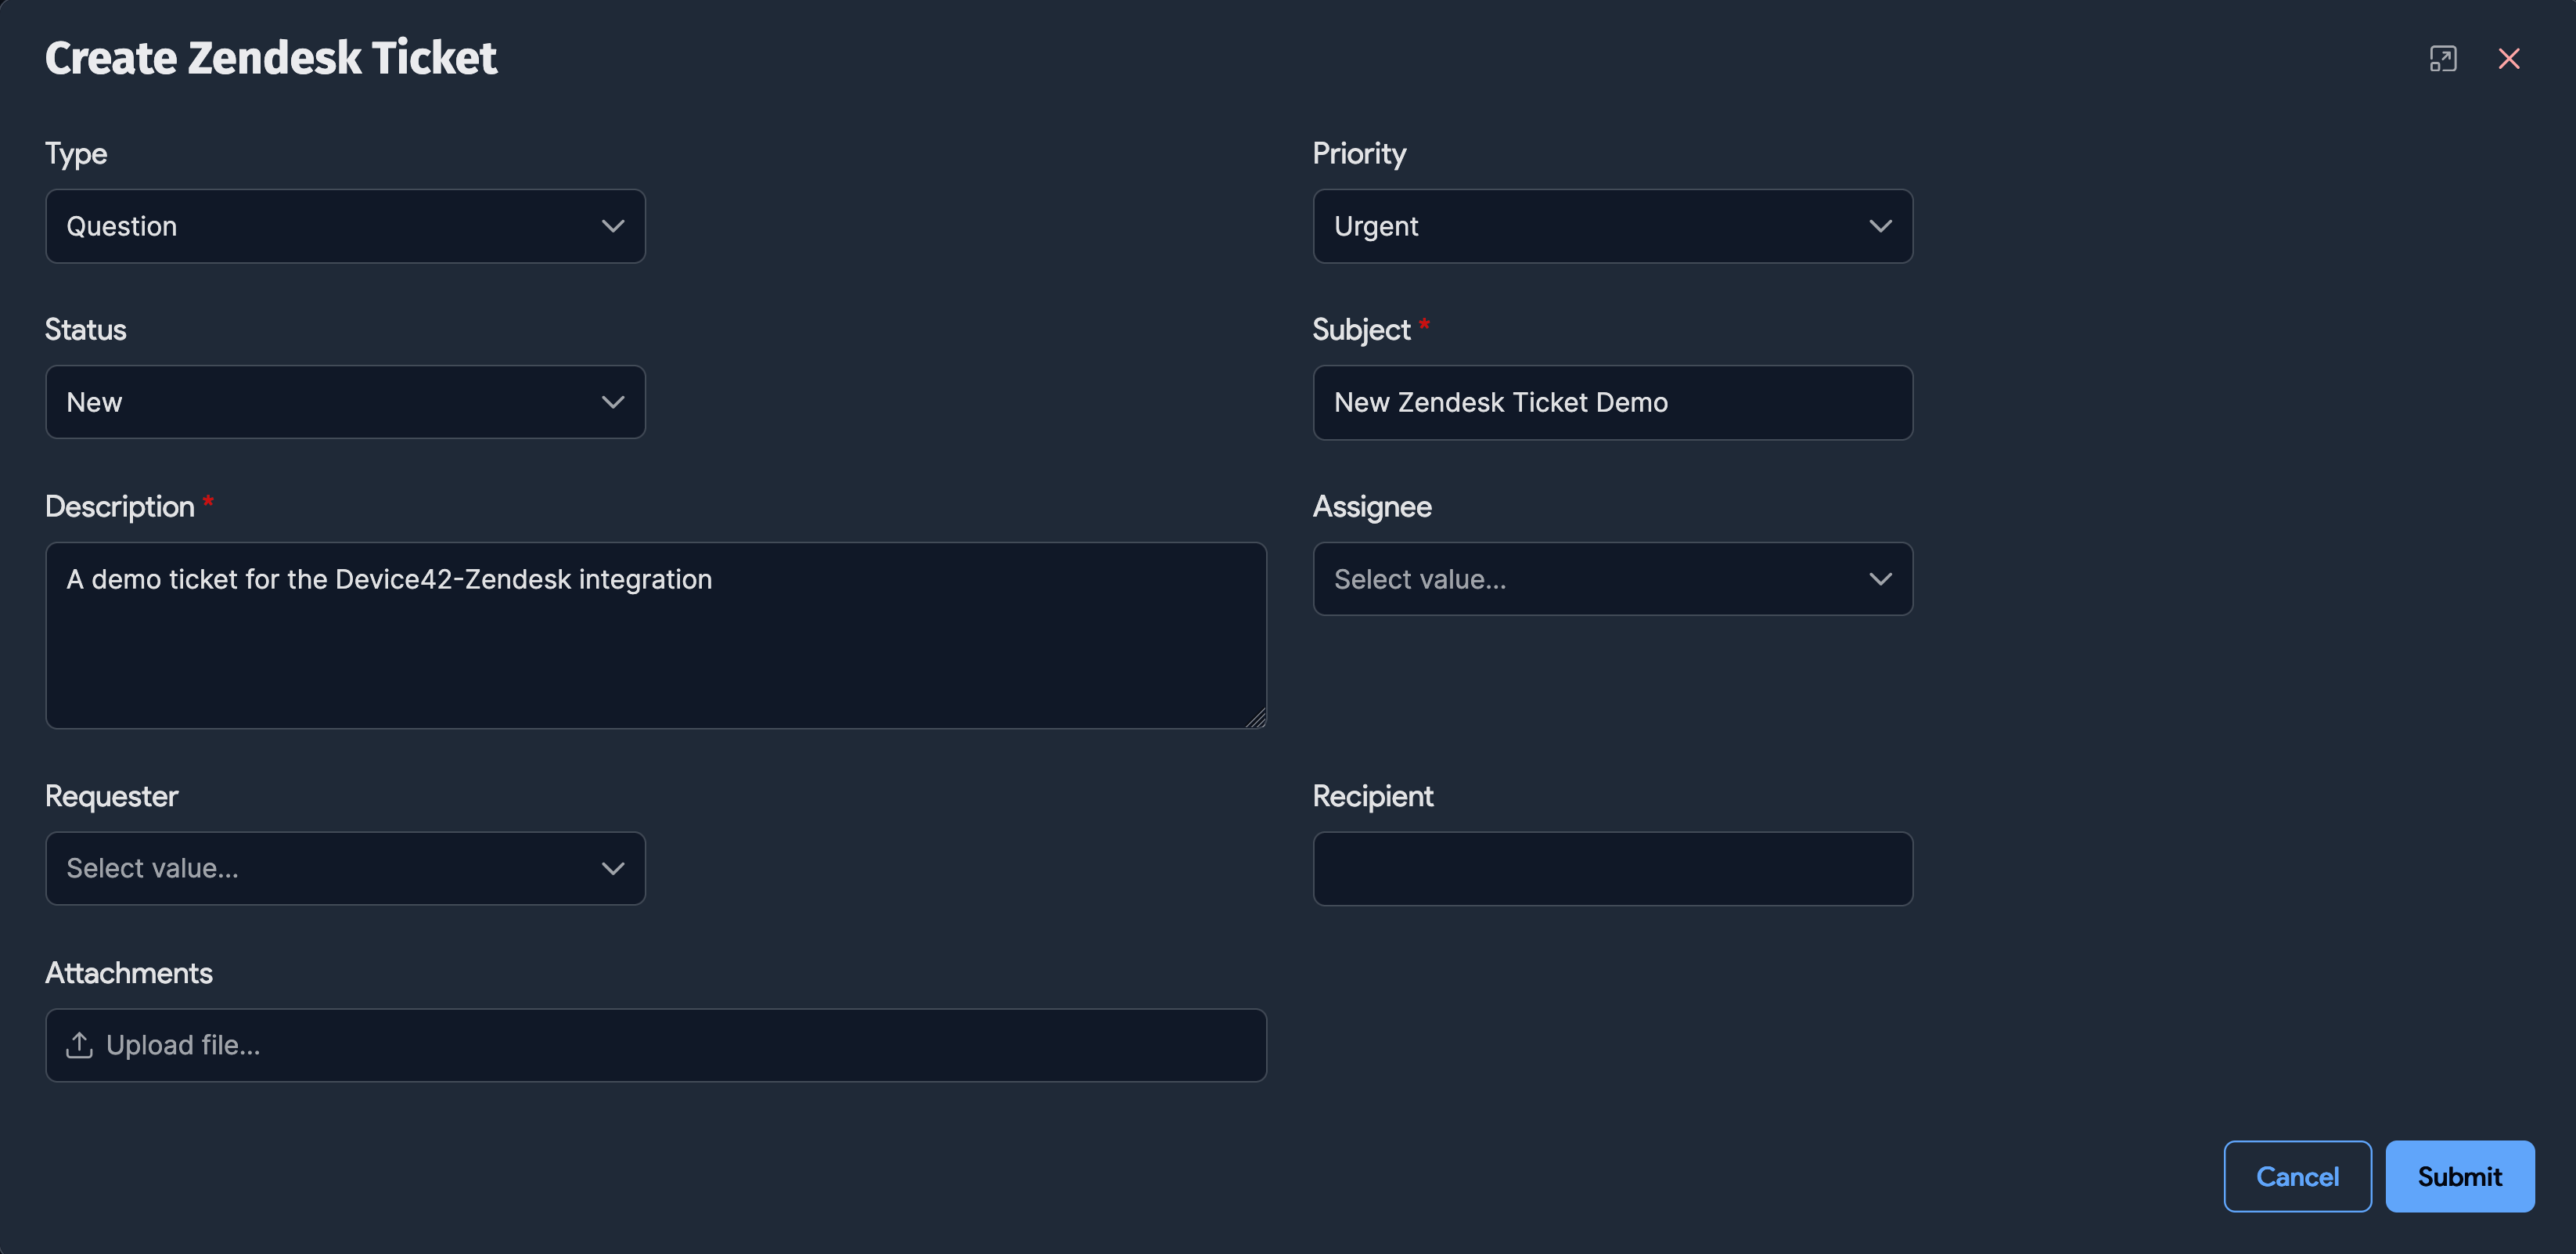
-
Click Submit.
You will receive email confirmation that the ticket was created. The new ticket is listed as an attachment:
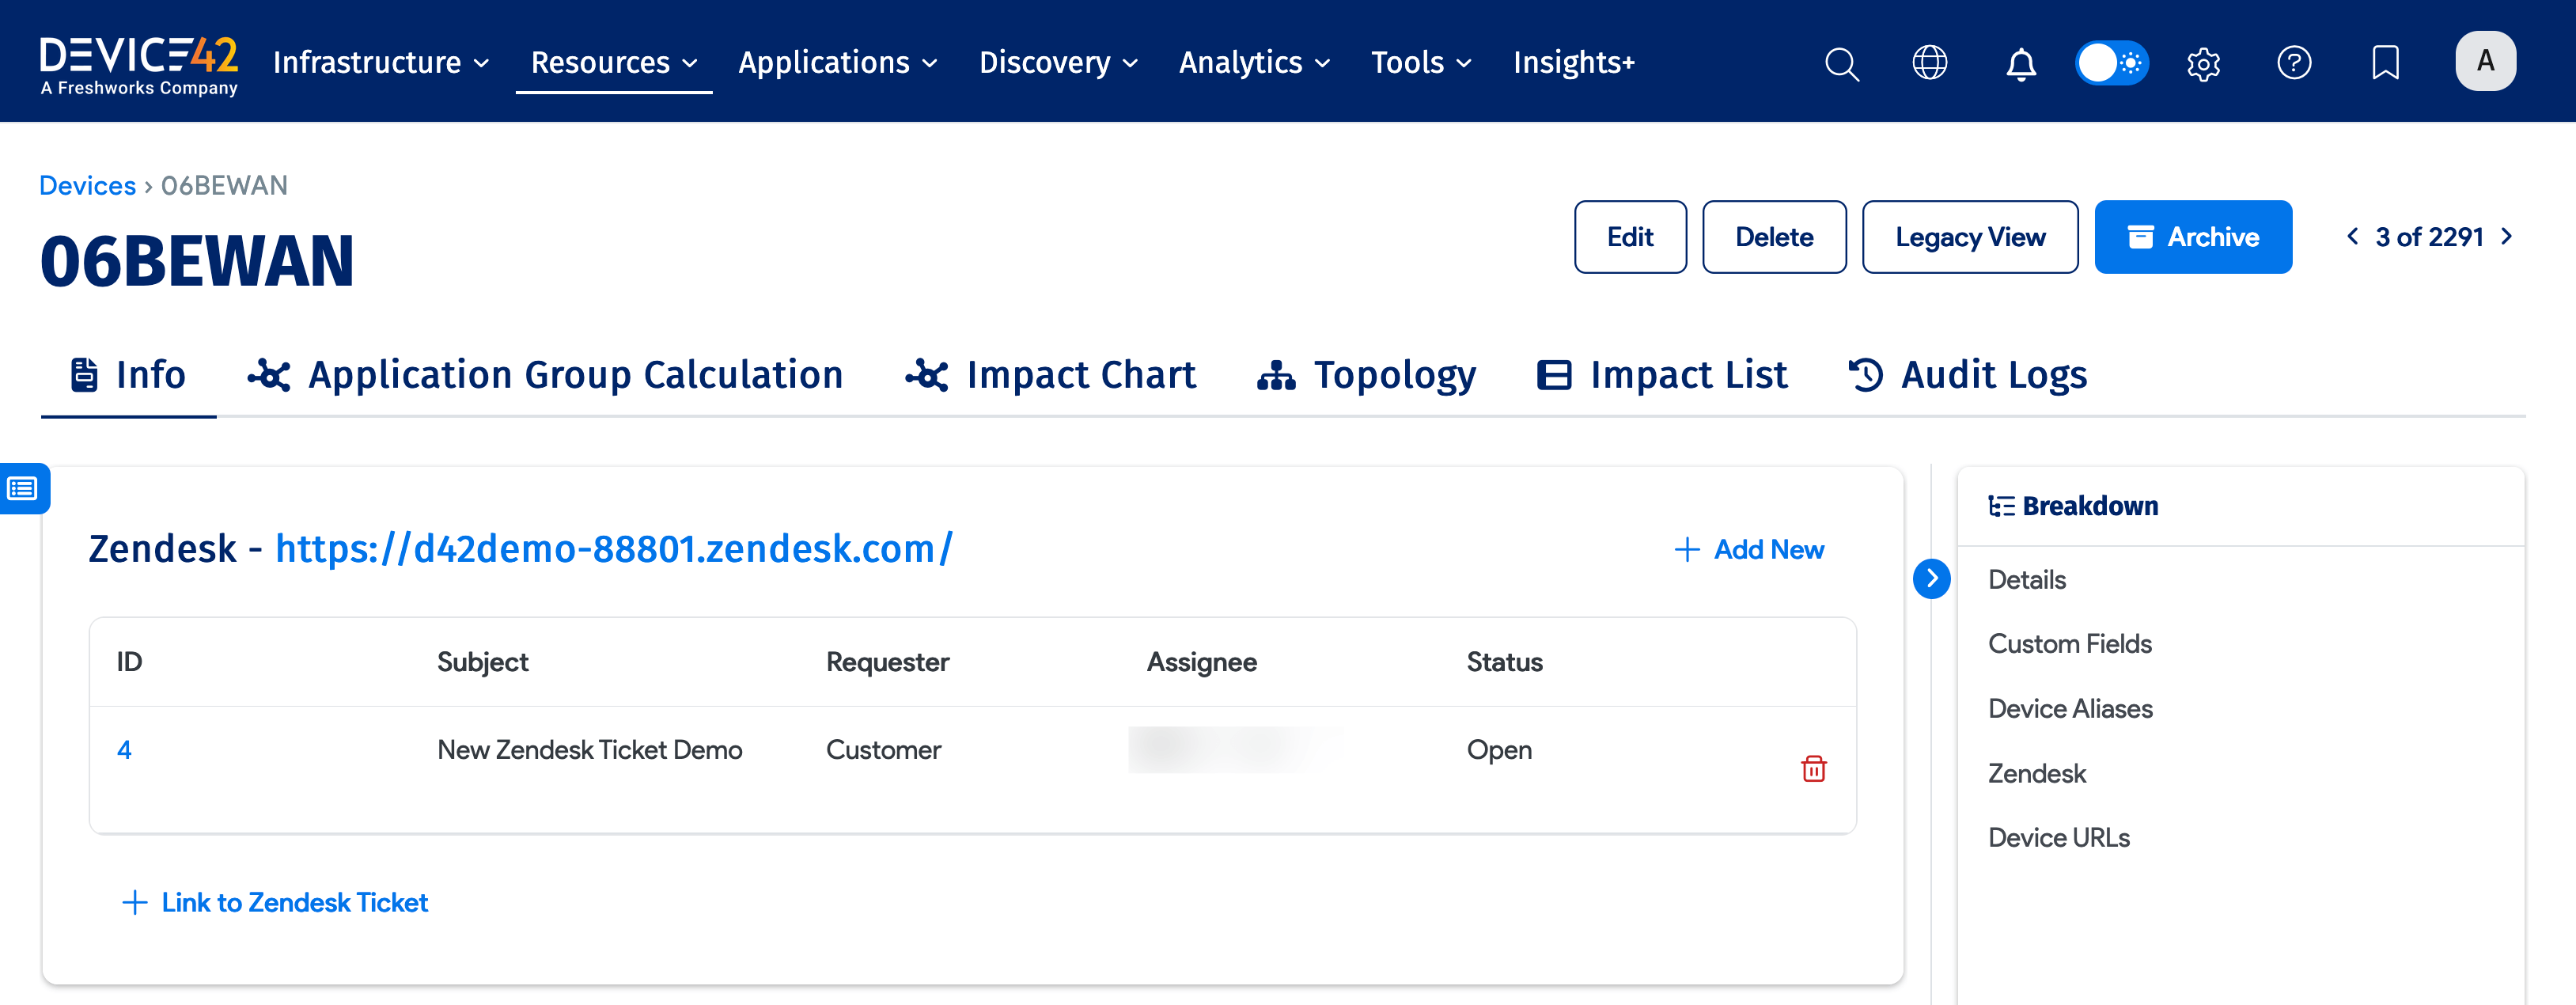
Tickets created in Zendesk include a link to the associated CI in Device42: