ODBC Driver Integration
The Device42 ODBC driver lets you connect to Device42 and pull data externally as an ODBC (Open Database Connectivity) data source. The driver installs on Microsoft Windows and supports generic ODBC connectivity as well as connecting Microsoft PowerBI to your Device42 ODBC data source.
Download the Device42 ODBC driver from the Device42 Miscellaneous Tools Download page.
ODBC System Requirements
The following are required to connect to Device42 via ODBC:
- A current Device42 installation that is properly configured, licensed, running, and accessible.
- A host system for the Device42 ODBC driver running Microsoft Windows.
- PowerBI software, if you want to follow the tutorial below to connect to the Device42 ODBC data source.
Install the Device42 ODBC Driver
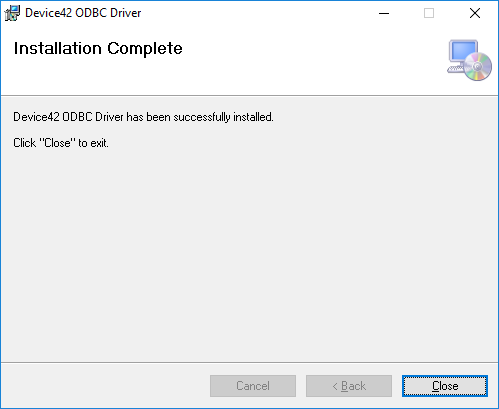
Download the .exe installer from the Device42 Miscellaneous Tools page. Double-click the installer on a Microsoft Windows host. Follow the instructions on the screen. Click Next until you see Installation Complete:
Connect PowerBI to the Device42 ODBC Data Source
The Device42 ODBC driver works with Microsoft PowerBI to connect directly to your Device42 CMDB. For details, see the Microsoft PowerBI Integration documentation.
Create a DSN
To create or pre-define a DSN (Data Source Name), open the Windows ODBC Data Source Administrator:
- Windows 10: Click Start > Windows Administrative Tools > ODBC Data Sources (64-bit).
- Windows 7: Click Start > All Programs > Administrative Tools > Data Sources (ODBC).
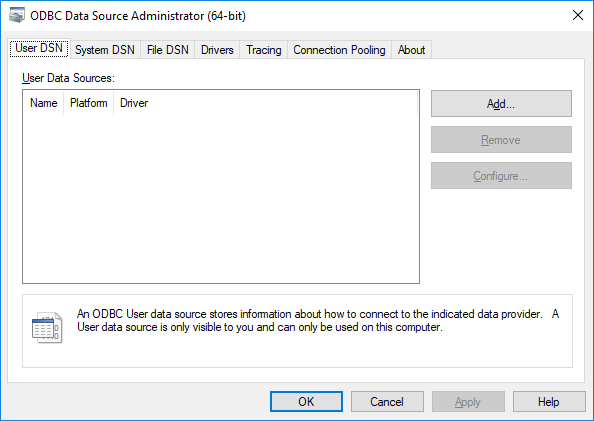
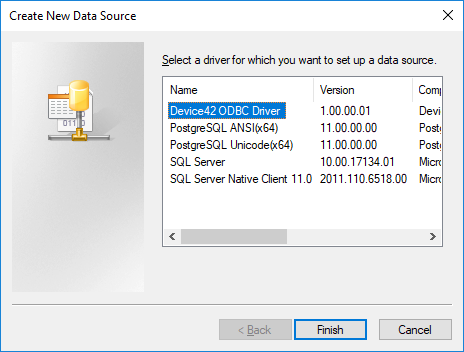
- Click Add to begin adding a new data source. In the Create New Data Source window, choose Device42 ODBC Driver and click Finish:
- On the Device42 ODBC Driver DSN Configuration screen, enter values as described below:

- DSN Name: The name to identify this DSN.
- Server Host: The host name of the Device42 server.
- Port: The port number that the Device42 server uses for requests. The default is the standard SSL port
443. If you leave this field blank, it also defaults to443. - Username: The username you use to log in to Device42.
- Password: The password you use to log in to Device42.
The ODBC connection requires a valid SSL certificate on your Device42 instance, otherwise the connection will fail. If you're using Device42 for internal use only and don't have a valid certificate, you can upload a self-signed certificate to your Main Appliance and restart the service to get the ODBC connection working.
- Click Test to try connecting using the information you specified. You will receive a message indicating whether the connection succeeded. If it did not, verify the information you entered.
- Click Save to save the DSN. Changes are only saved if the connection is successful.
The Device42 ODBC DSN is now configured and available for use in PowerBI.
Import Data Into MS SQL Server
Using the Device42 ODBC driver, you can import data directly into SQL Server. The following instructions are for Windows 10 and may differ from other versions of Windows.
Prepare for the Import
- Begin by copying the Mapping files (The mapping files control how data types from the Device42 ODBC Driver map to Microsoft SQL Server data types).
- Start the SQL Server Import and Export Wizard.
- Start Task Manager.
- Browse to the location of the SQL Server Import and Export Wizard executable and right-click it. Note that the name may end with
32 bitor64 bit, and the.exefile extension.
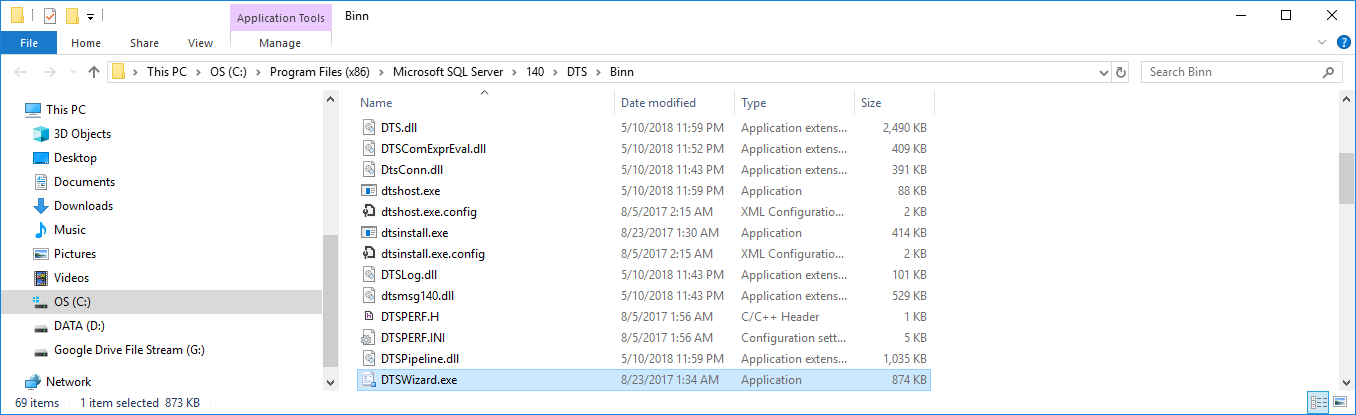
- Click Open file location and go up one level to the
DTSfolder, then open theMappingFilesfolder. - Open another Windows Explorer window and navigate to
C:\Program Files\Device42\Device42 ODBC Driver\MS SQL Server Mapping Files. - Copy
D42ODBCToMSSql10.XMLandD42ODBCToSSIS10.XMLinto theDTS\MappingFilesfolder you found in step 2. - Close and restart the SQL Server Import and Export Wizard for the mapping files to take effect.
SQL Server Data Import Procedure
These instructions apply to SQL Server Management Studio v17.9.1 and may differ from other versions.
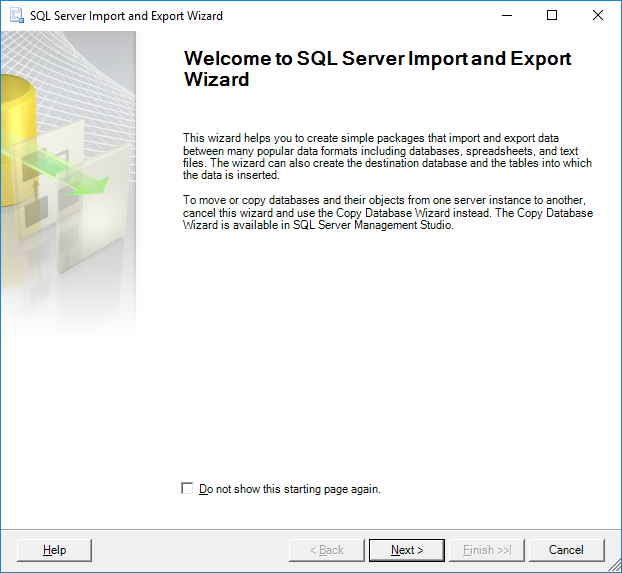
- Start the SQL Server Import and Export Wizard and click Next:
- Select .Net Framework Data Provider for ODBC as the data source:
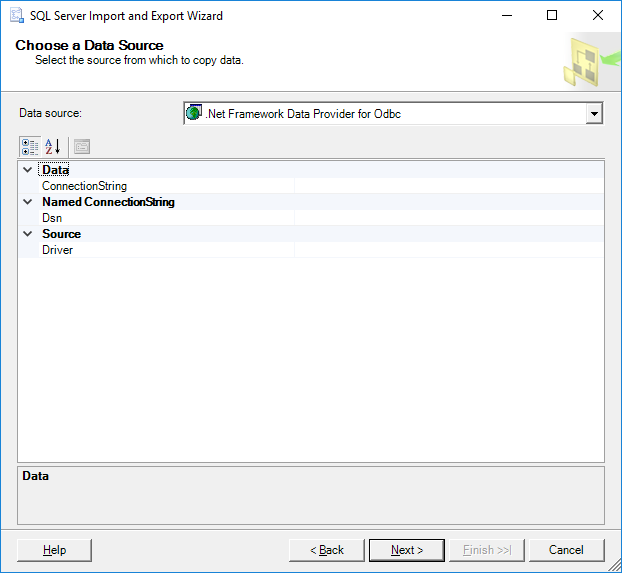
- Enter a connection string or DSN for the Device42 ODBC Driver, then click Next.
- Select SQL Server Native Client 11.0 as the destination:
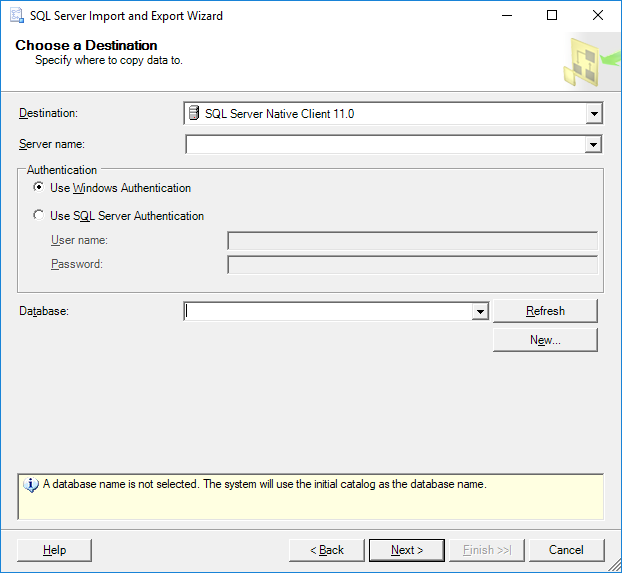
- Enter the server and database to import data into, along with authentication details with the appropriate permissions.
- Choose how to select Device42 data — from a table or view, or using a query — then click Next:
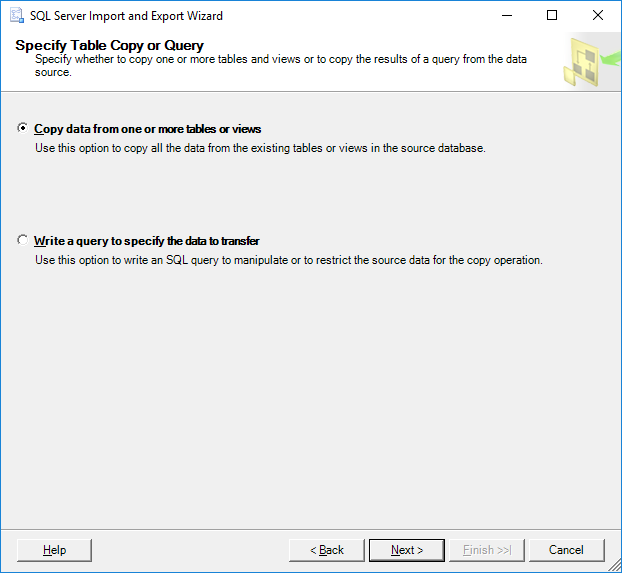
- If you selected Write a query to specify the data to transfer, enter your query. Otherwise, skip this step.
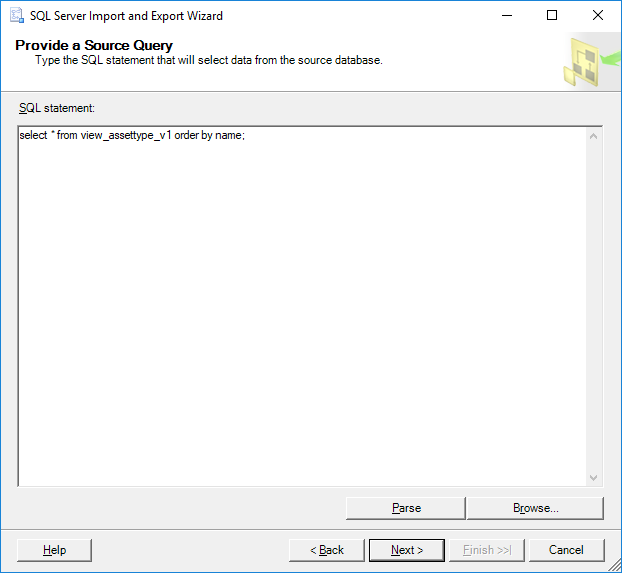
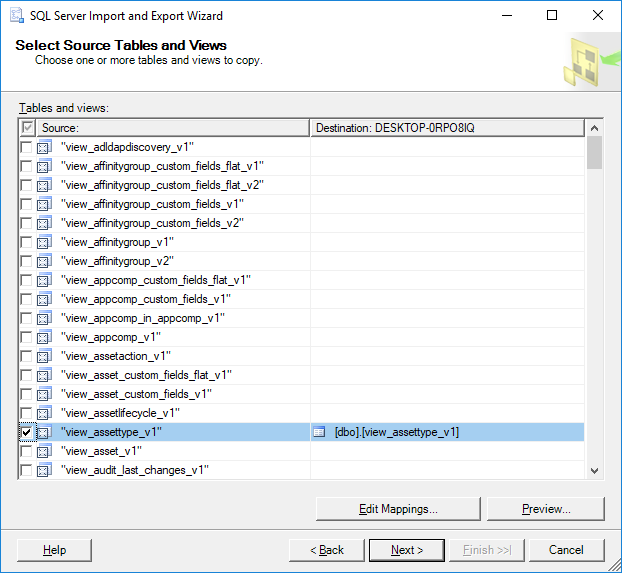
- If you selected Copy data from one or more tables or views, select the views you want to copy:
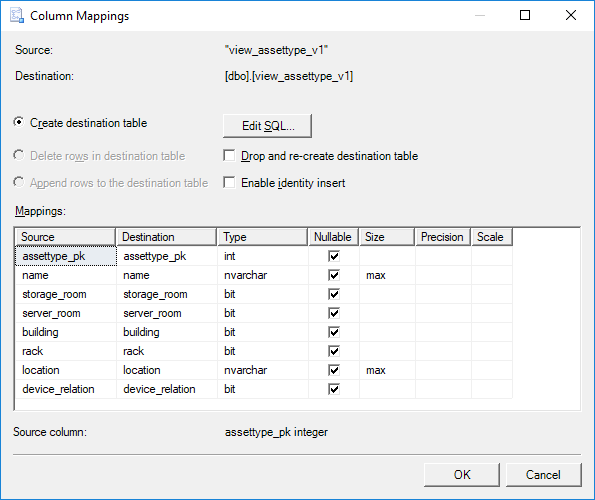
- Click Edit Mappings to review or change which data will be copied and the attributes of the destination columns, such as data type:
- Close the Column Mappings window, then click Preview to see a sample of the data that will be copied:
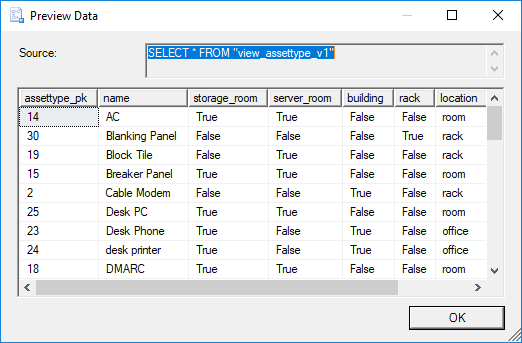
- Close the Preview Data window, then click Next.
- Review the selected data type mappings, then click Next:
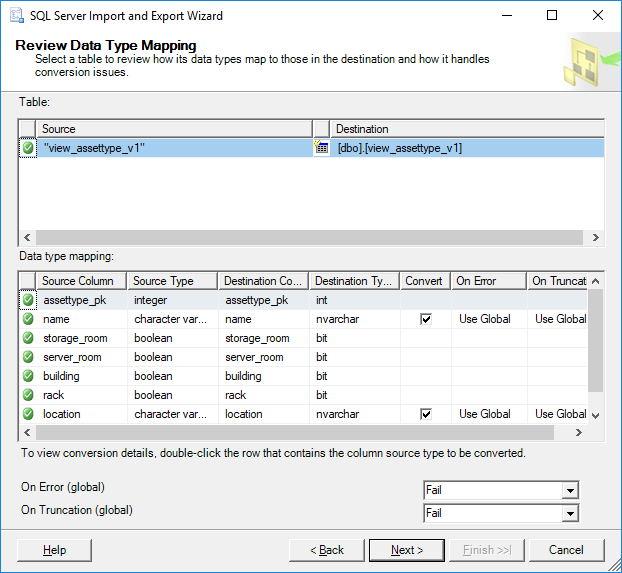
- Choose whether to run the import immediately or save it as an SSIS package:
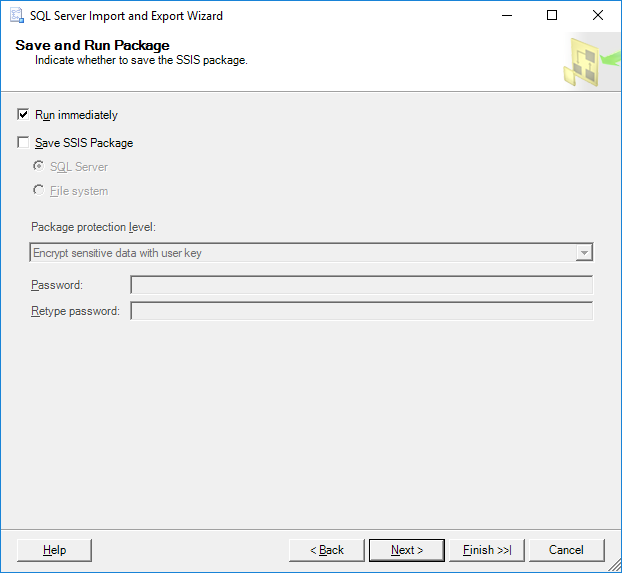
- Click Next and review your selections in the wizard.
- Click Finish to complete the import.
For questions about the Device42 ODBC driver not answered here, open a ticket at support.device42.com or email support@device42.com.