Transferring Devices, Assets, and Parts to Other Data Centers
The Transfer Between Locations feature lets you track devices, assets, PDUs, and spare parts shipped between buildings, keeping a log of transit status, receipt data, and the receiving party. This page covers how to create a transfer and record its receipt.
View the Transfers List Page
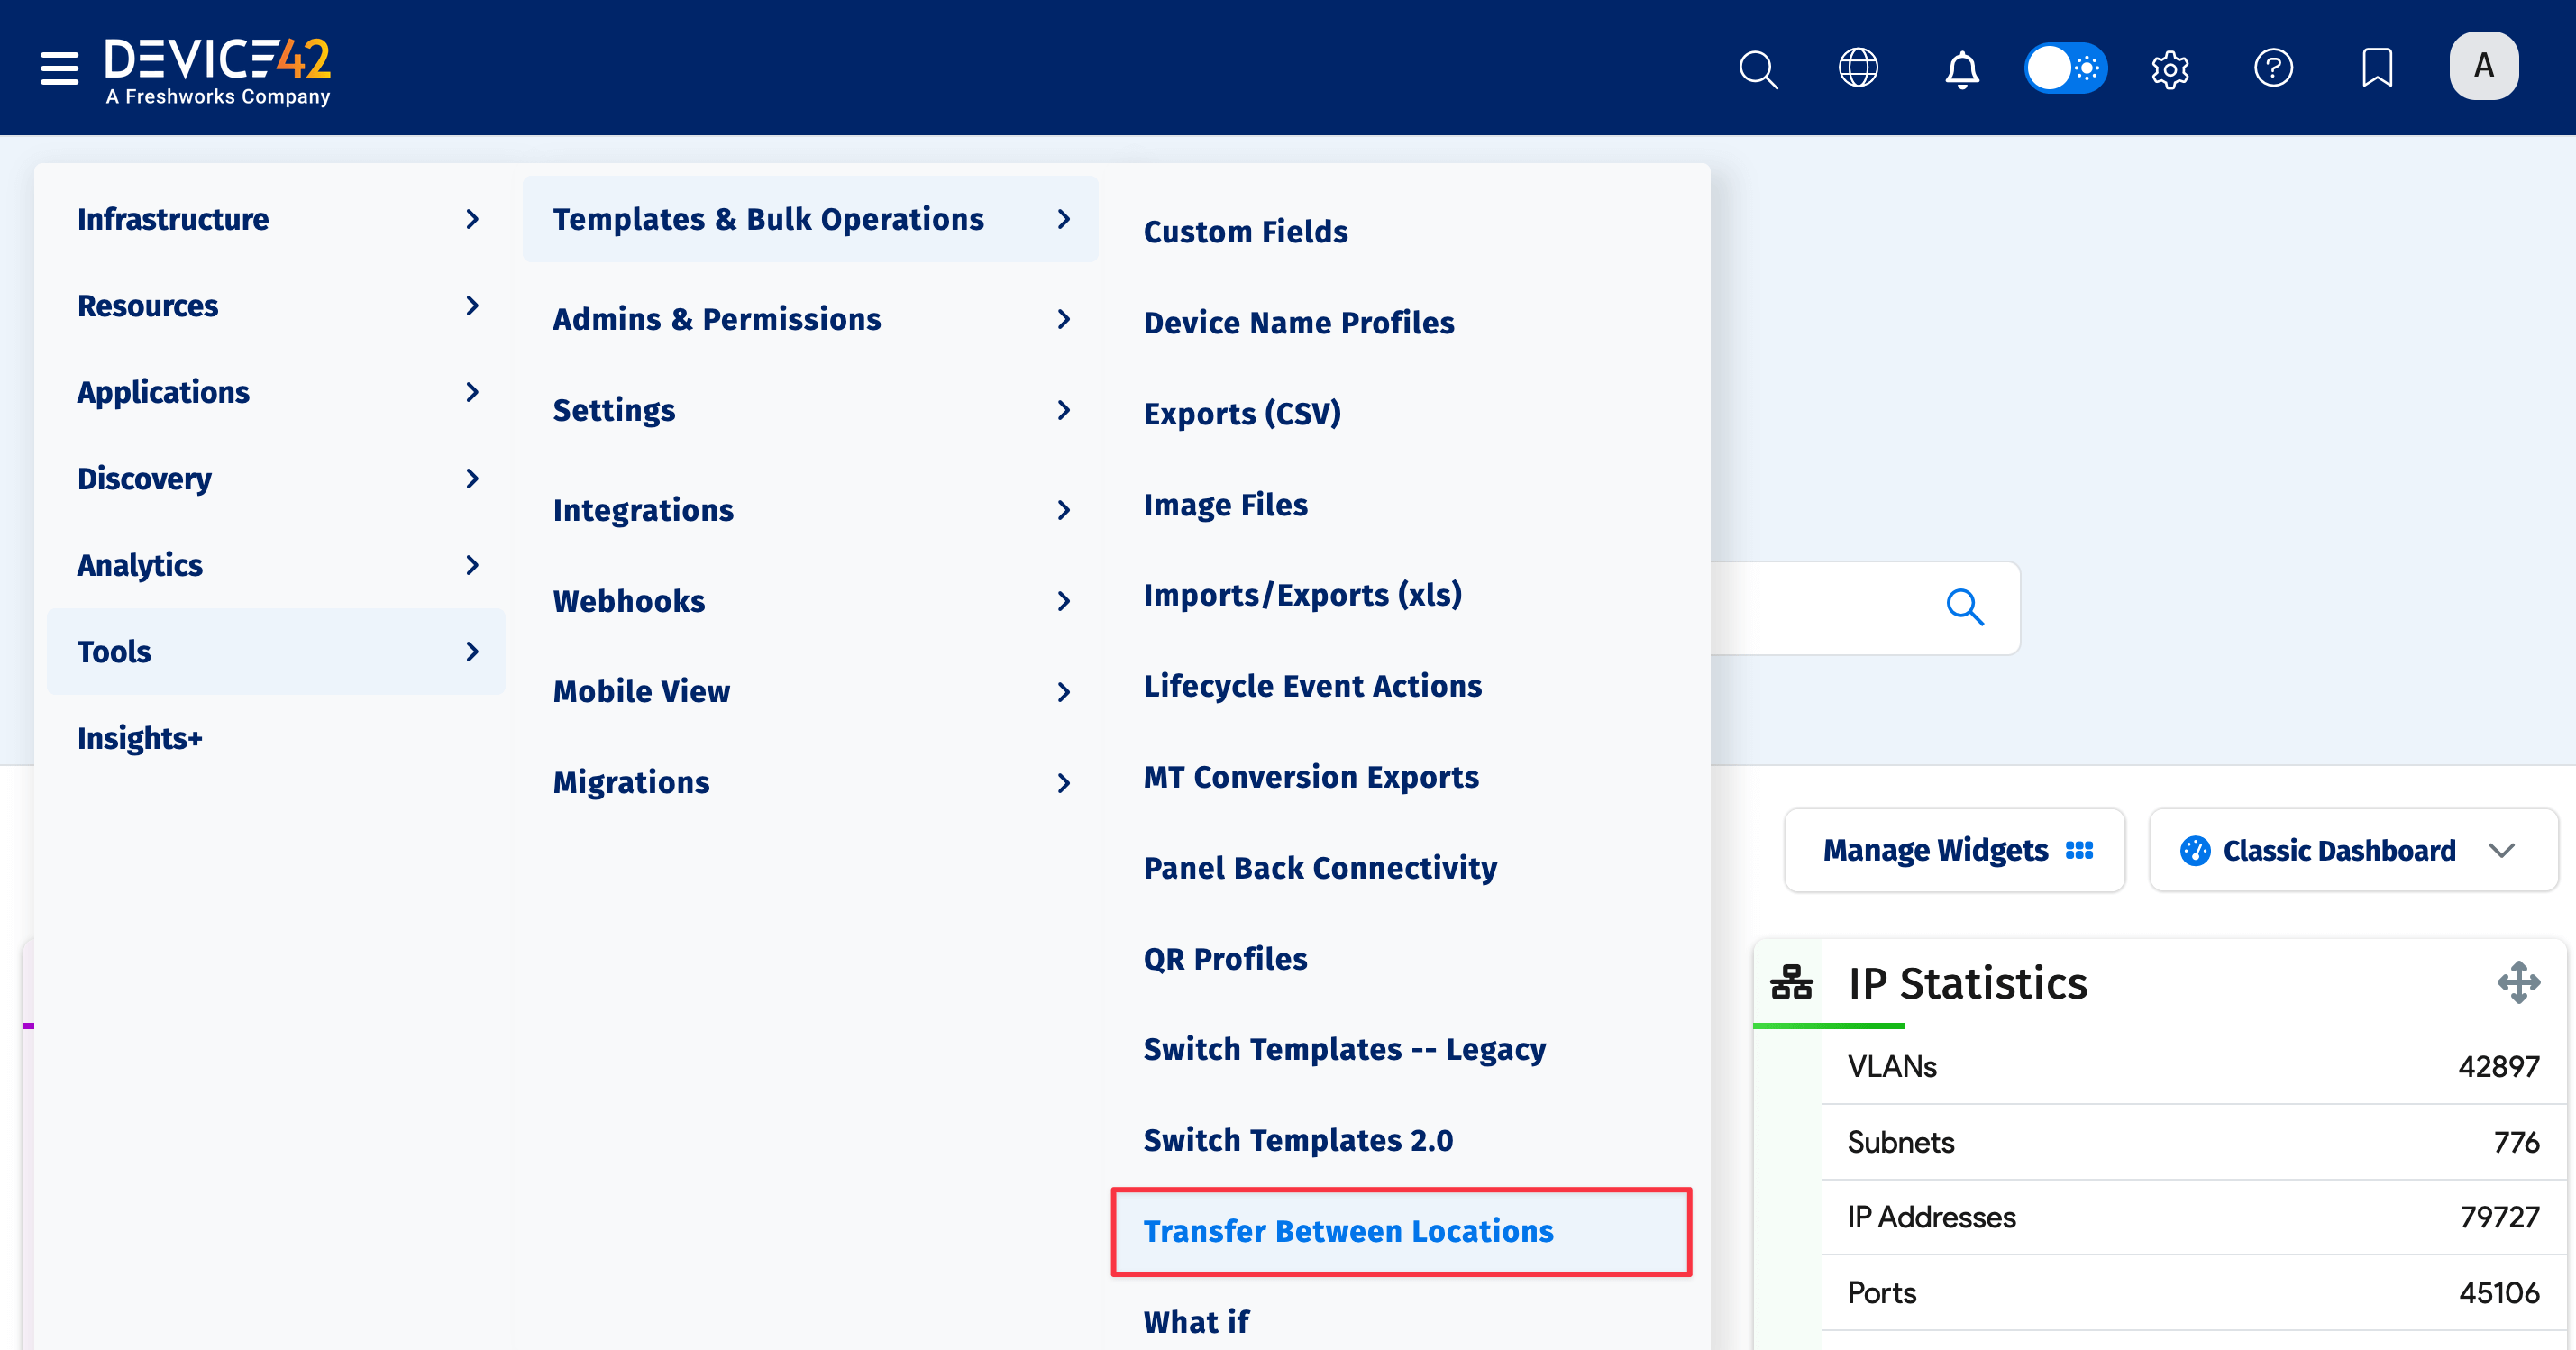
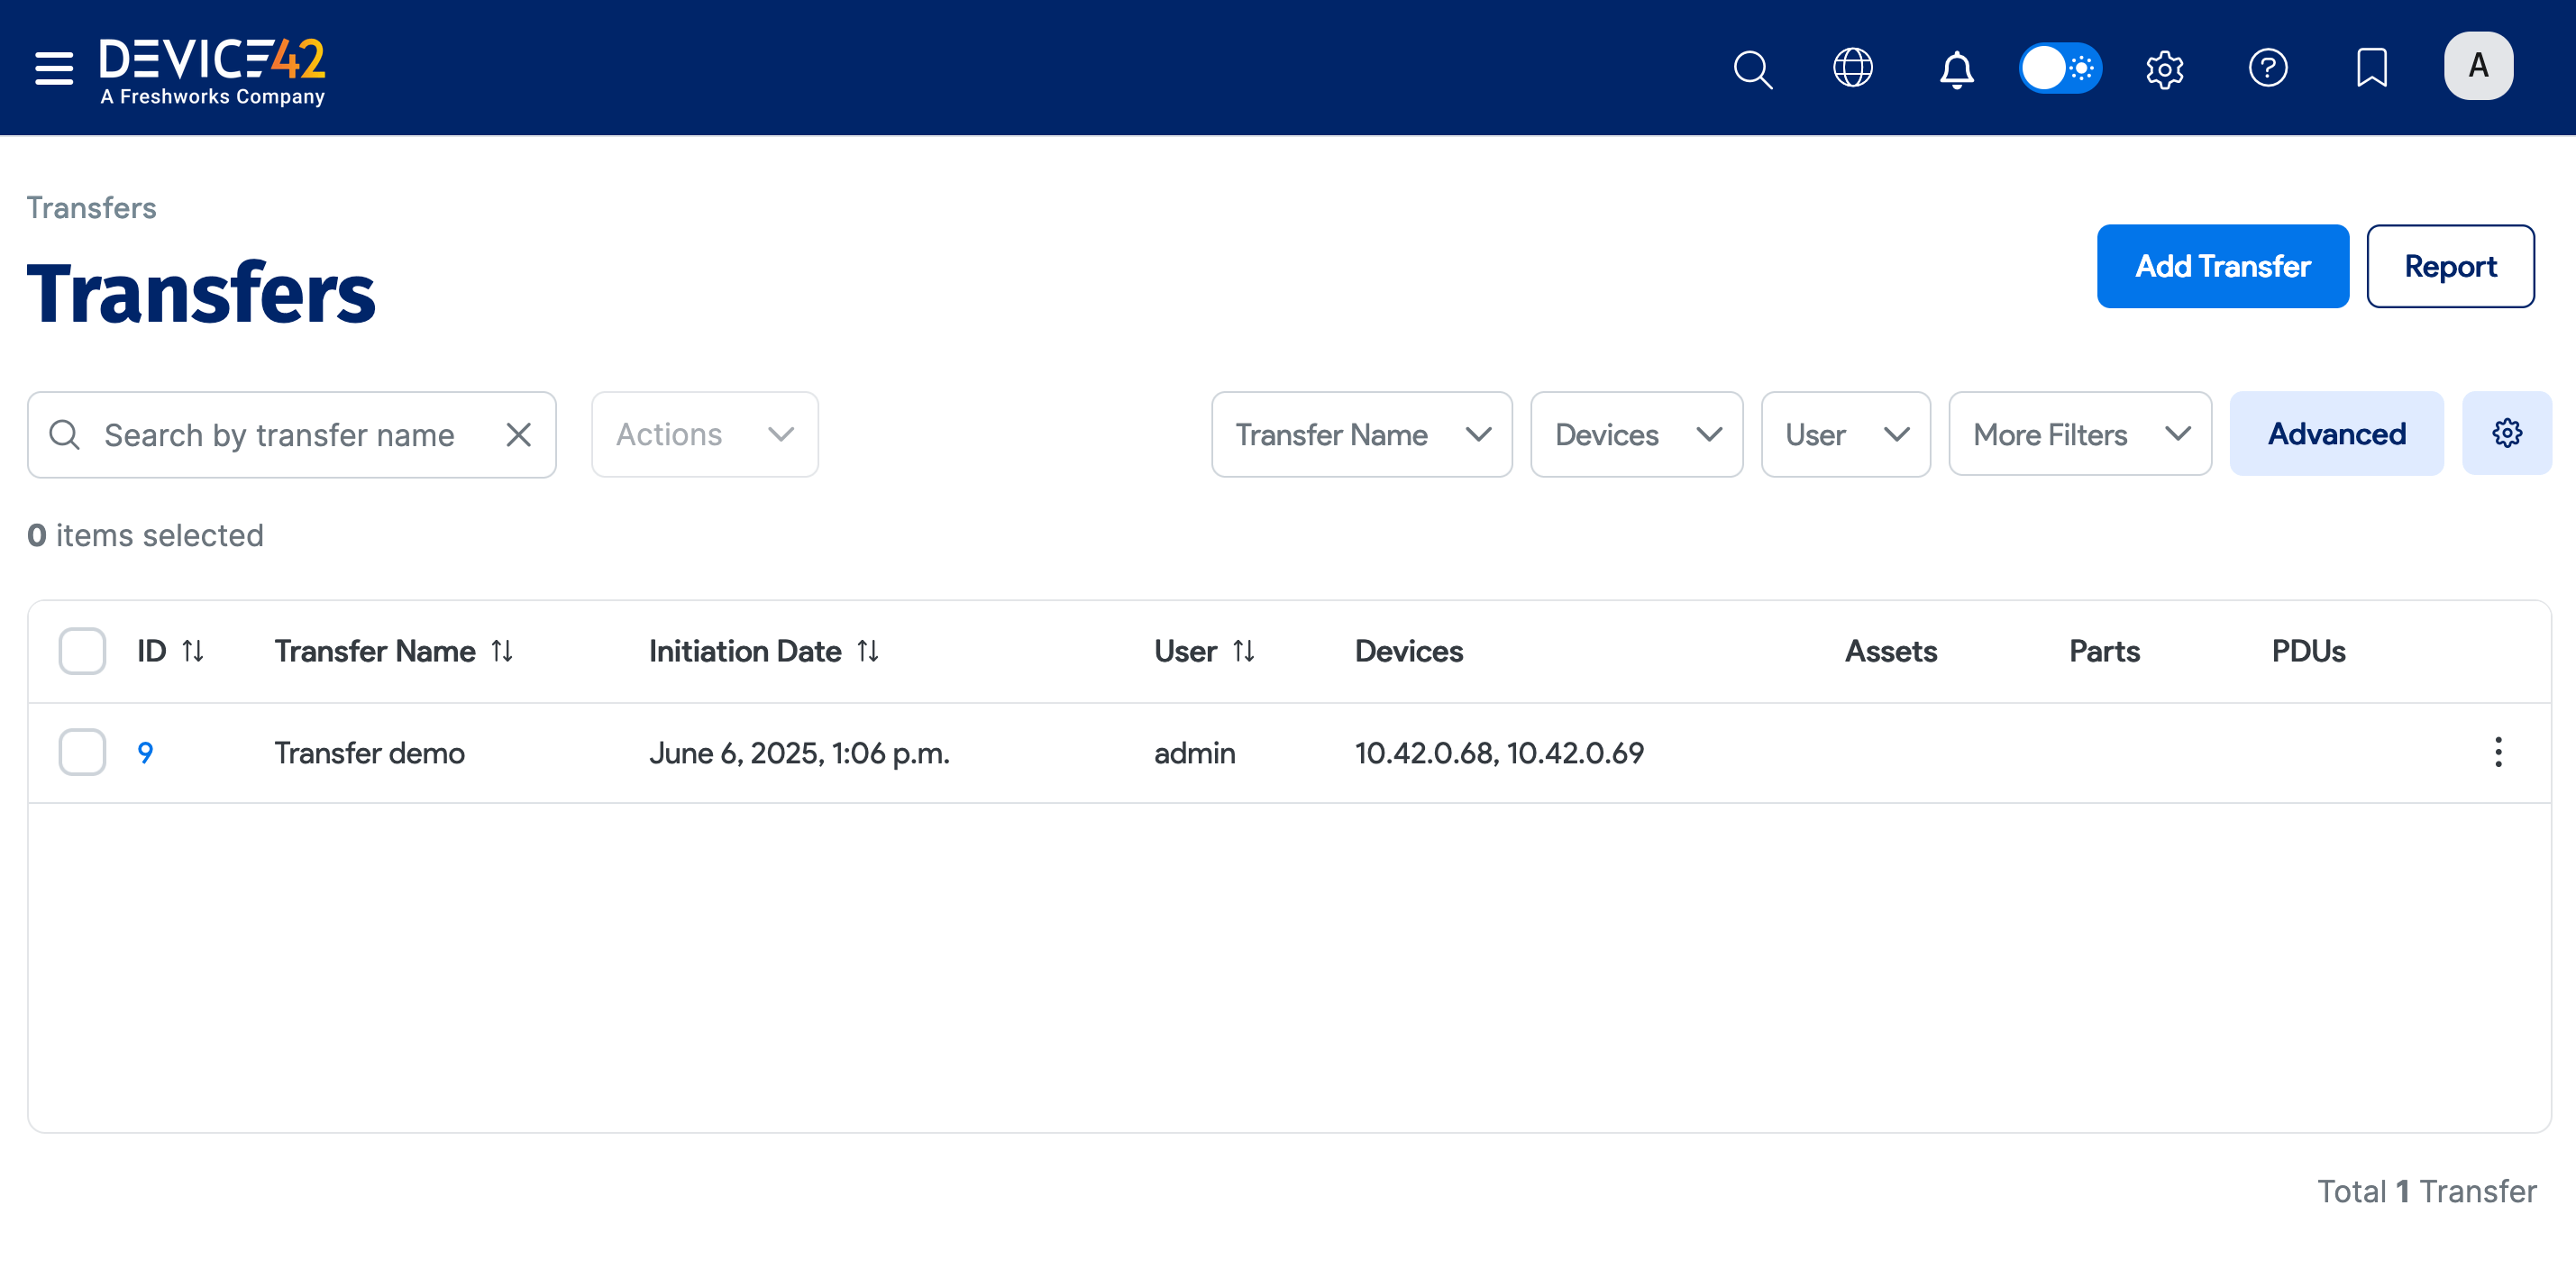
Navigate to the Transfers list page under Tools > Templates & Bulk Operations > Transfer Between Locations.
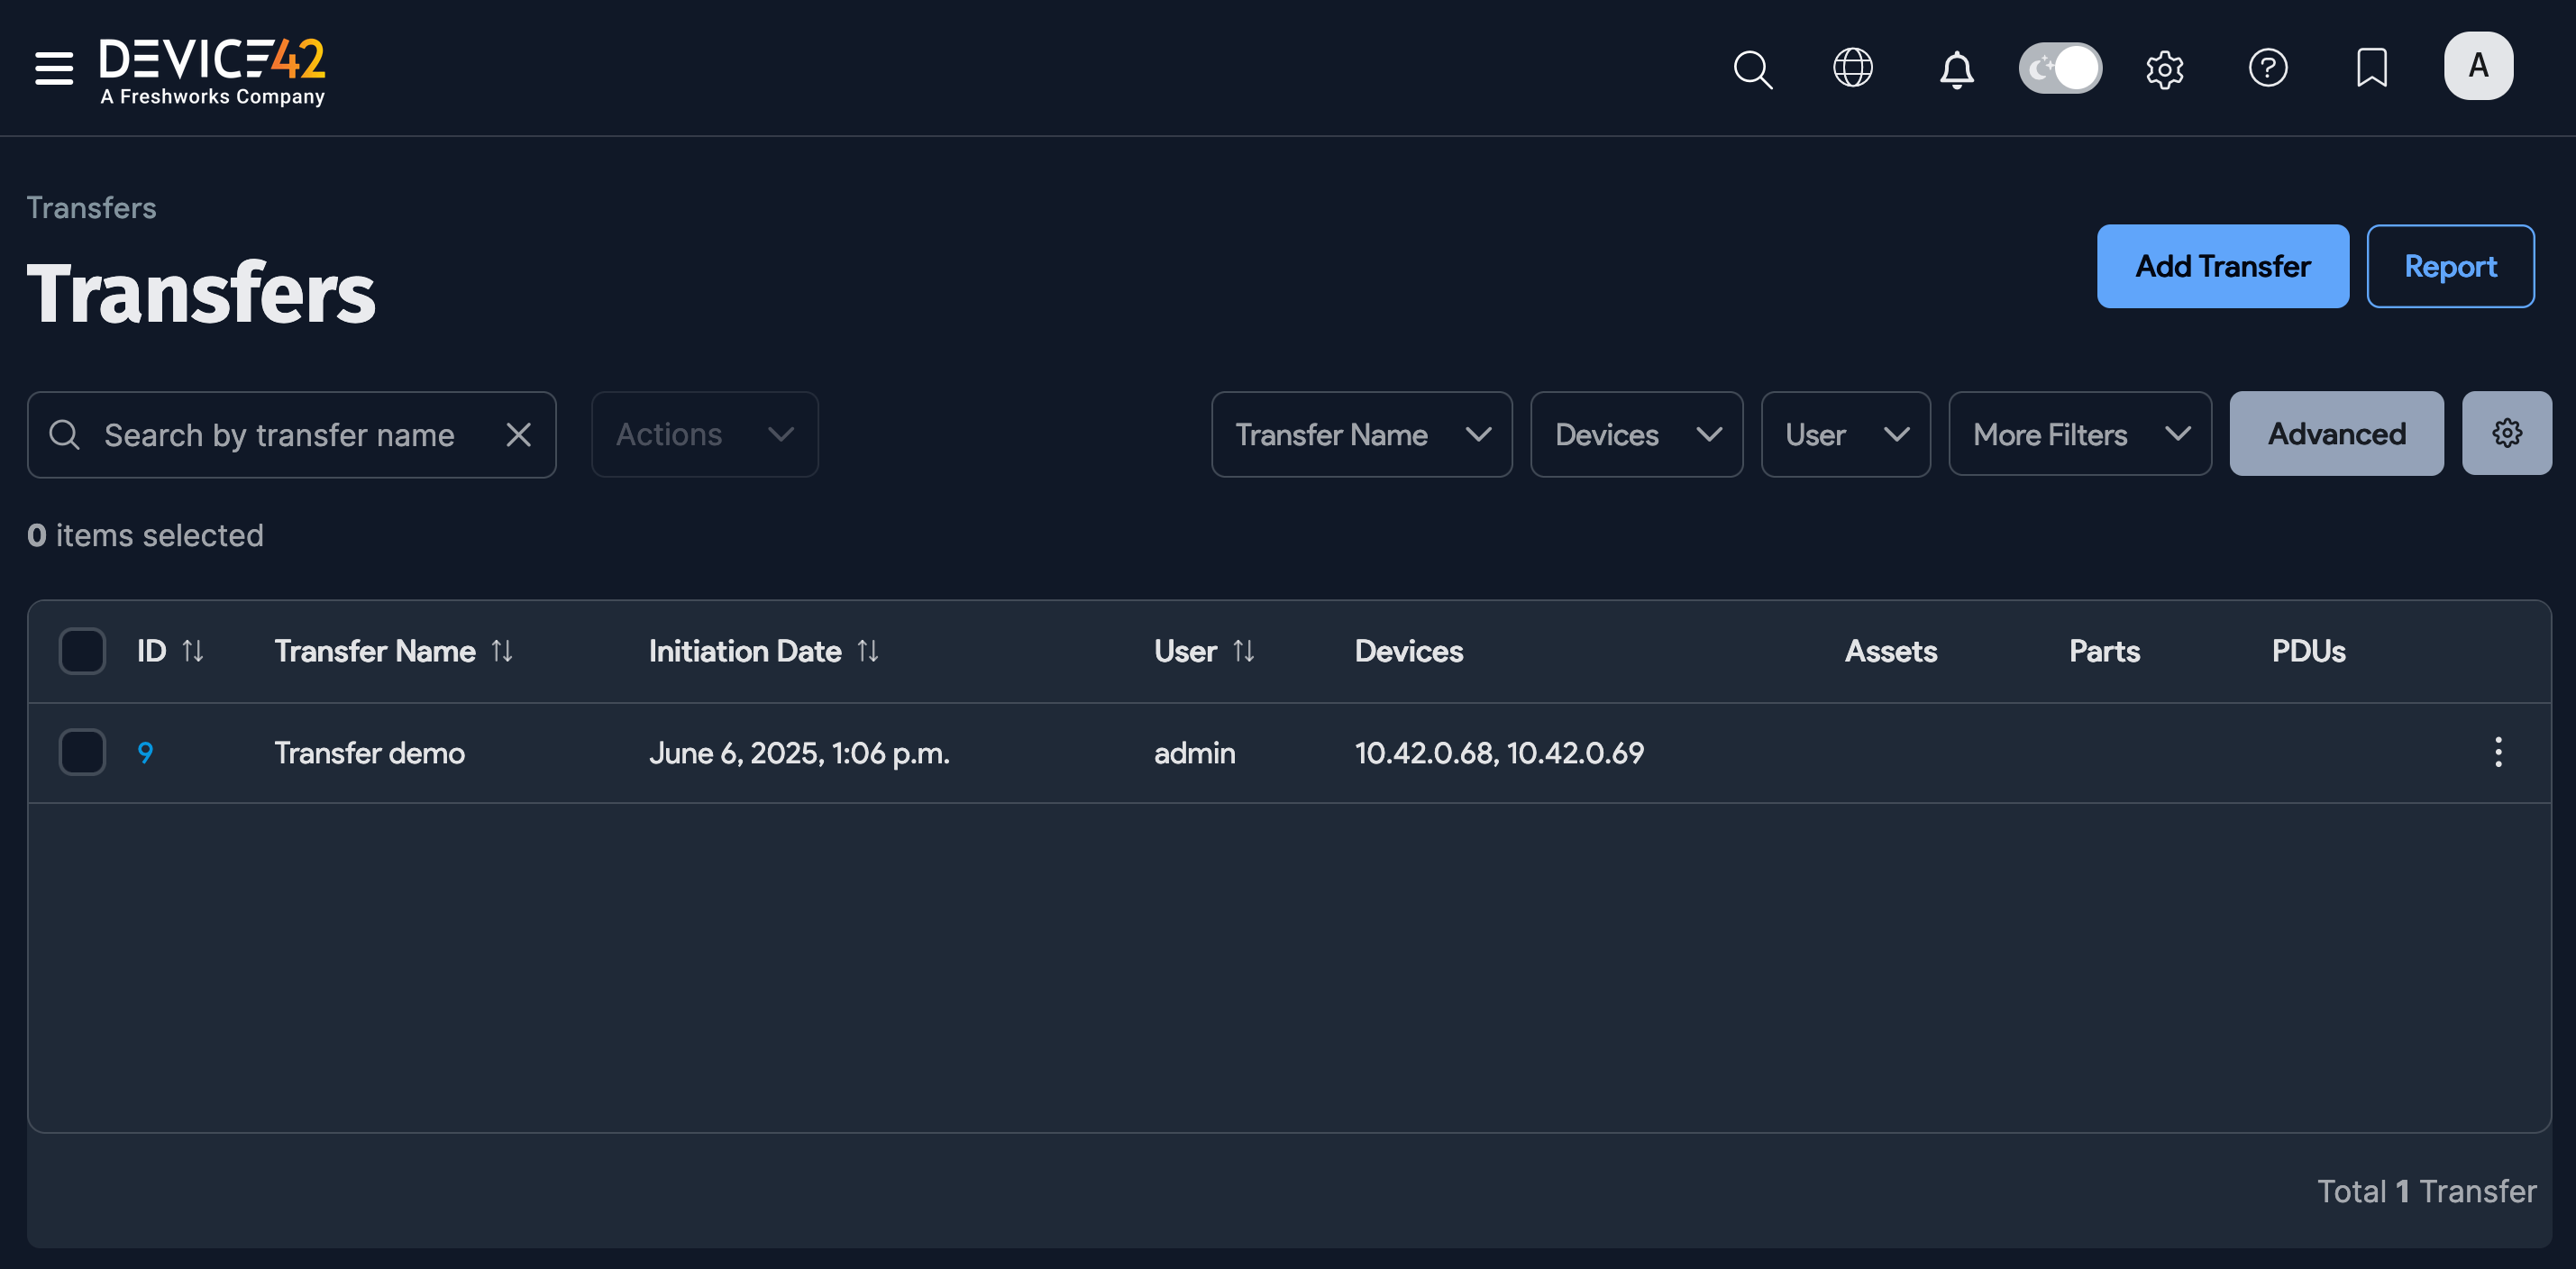
The list view shows all pending and completed transfers, including the user who initiated each transfer and the devices, assets, PDUs, and parts being transferred.
Add a New Transfer
Click the Add Transfer button on the list page.
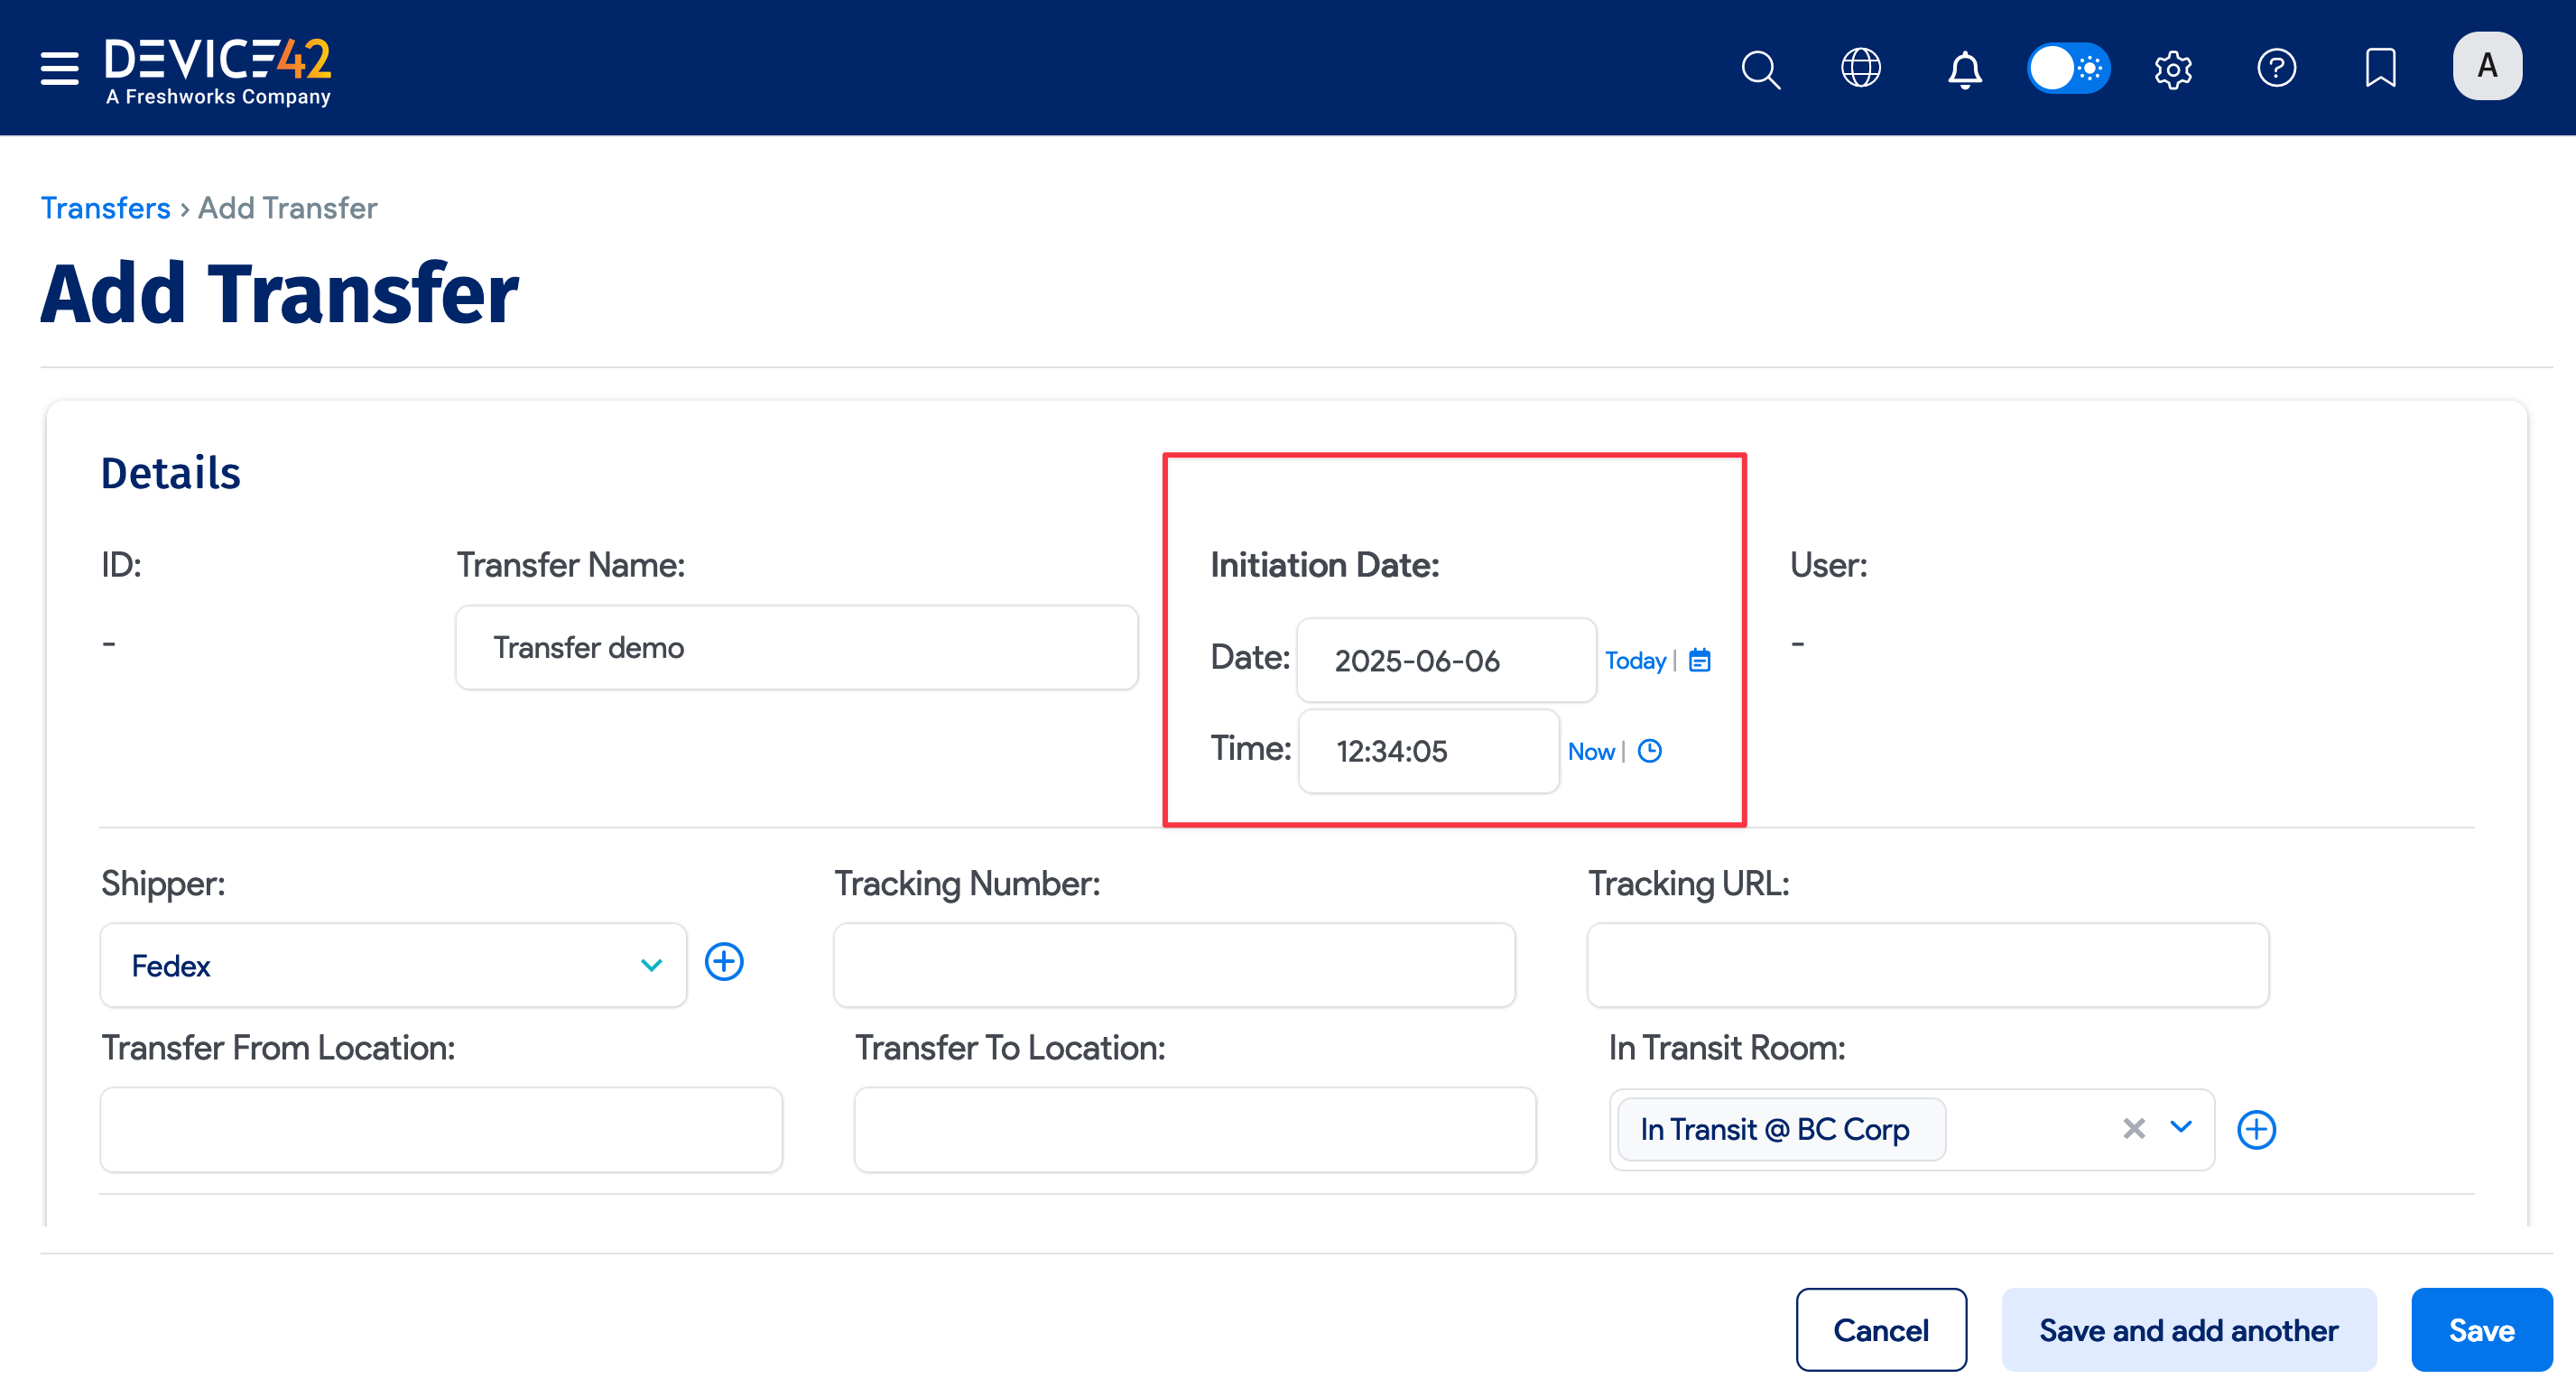
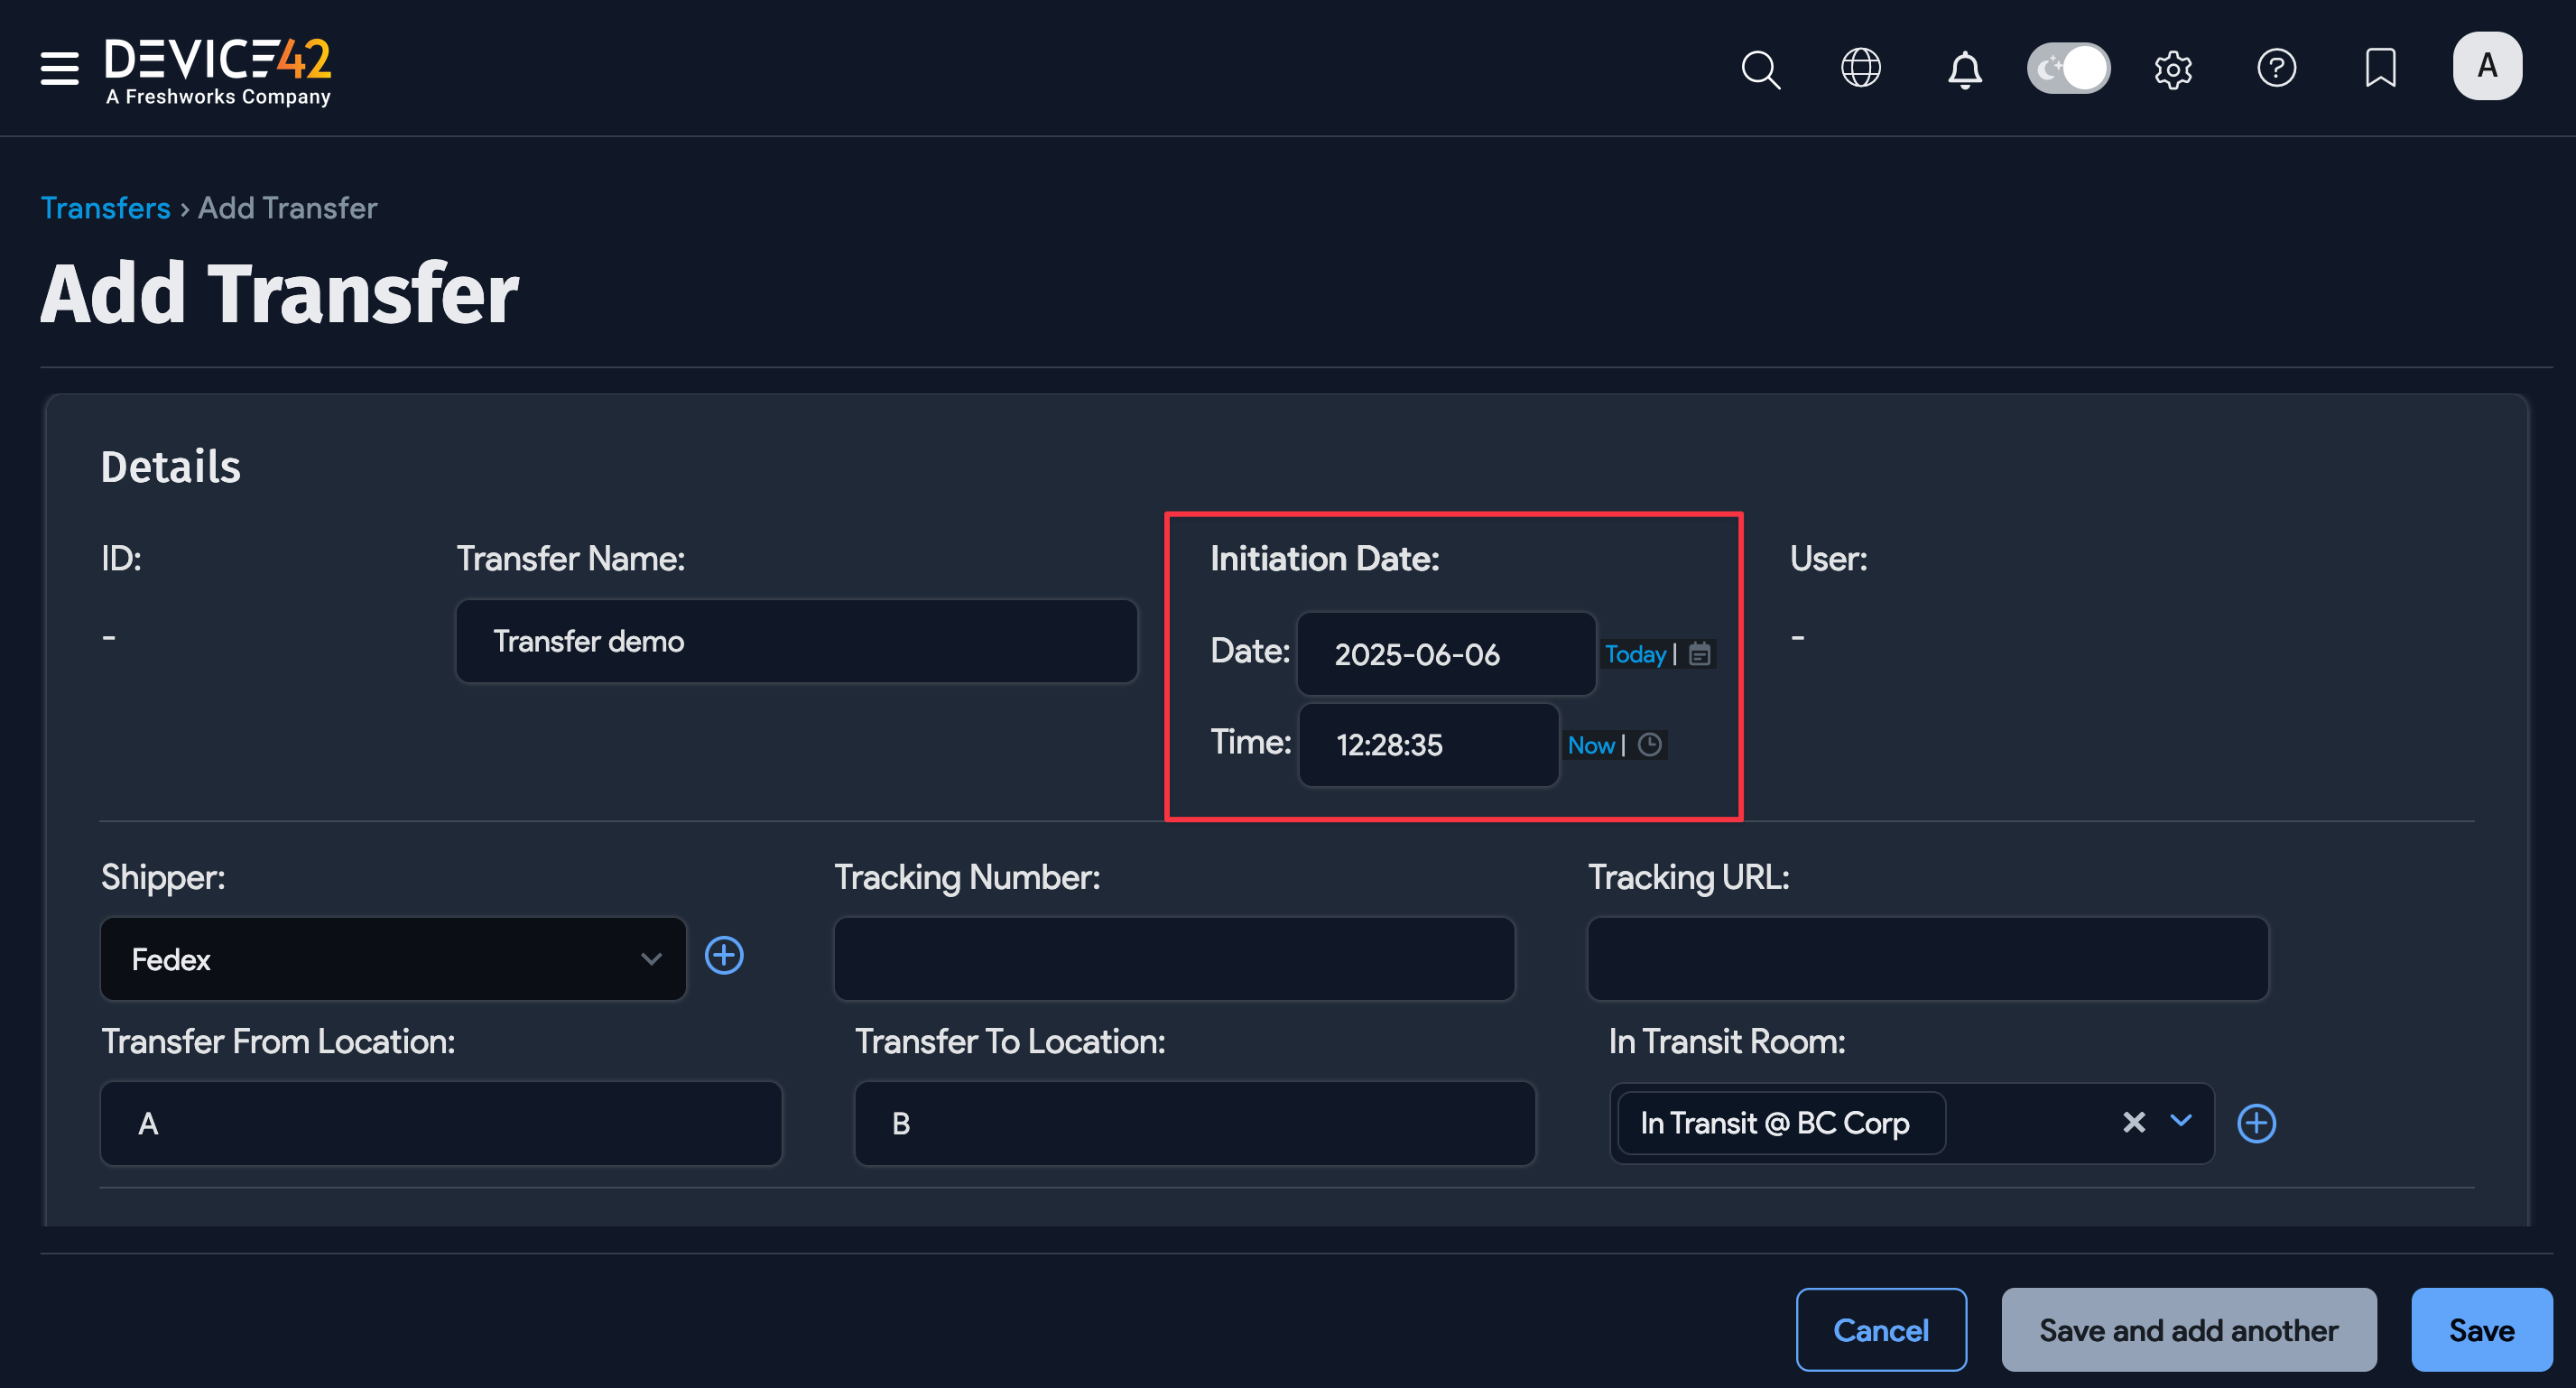
Fill in the transfer form with the following details:
-
Select the Initiation Date and Time for the transfer.
-
The User field is populated automatically with the currently logged-in Device42 user on saving.
-
Optionally, select or add the Shipper performing the transfer.
-
Optionally, select a room for the object while it is in transit — for example, a placeholder room named "In Transit".
-
Choose or add the Devices, Assets, PDUs, and Parts to be transferred.
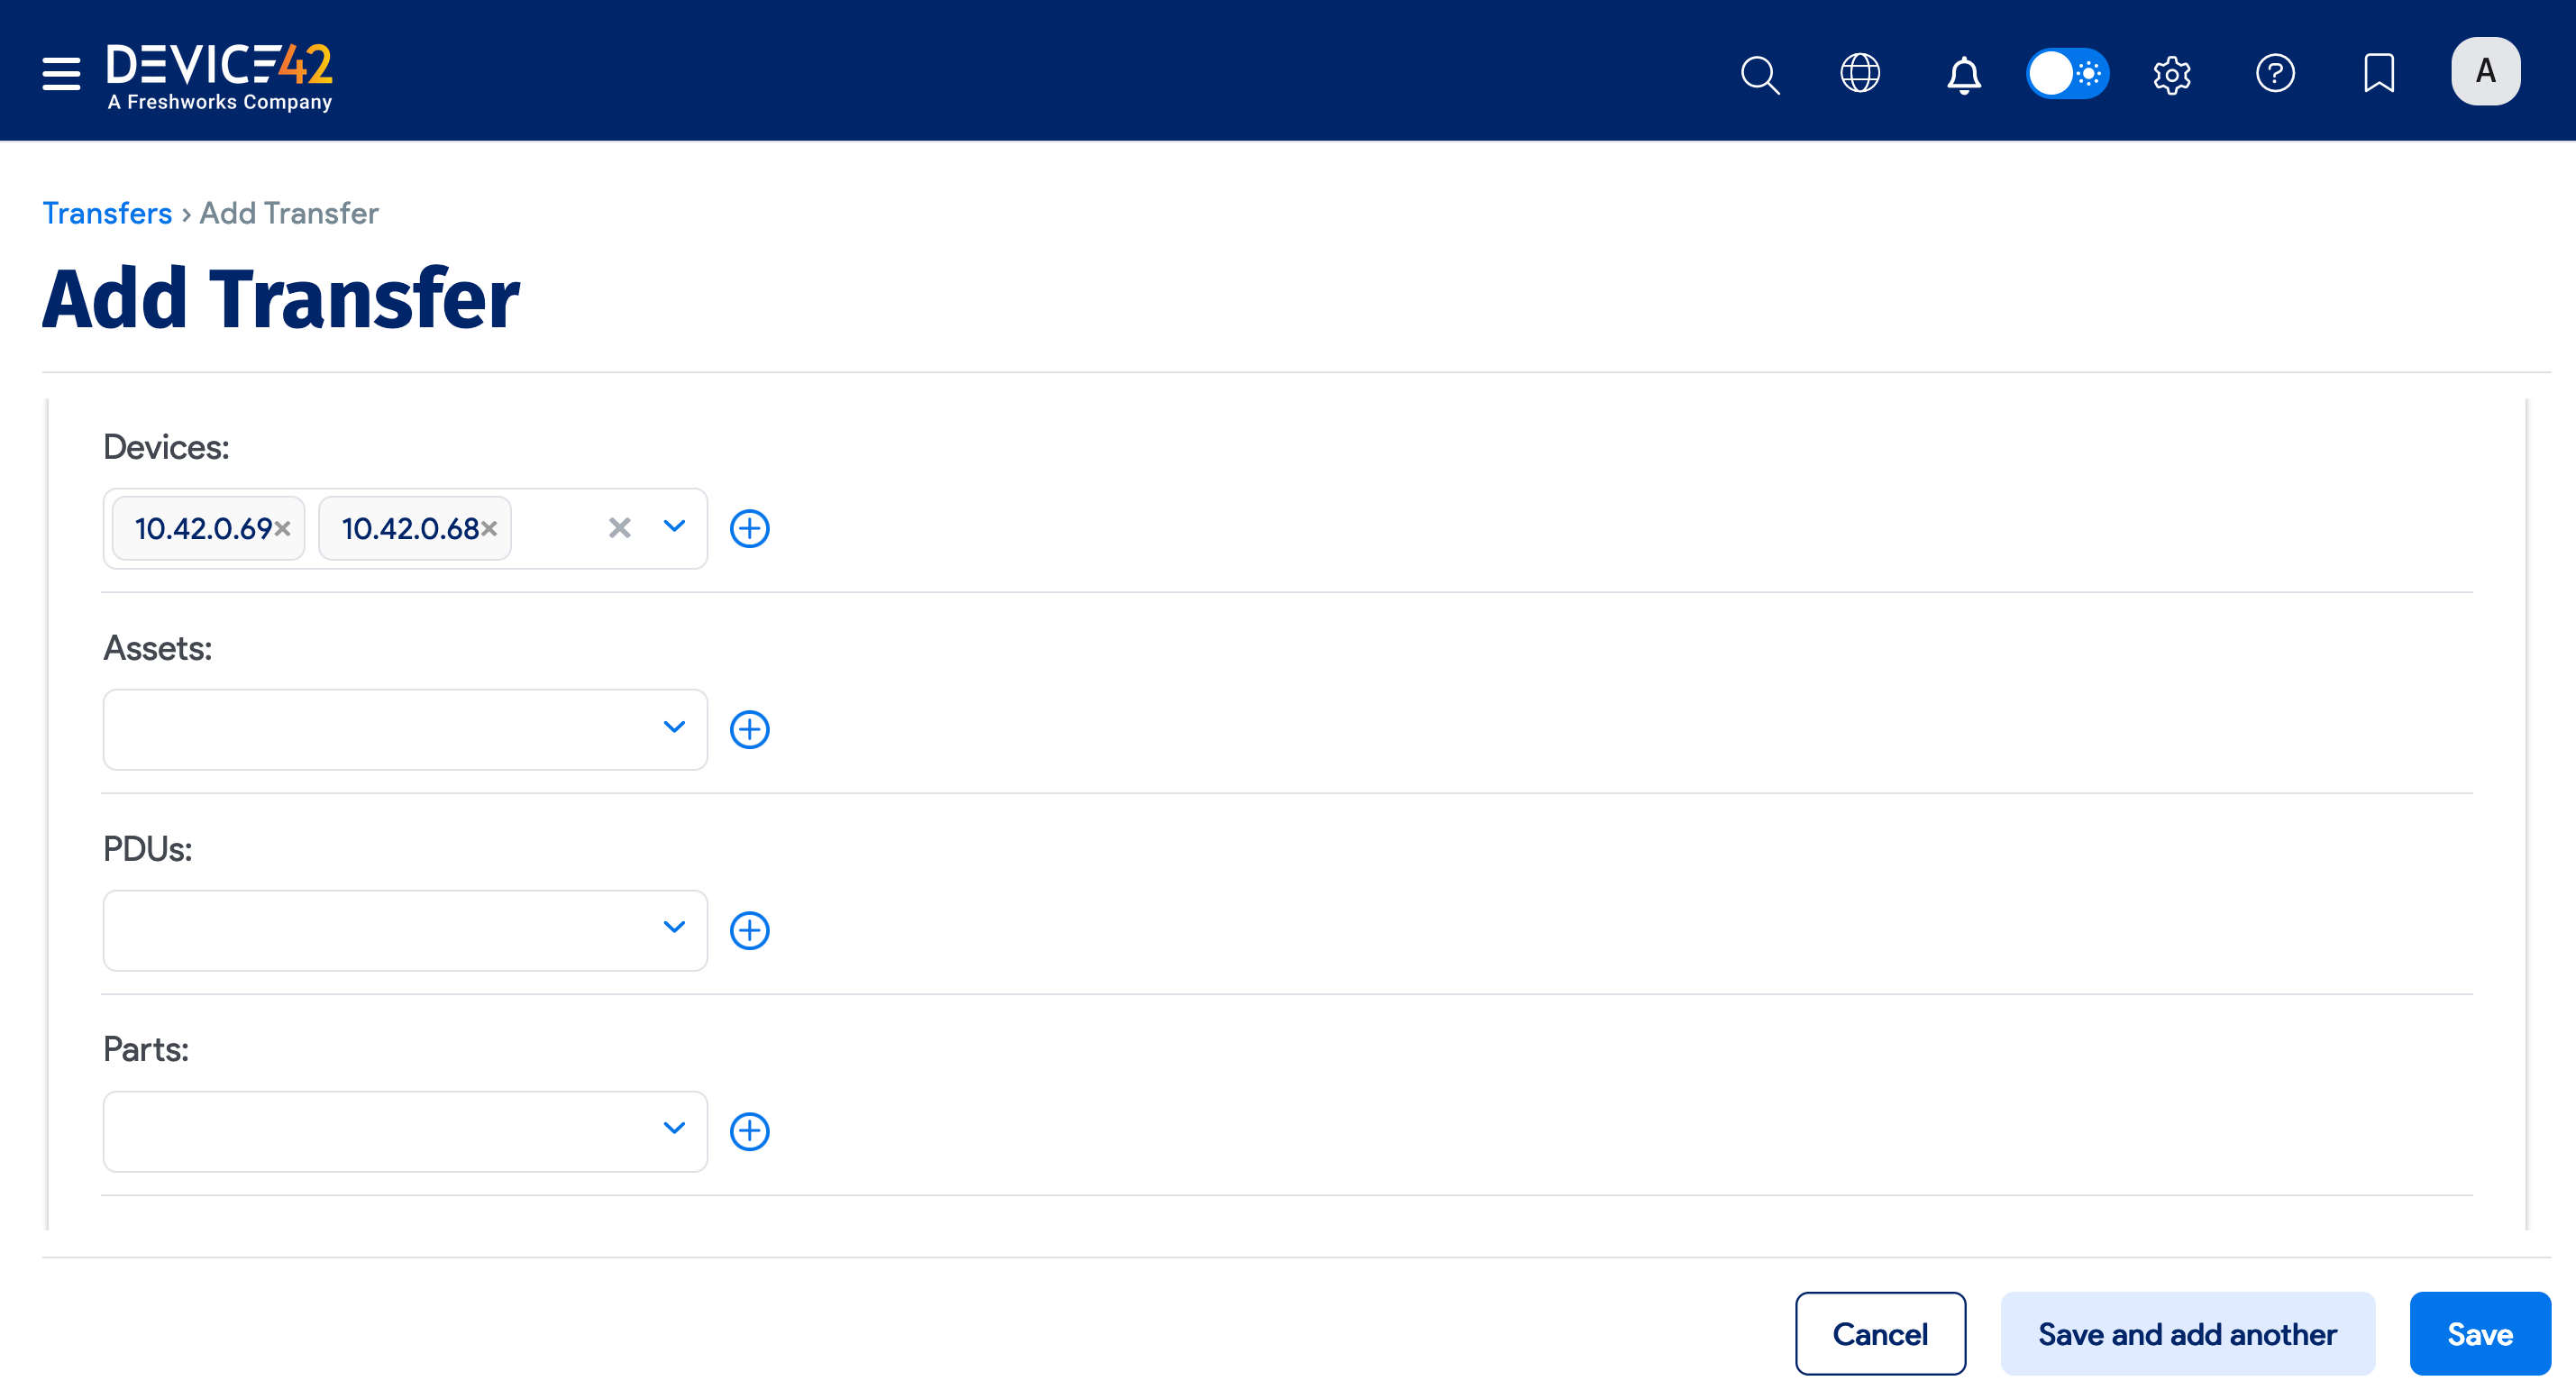
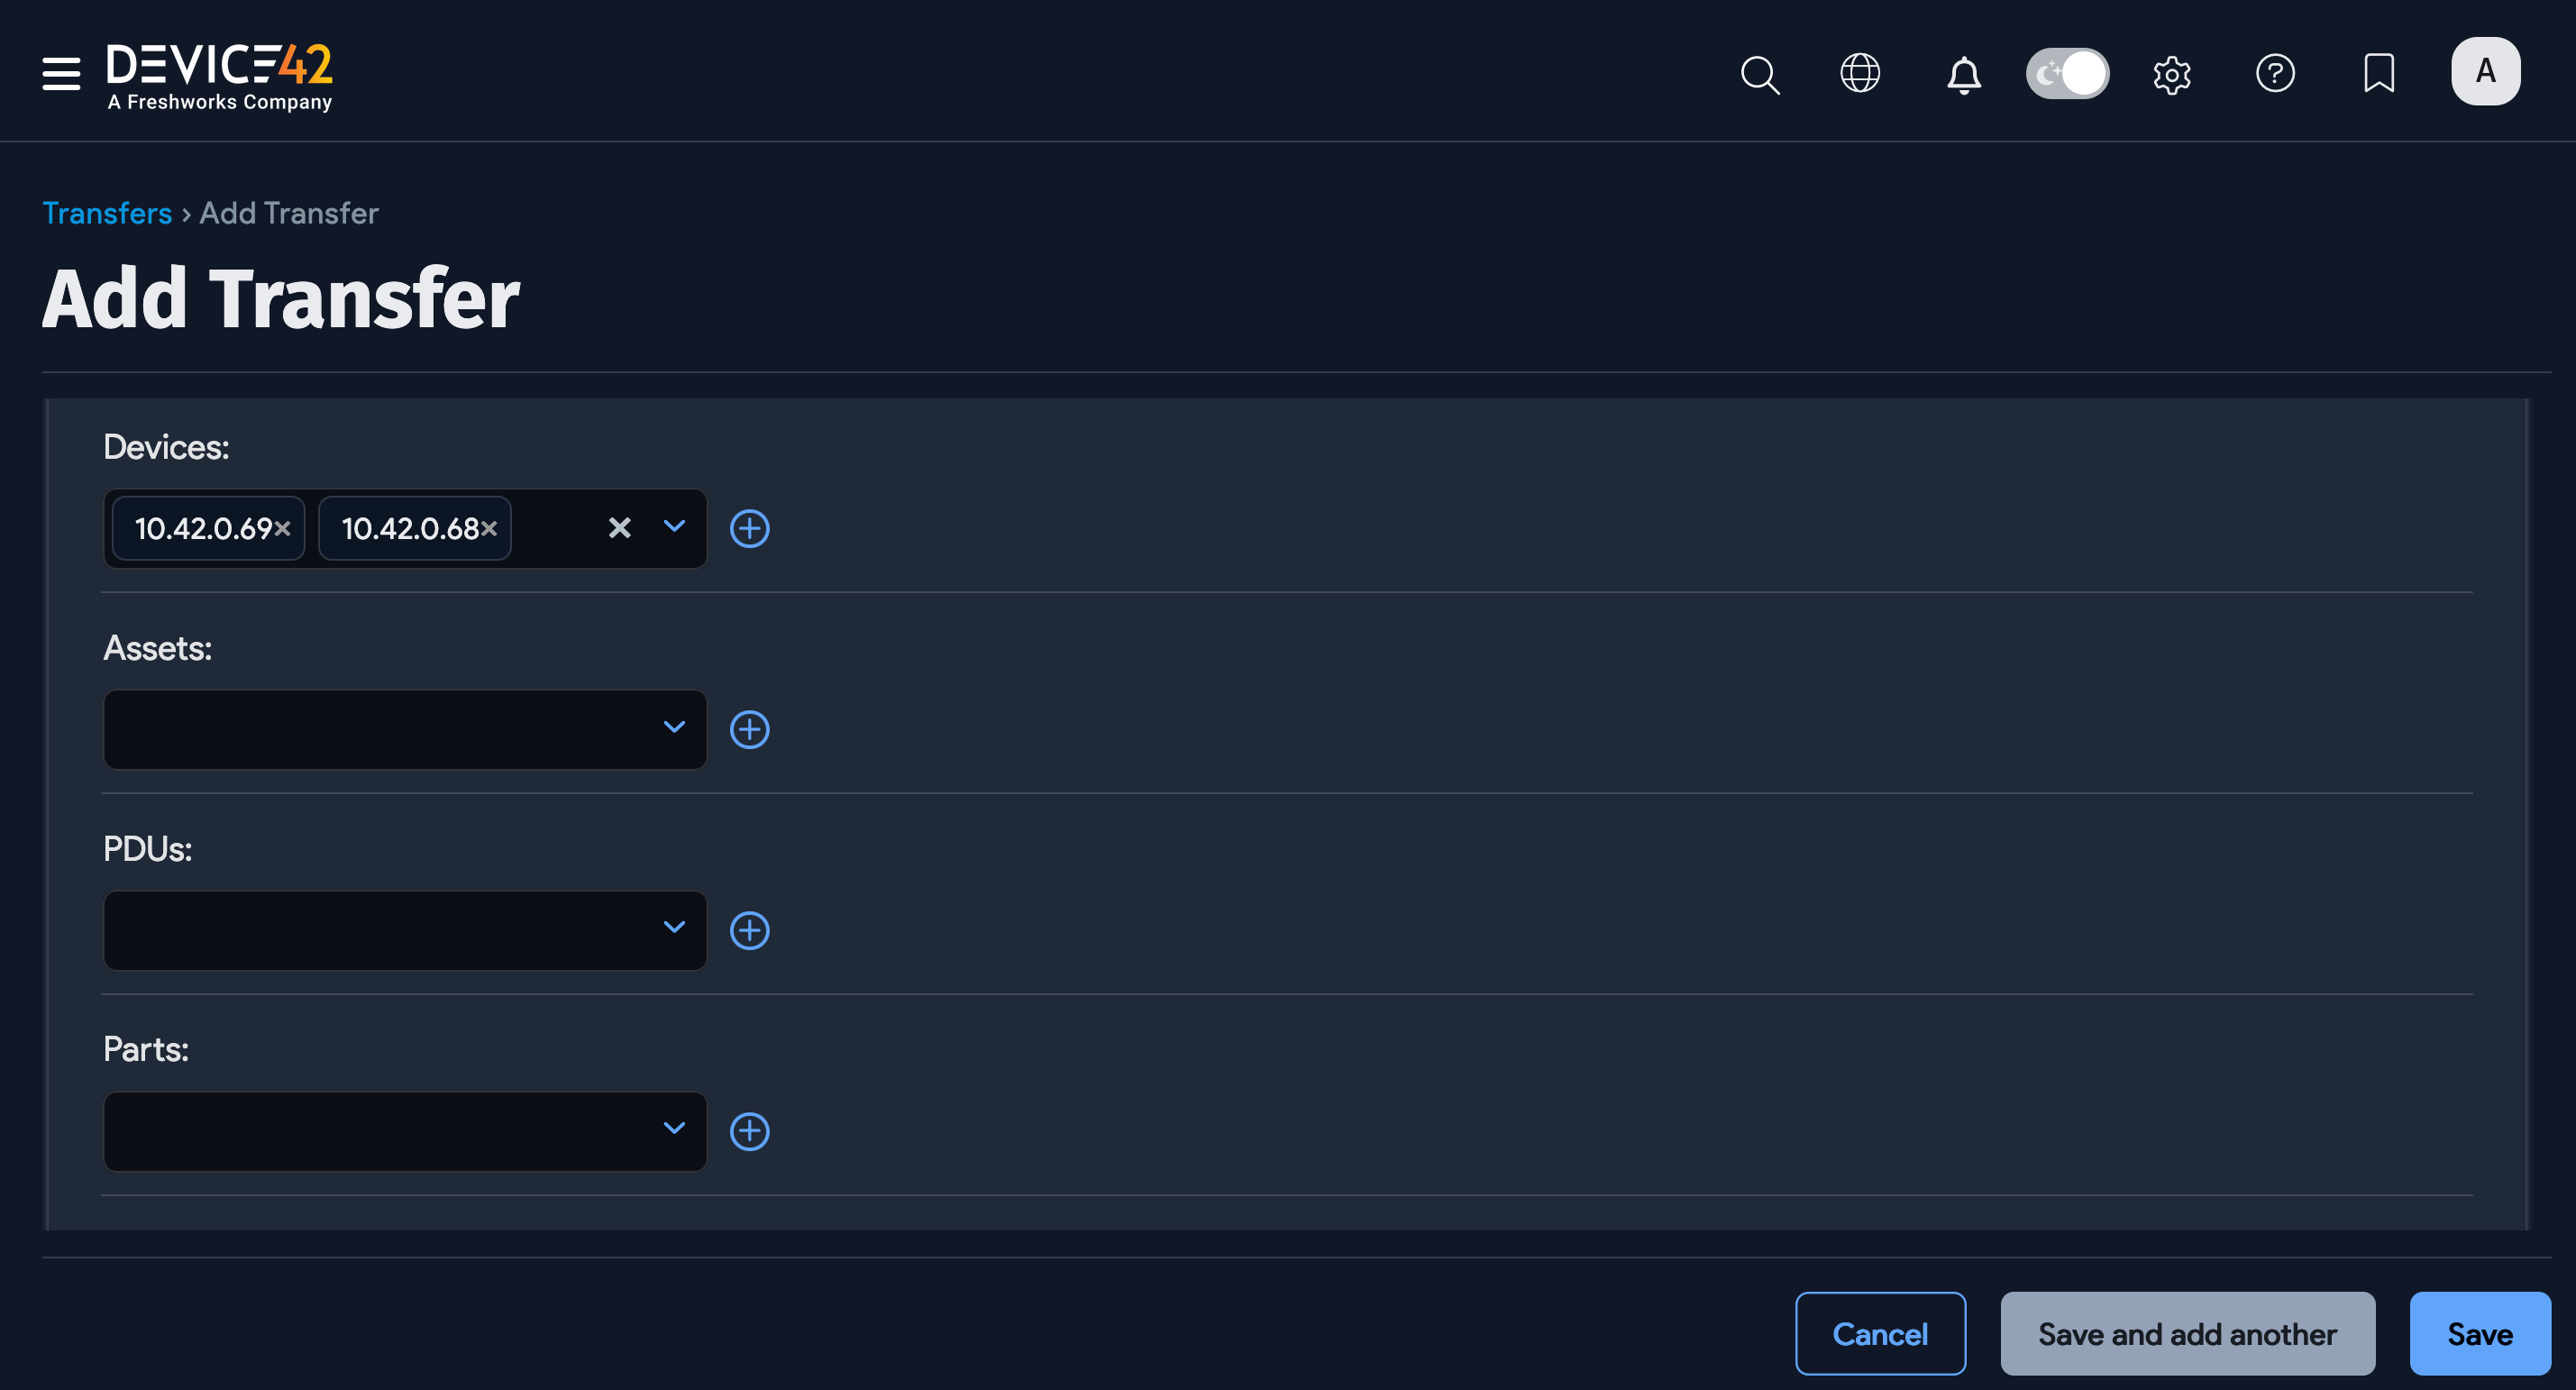
-
Add any Notes about the transfer for reference.
Click Save and add another or Save to view a summary of the transfer details.
The Transfer Devices Status section will be populated with the objects you selected. The Transfer Assets Status, Transfer PDUs Status, and Transfer Parts Status sections will also be populated.
Receive the Transfer
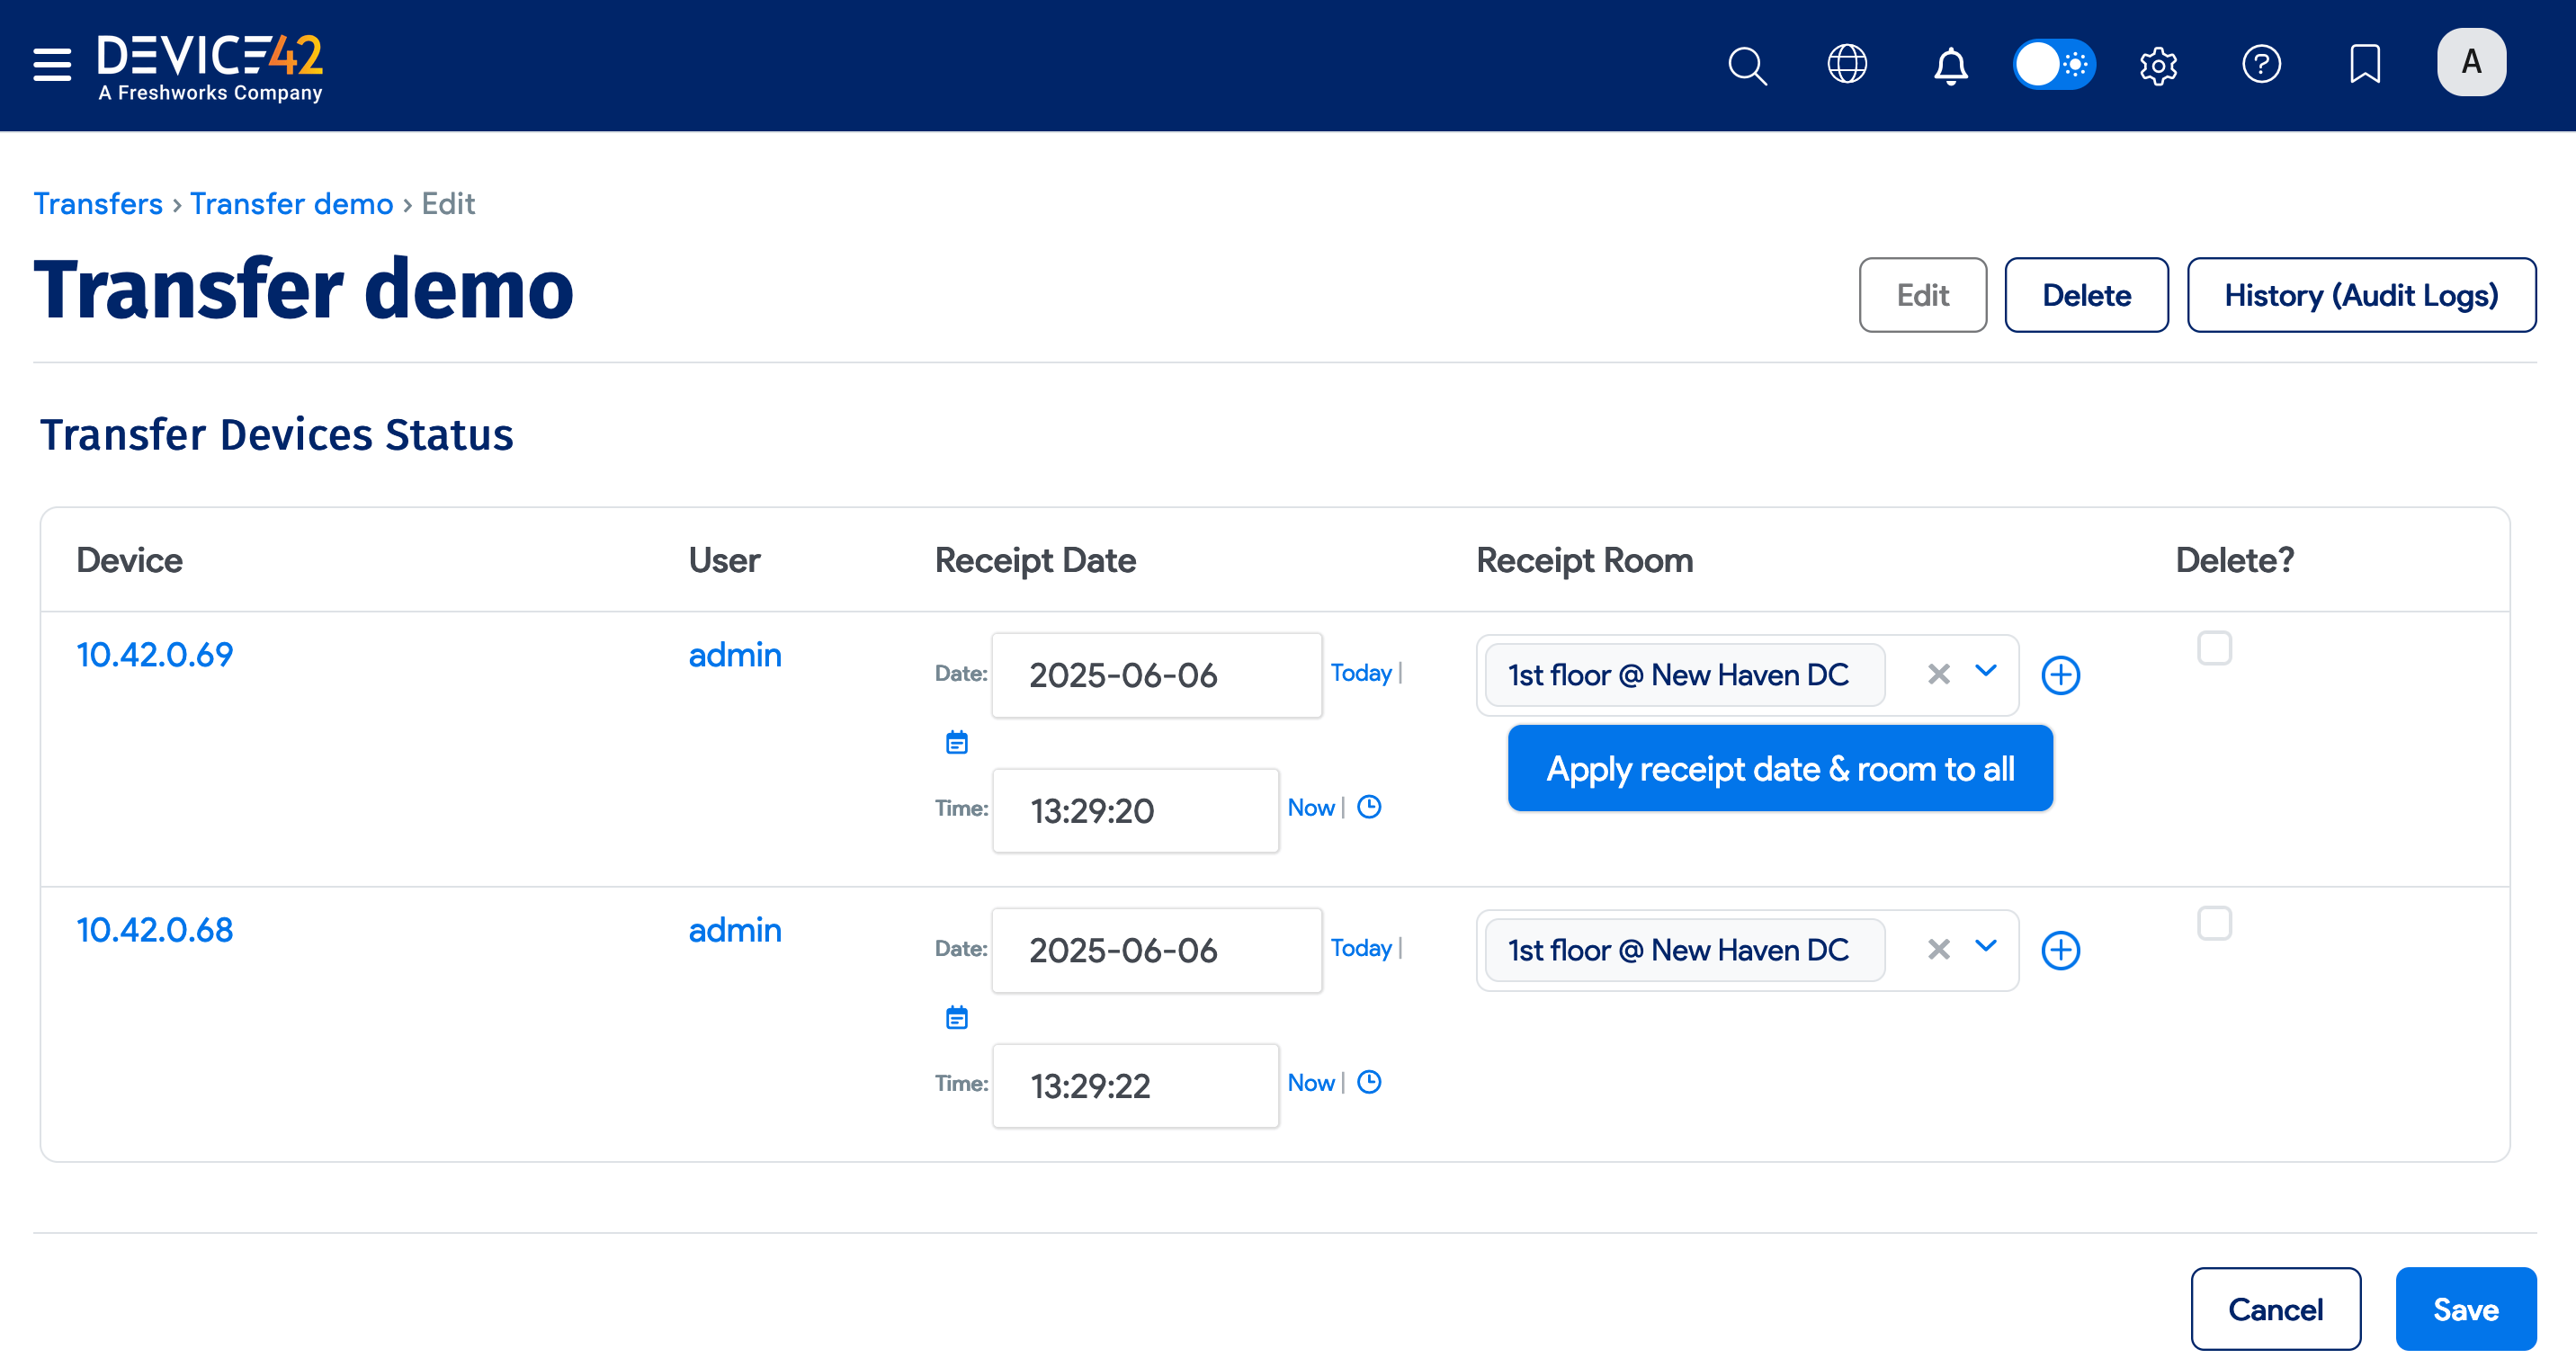
Each section of the transfer includes a Received Date and Receipt Room field for the receiving party to record full or partial completion.
Click Edit and update the Received Date and Receipt Room. On saving, the devices, assets, PDUs, and parts will be placed in the Receipt Room in Device42.