Custom Fields
Custom Fields let you define your own attributes for Device42 objects such as Buildings, Rooms, Racks, Customers, Devices, Assets, Application Components, Circuits, and Passwords. This page explains how to create and configure Custom Fields, set them in bulk, and use them via the API.
Add Custom Fields
Navigate to the Custom Fields list page under Tools > Custom Fields and click on a Custom Field object type (for example, Assets or Devices).
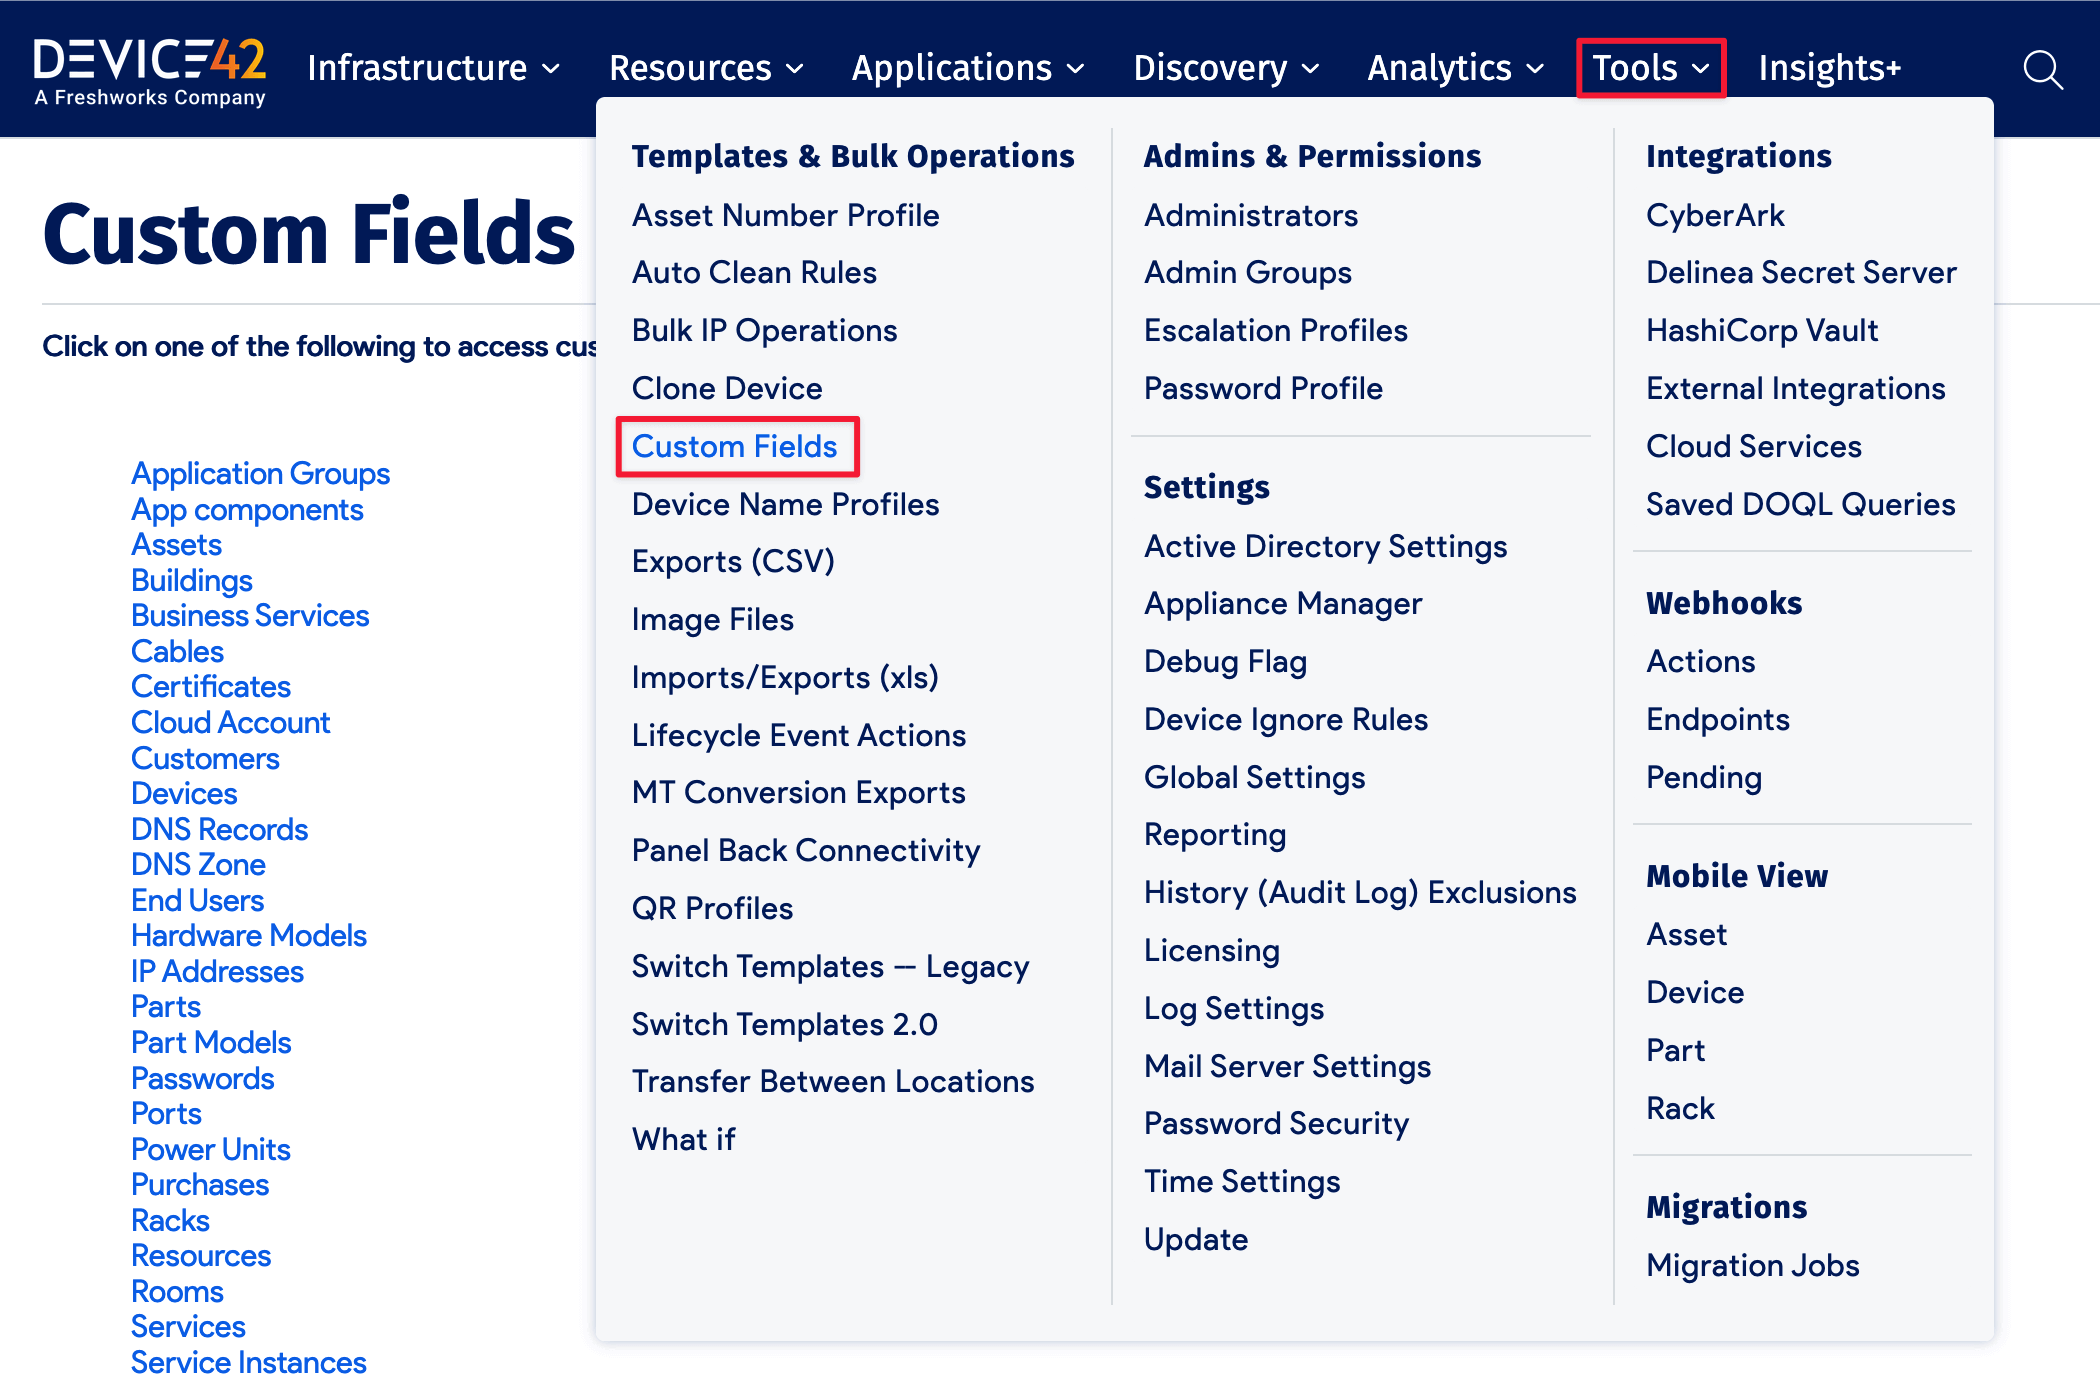
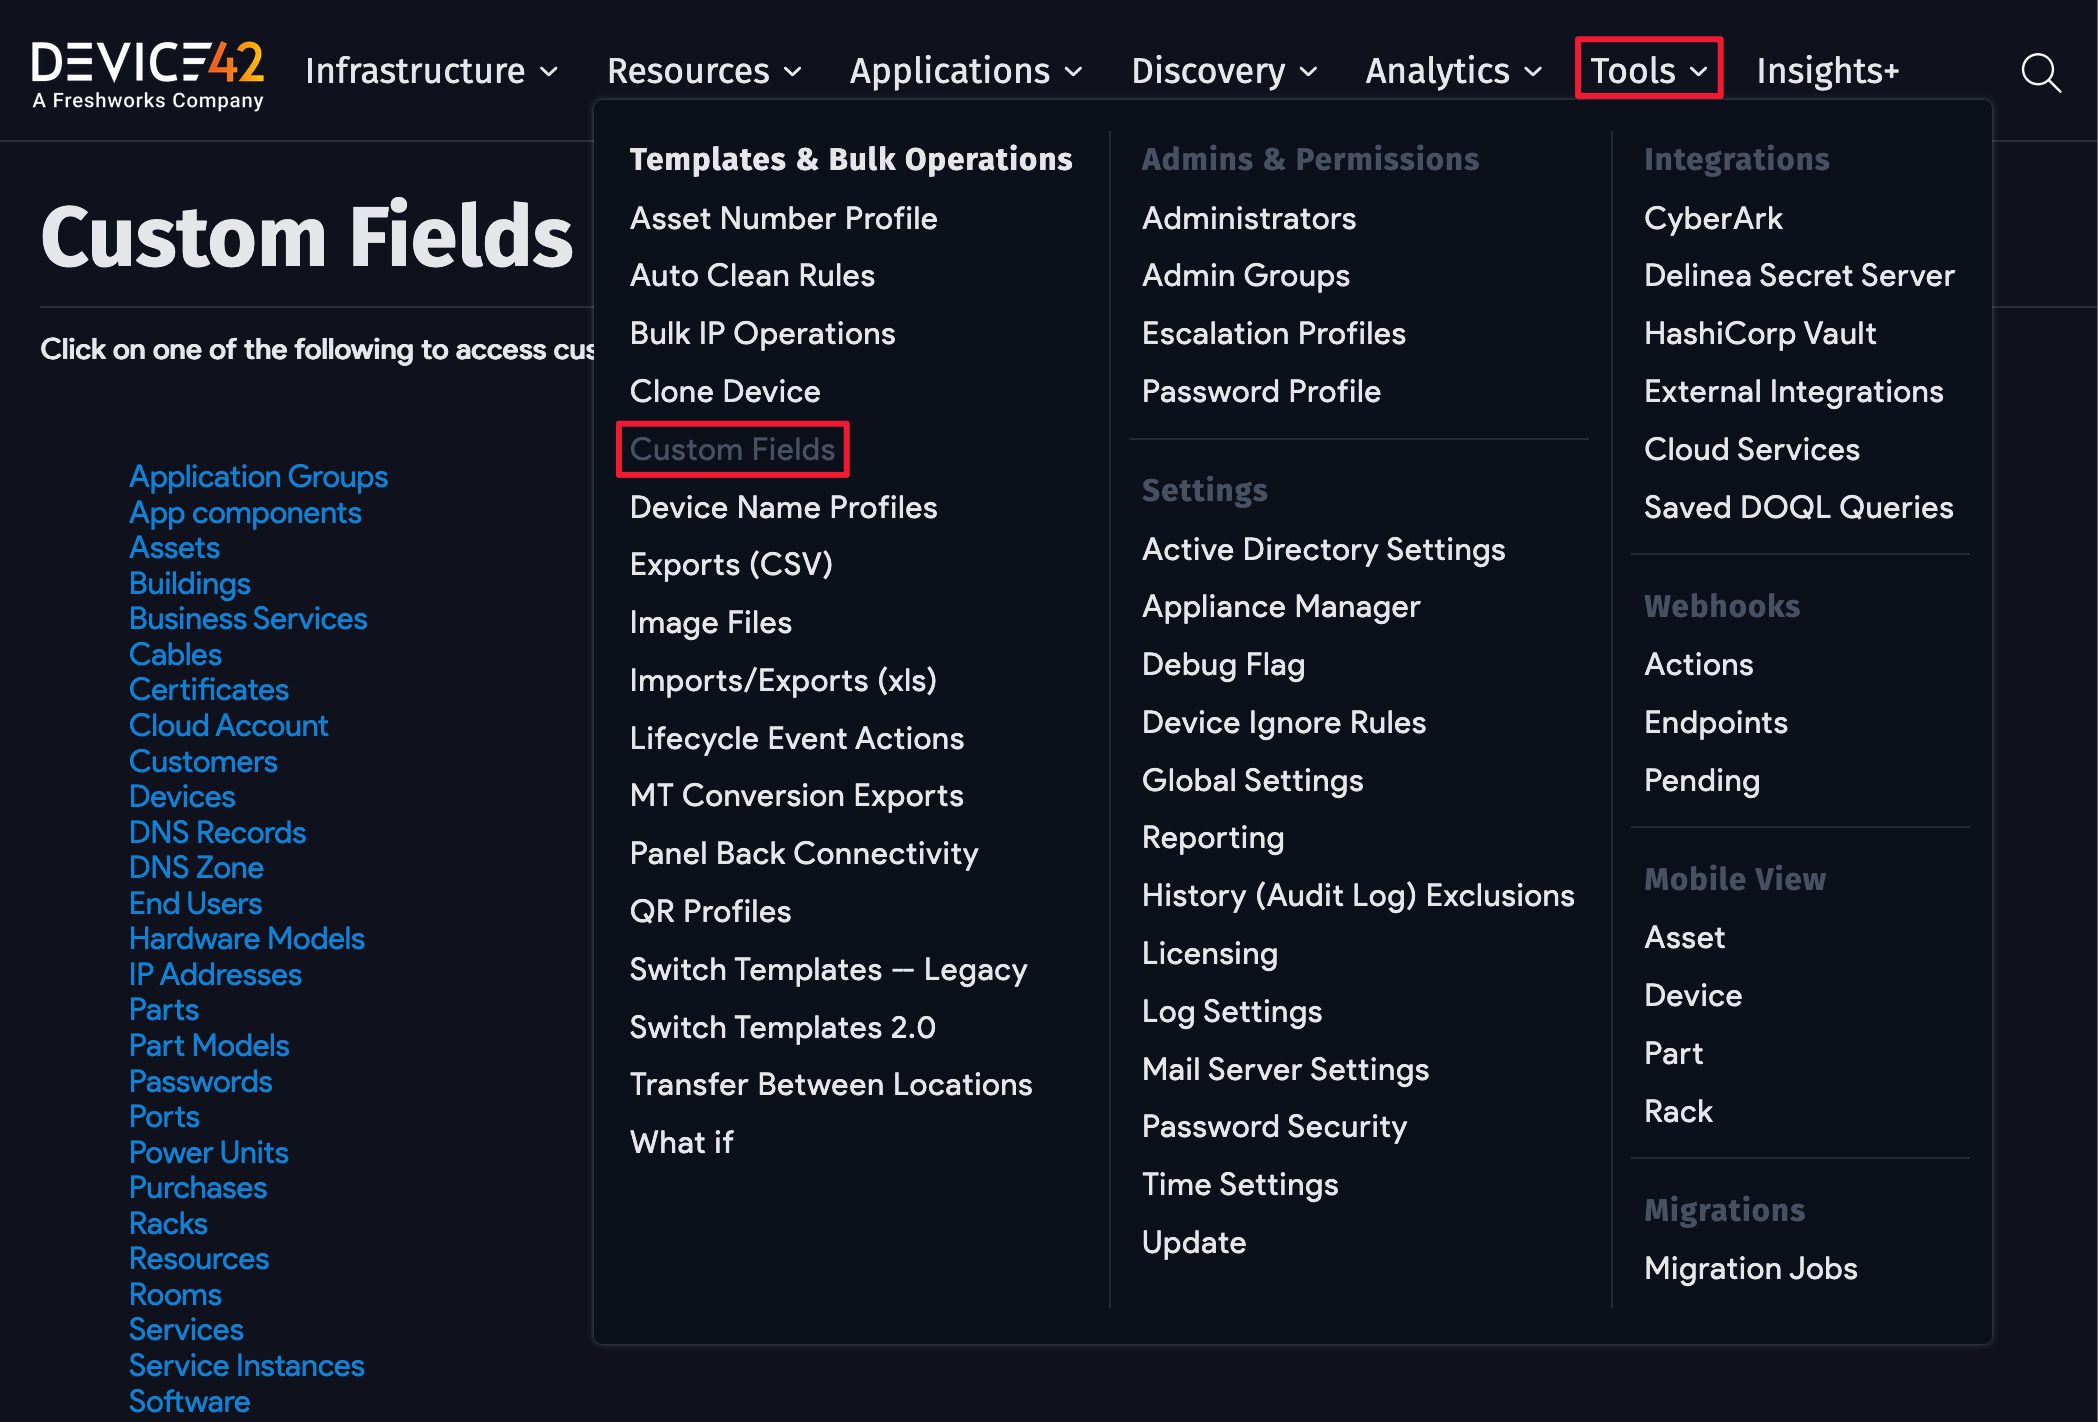
From the list page for the selected Custom Field type, you can either edit an existing Custom Field or click the Create button to add a new one.
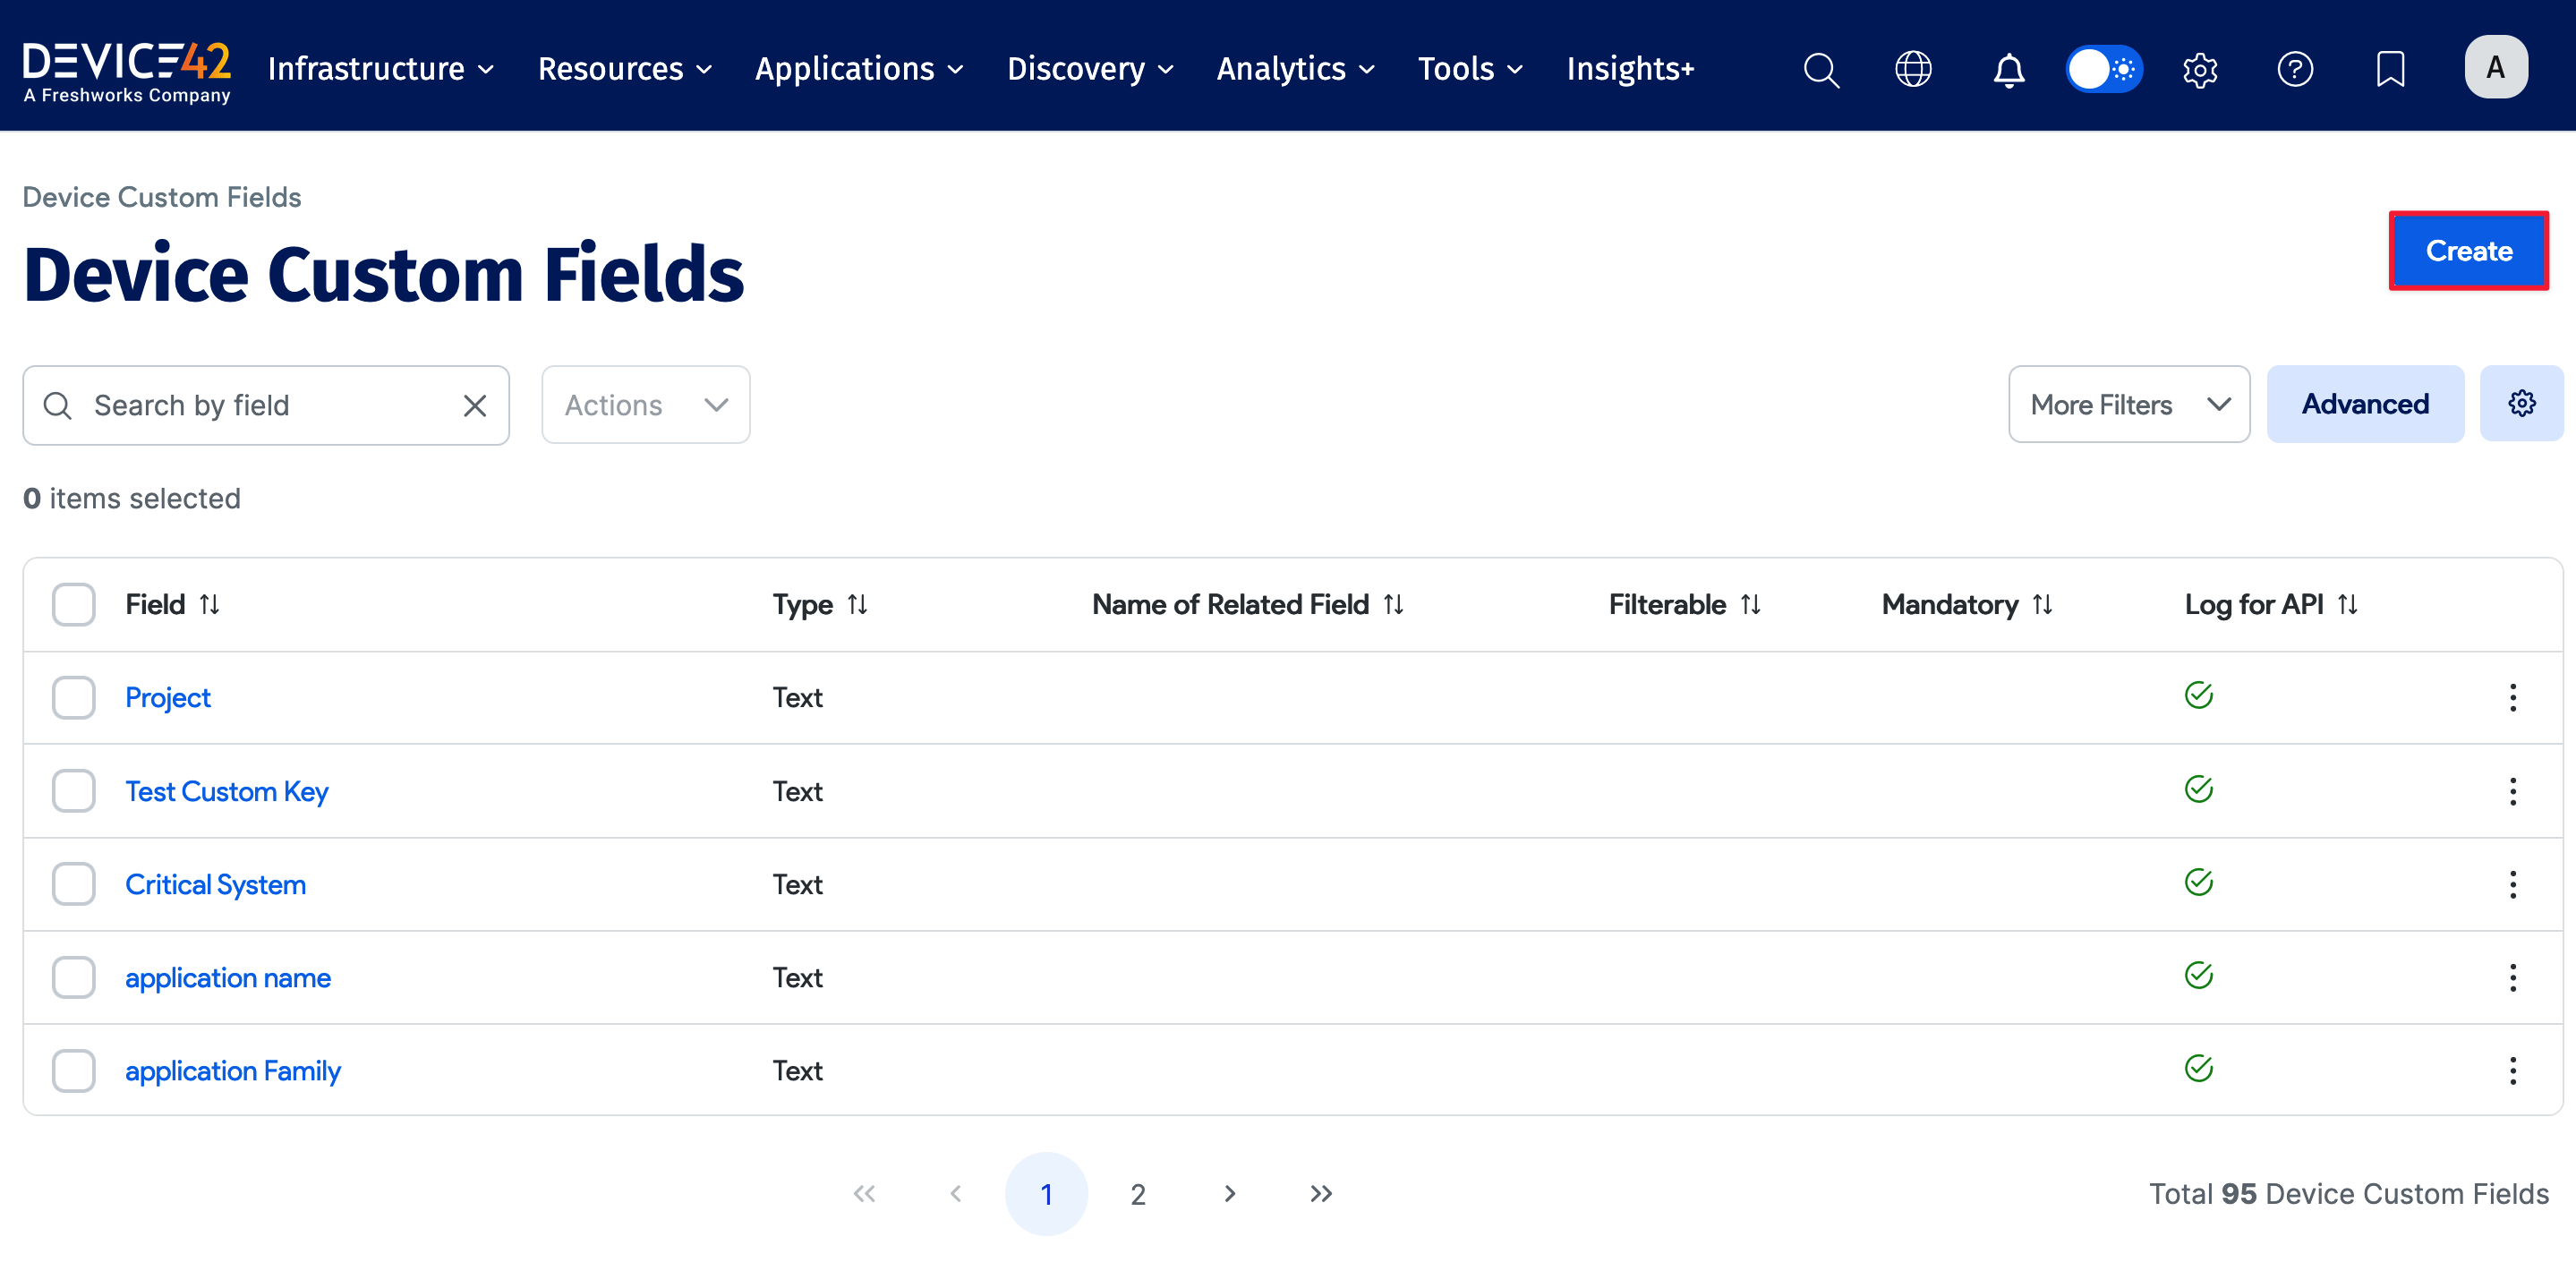
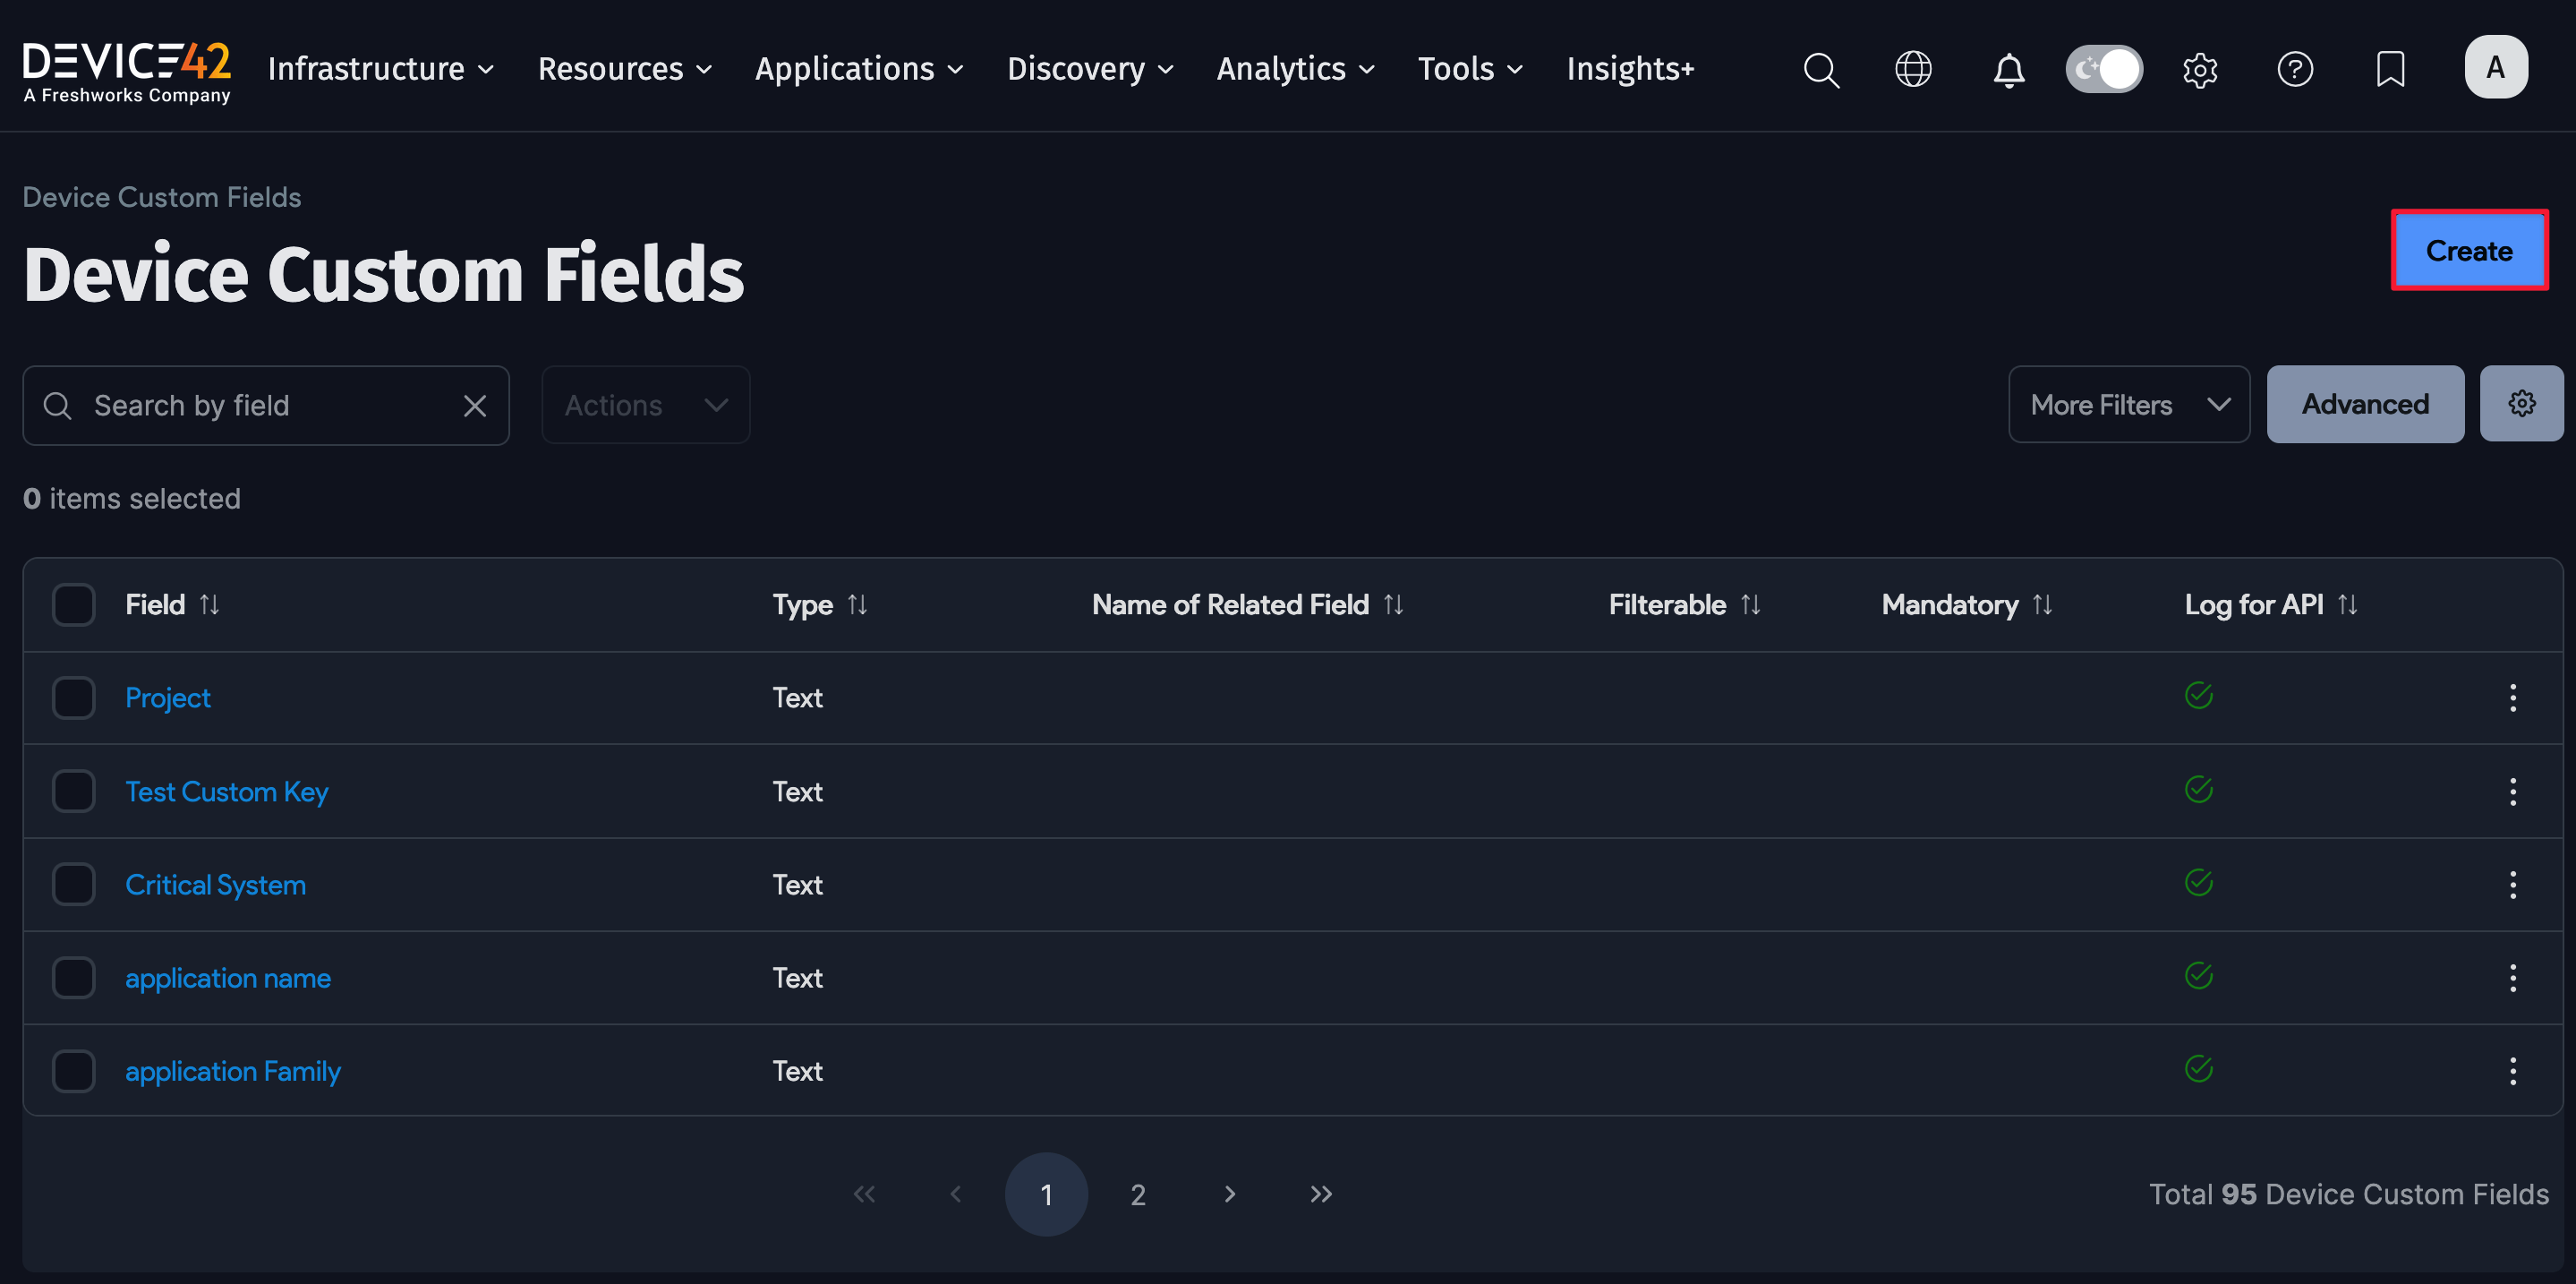
Enter a name for the Custom Field and choose its data Type. Selecting certain types will reveal additional options specific to that field type. The available types are:
- Text: Character-based values.
- Number: Numeric values.
- Date: Calendar date formatting.
- Related Field: Values from another field (for example, if Rack is chosen, then Rack names are the possible values).
- Yes/No: Yes or no values.
- URL: URL values.
- Picklist: Values chosen from a picklist. You can create either single-select or multi-select picklists, and adjust the picklist parameters after creation without needing to recreate and reassign Custom Fields.
- JSON: JSON formatting.
- Markup: Markup formatting.
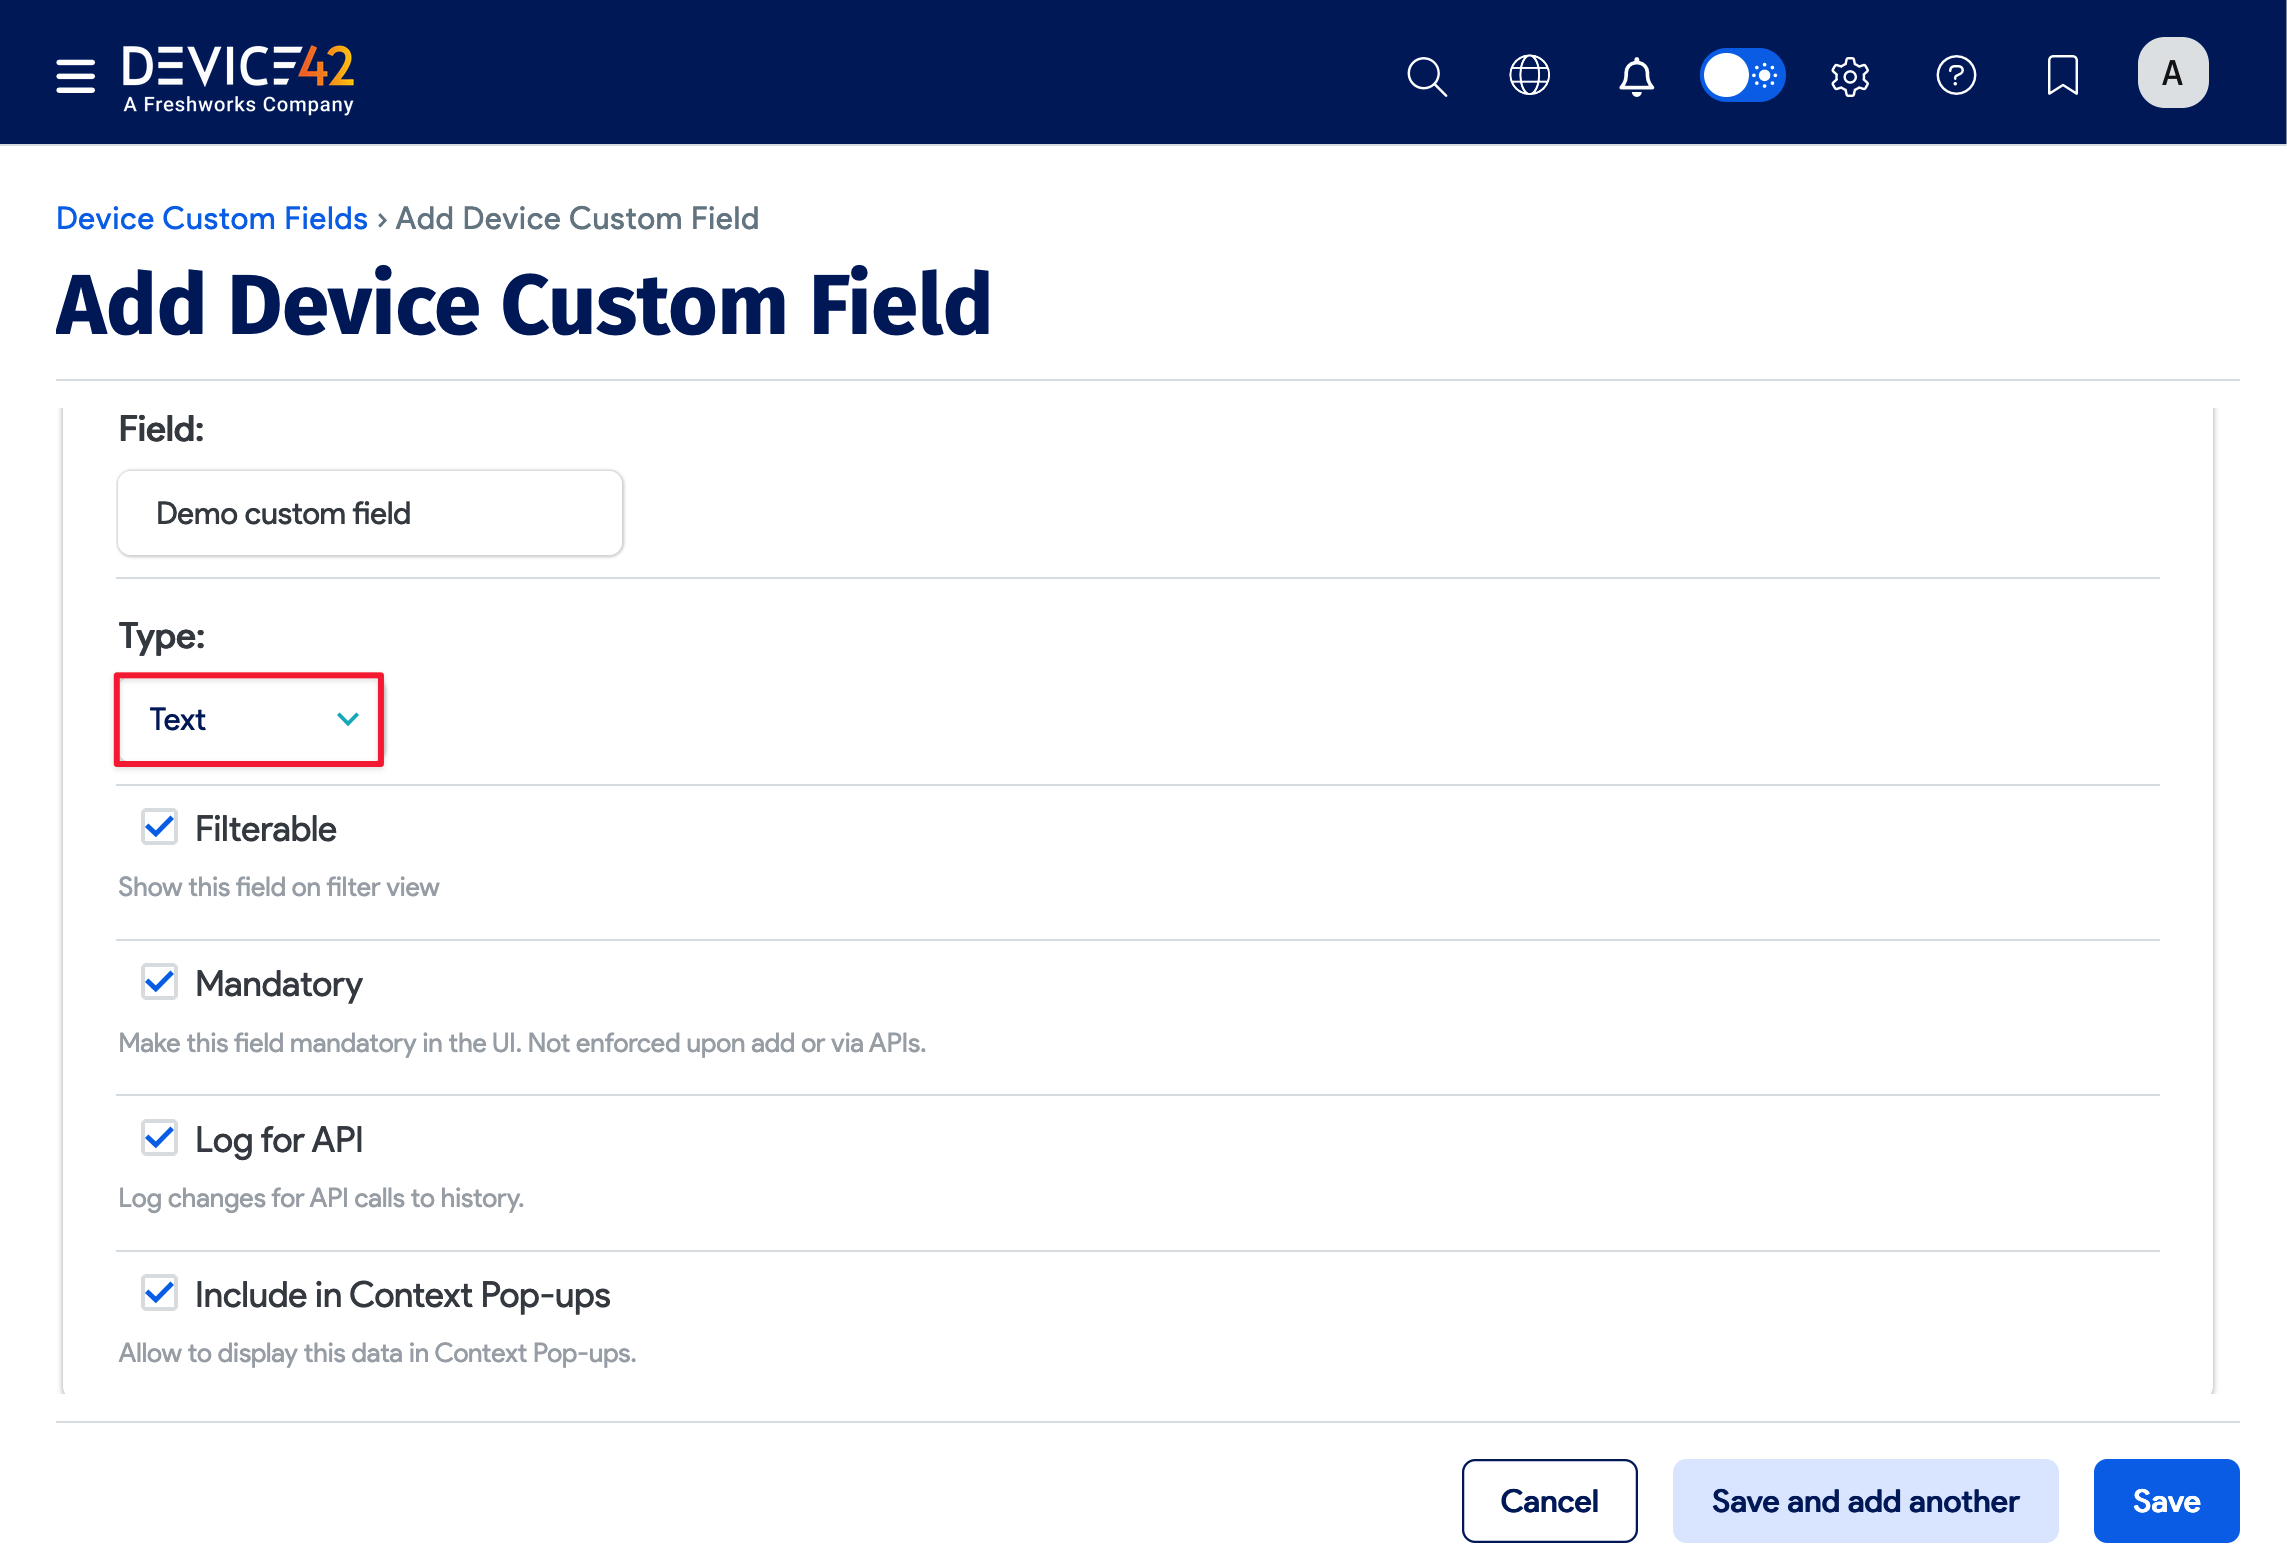
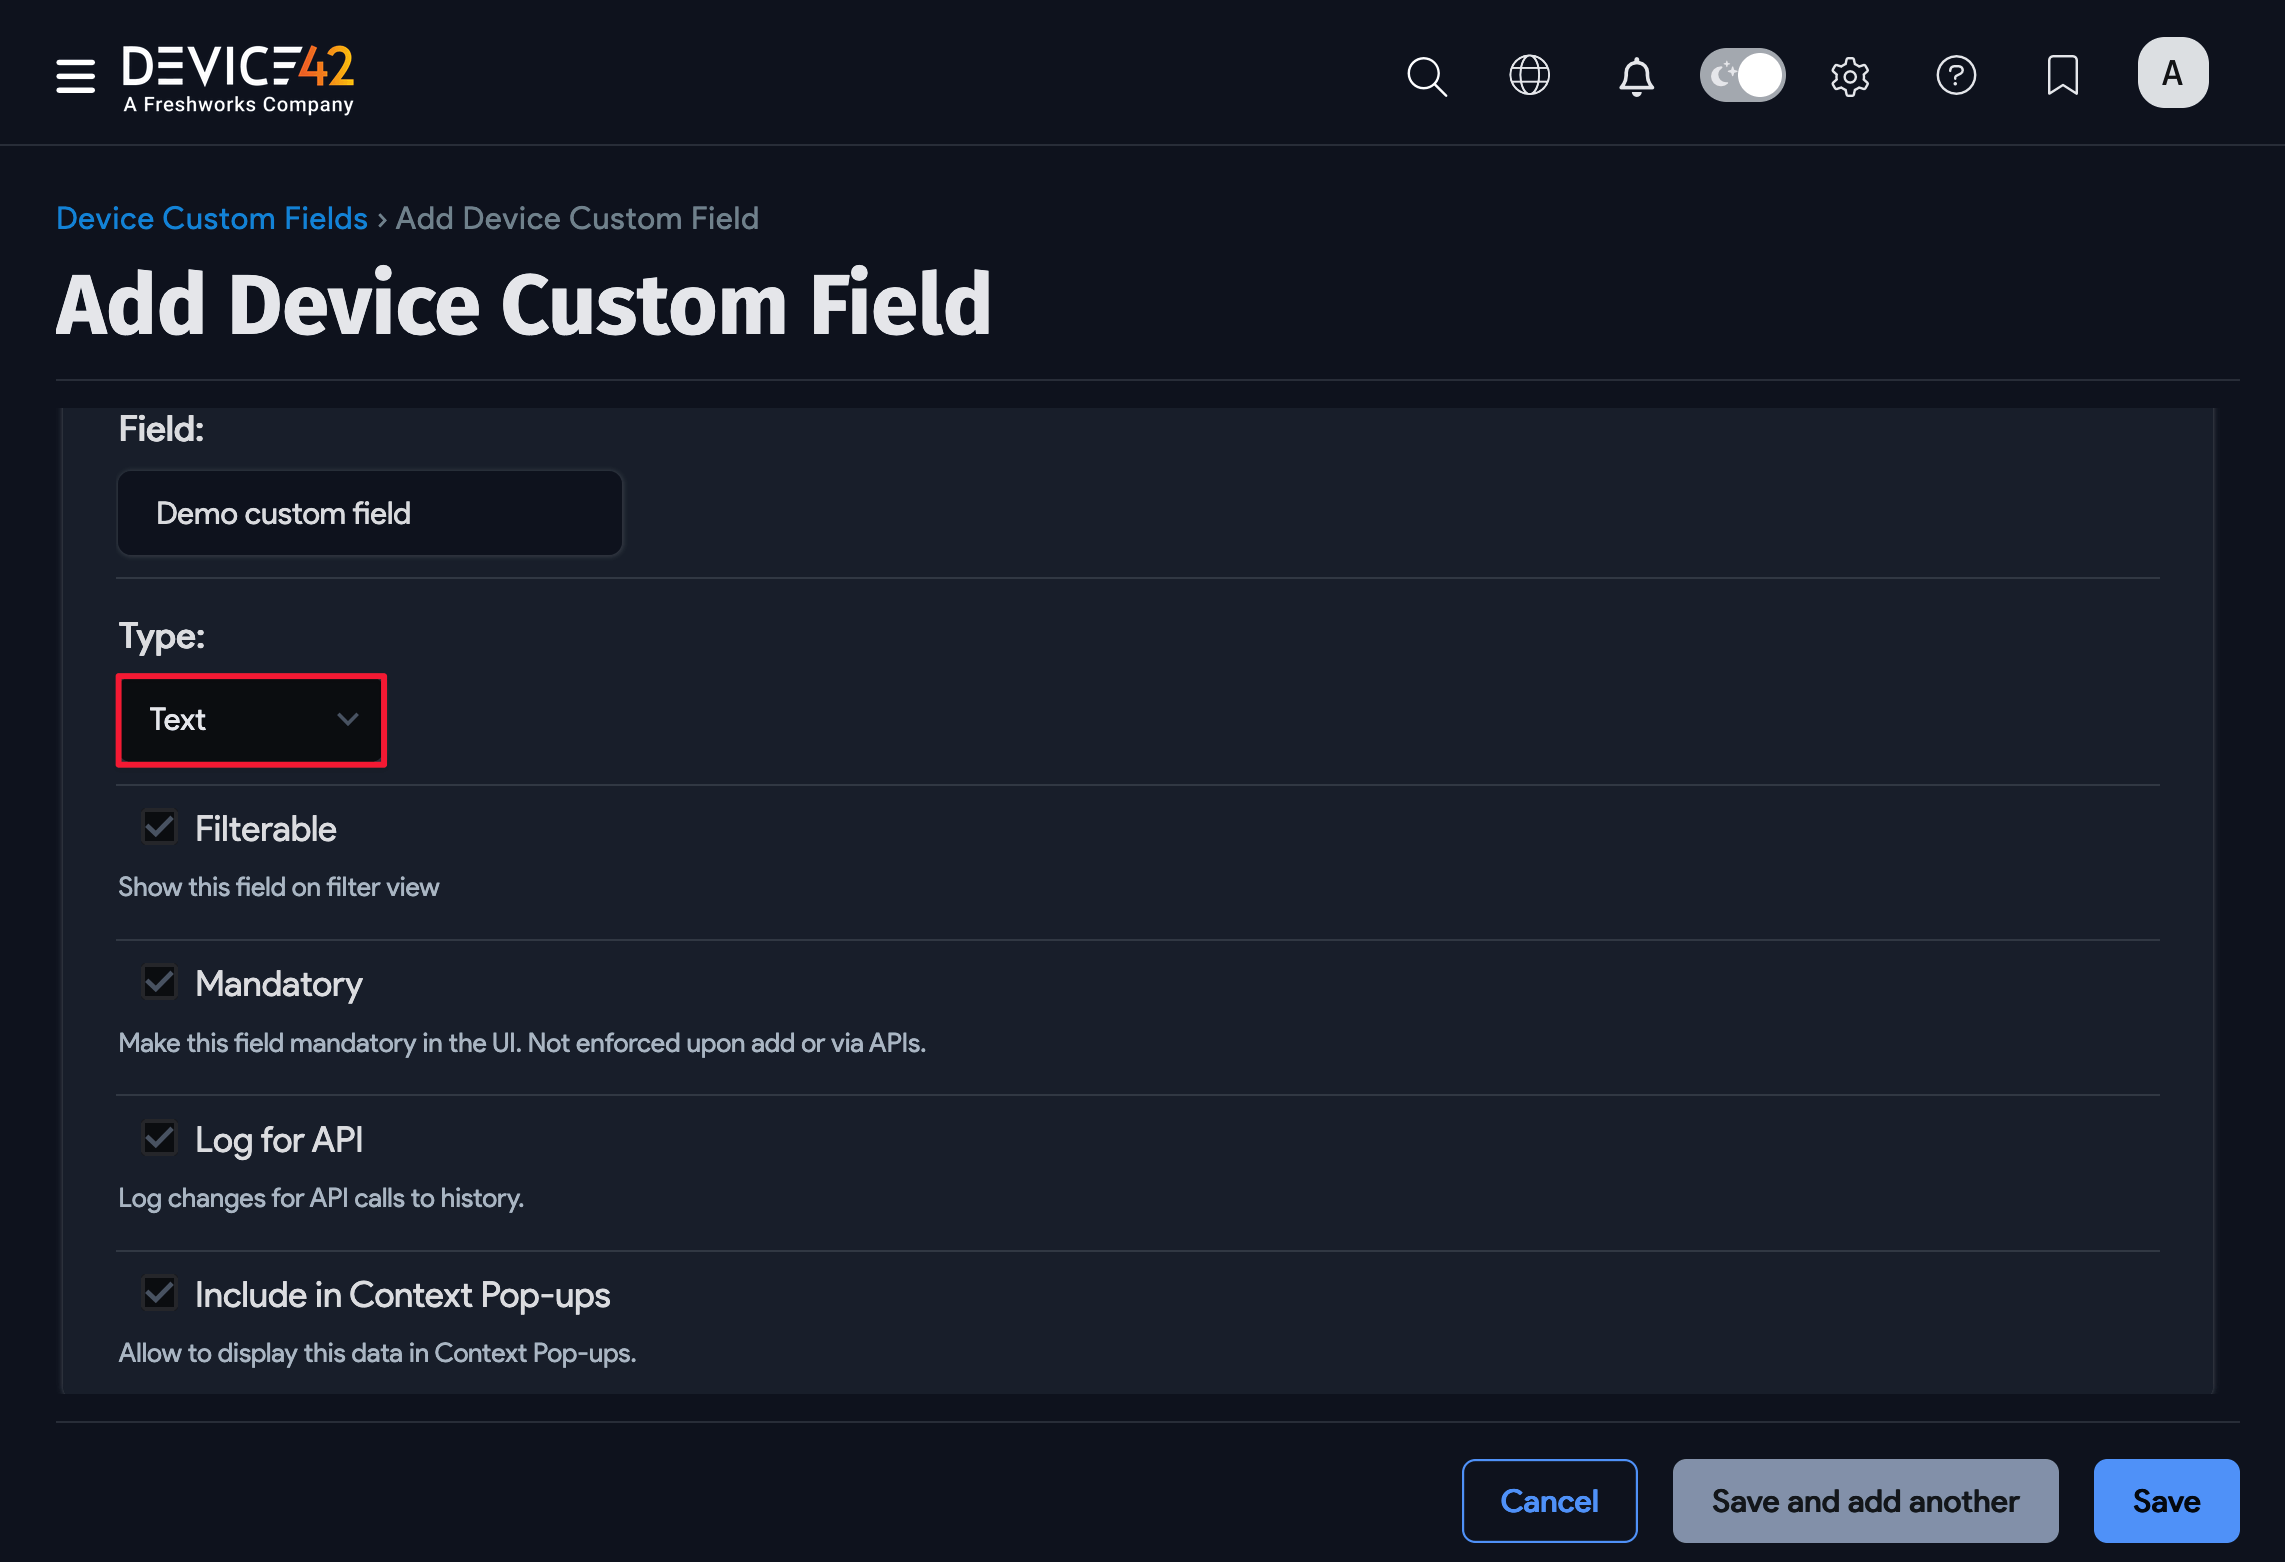
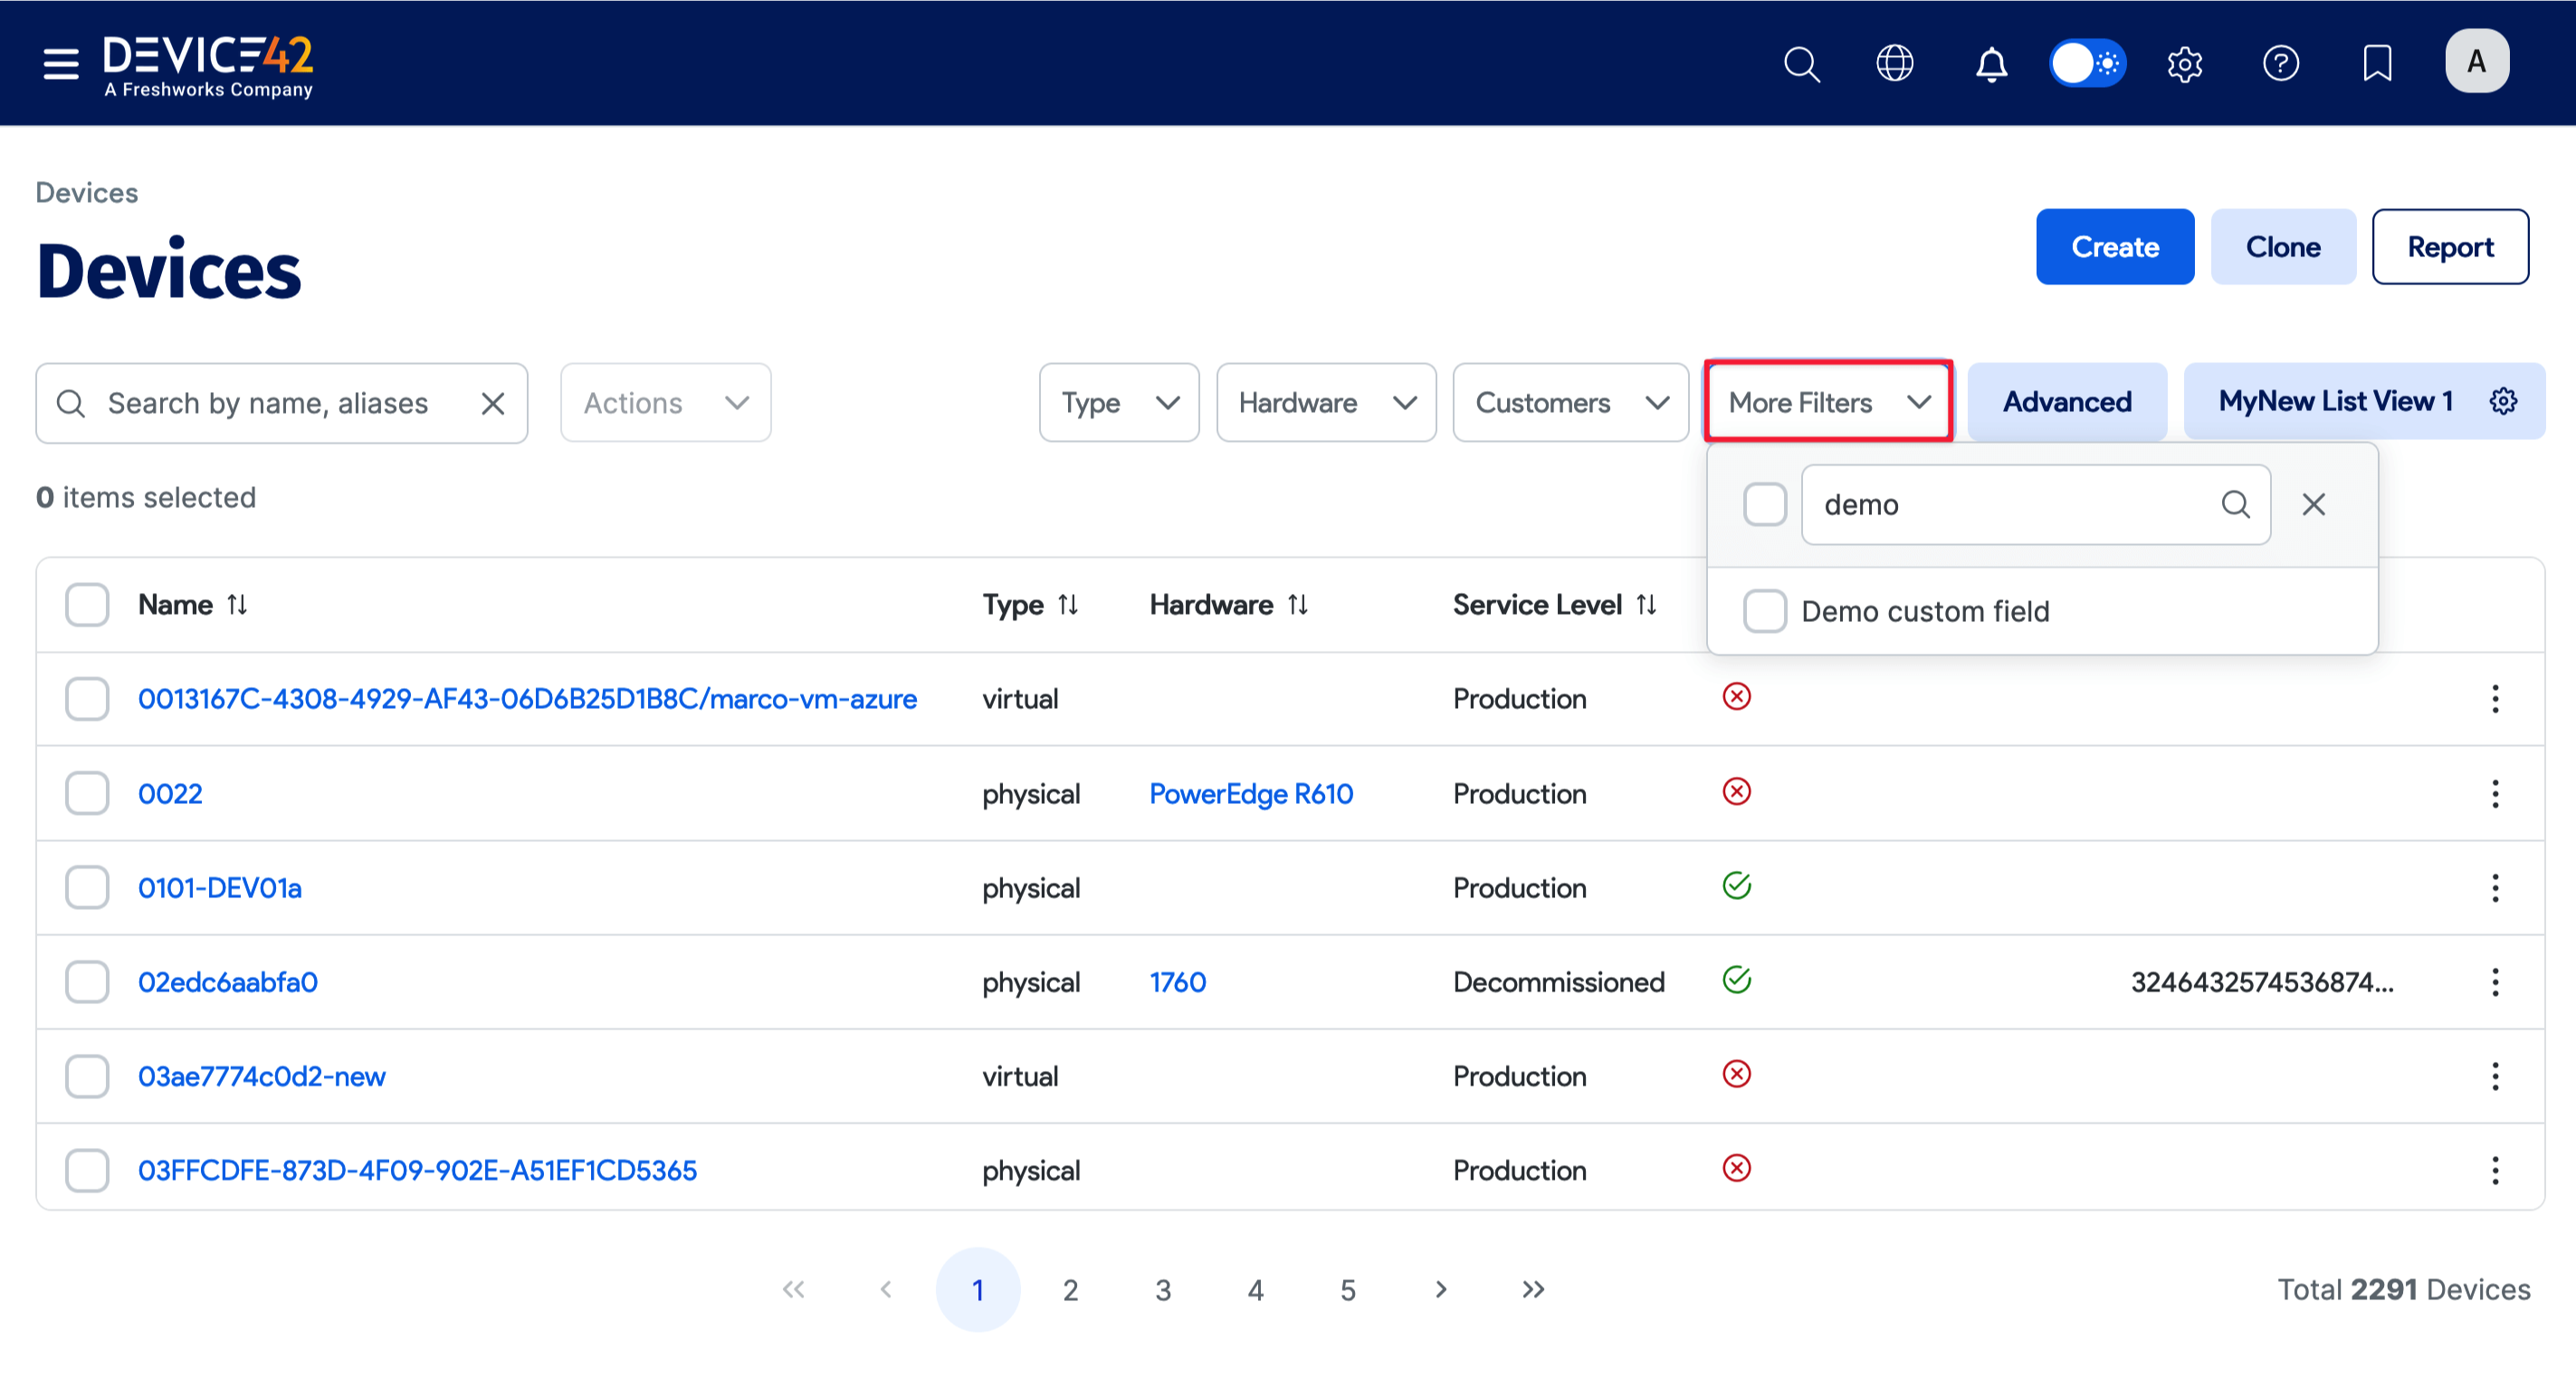
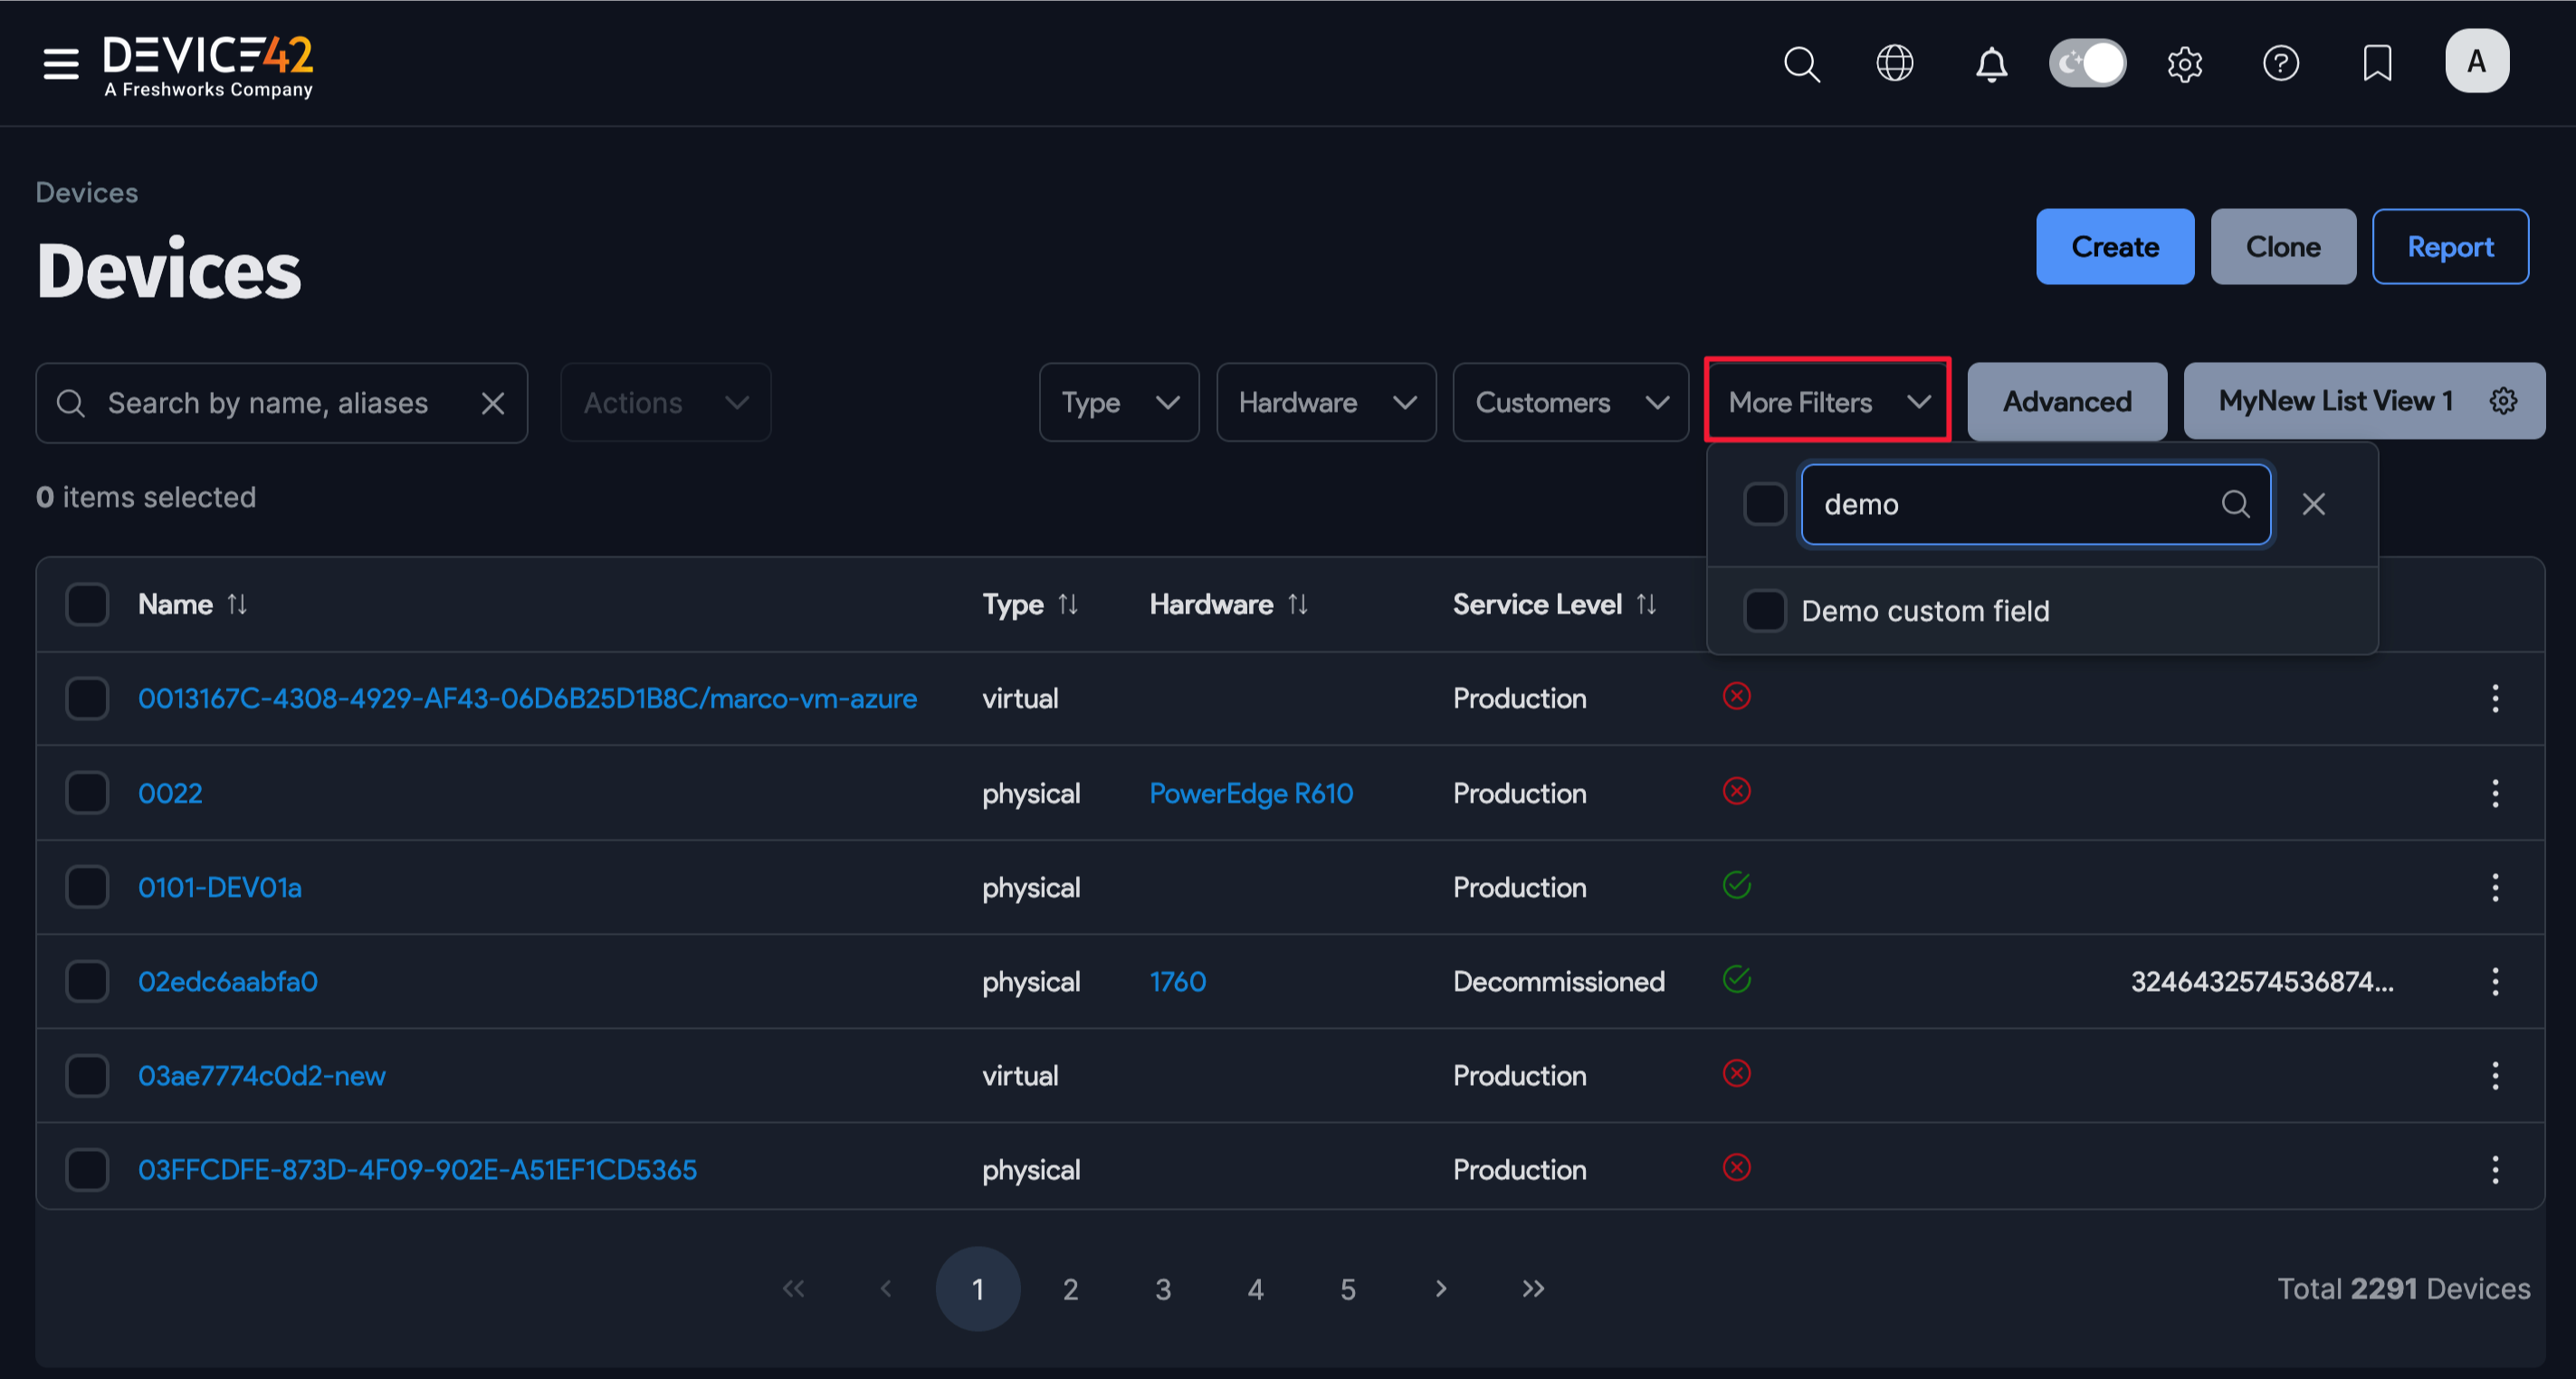
Check the Filterable box to add the Custom Field as a filter option on the list view page for the object type (for example, Devices). You can find filterable Custom Fields in the More Filters dropdown.
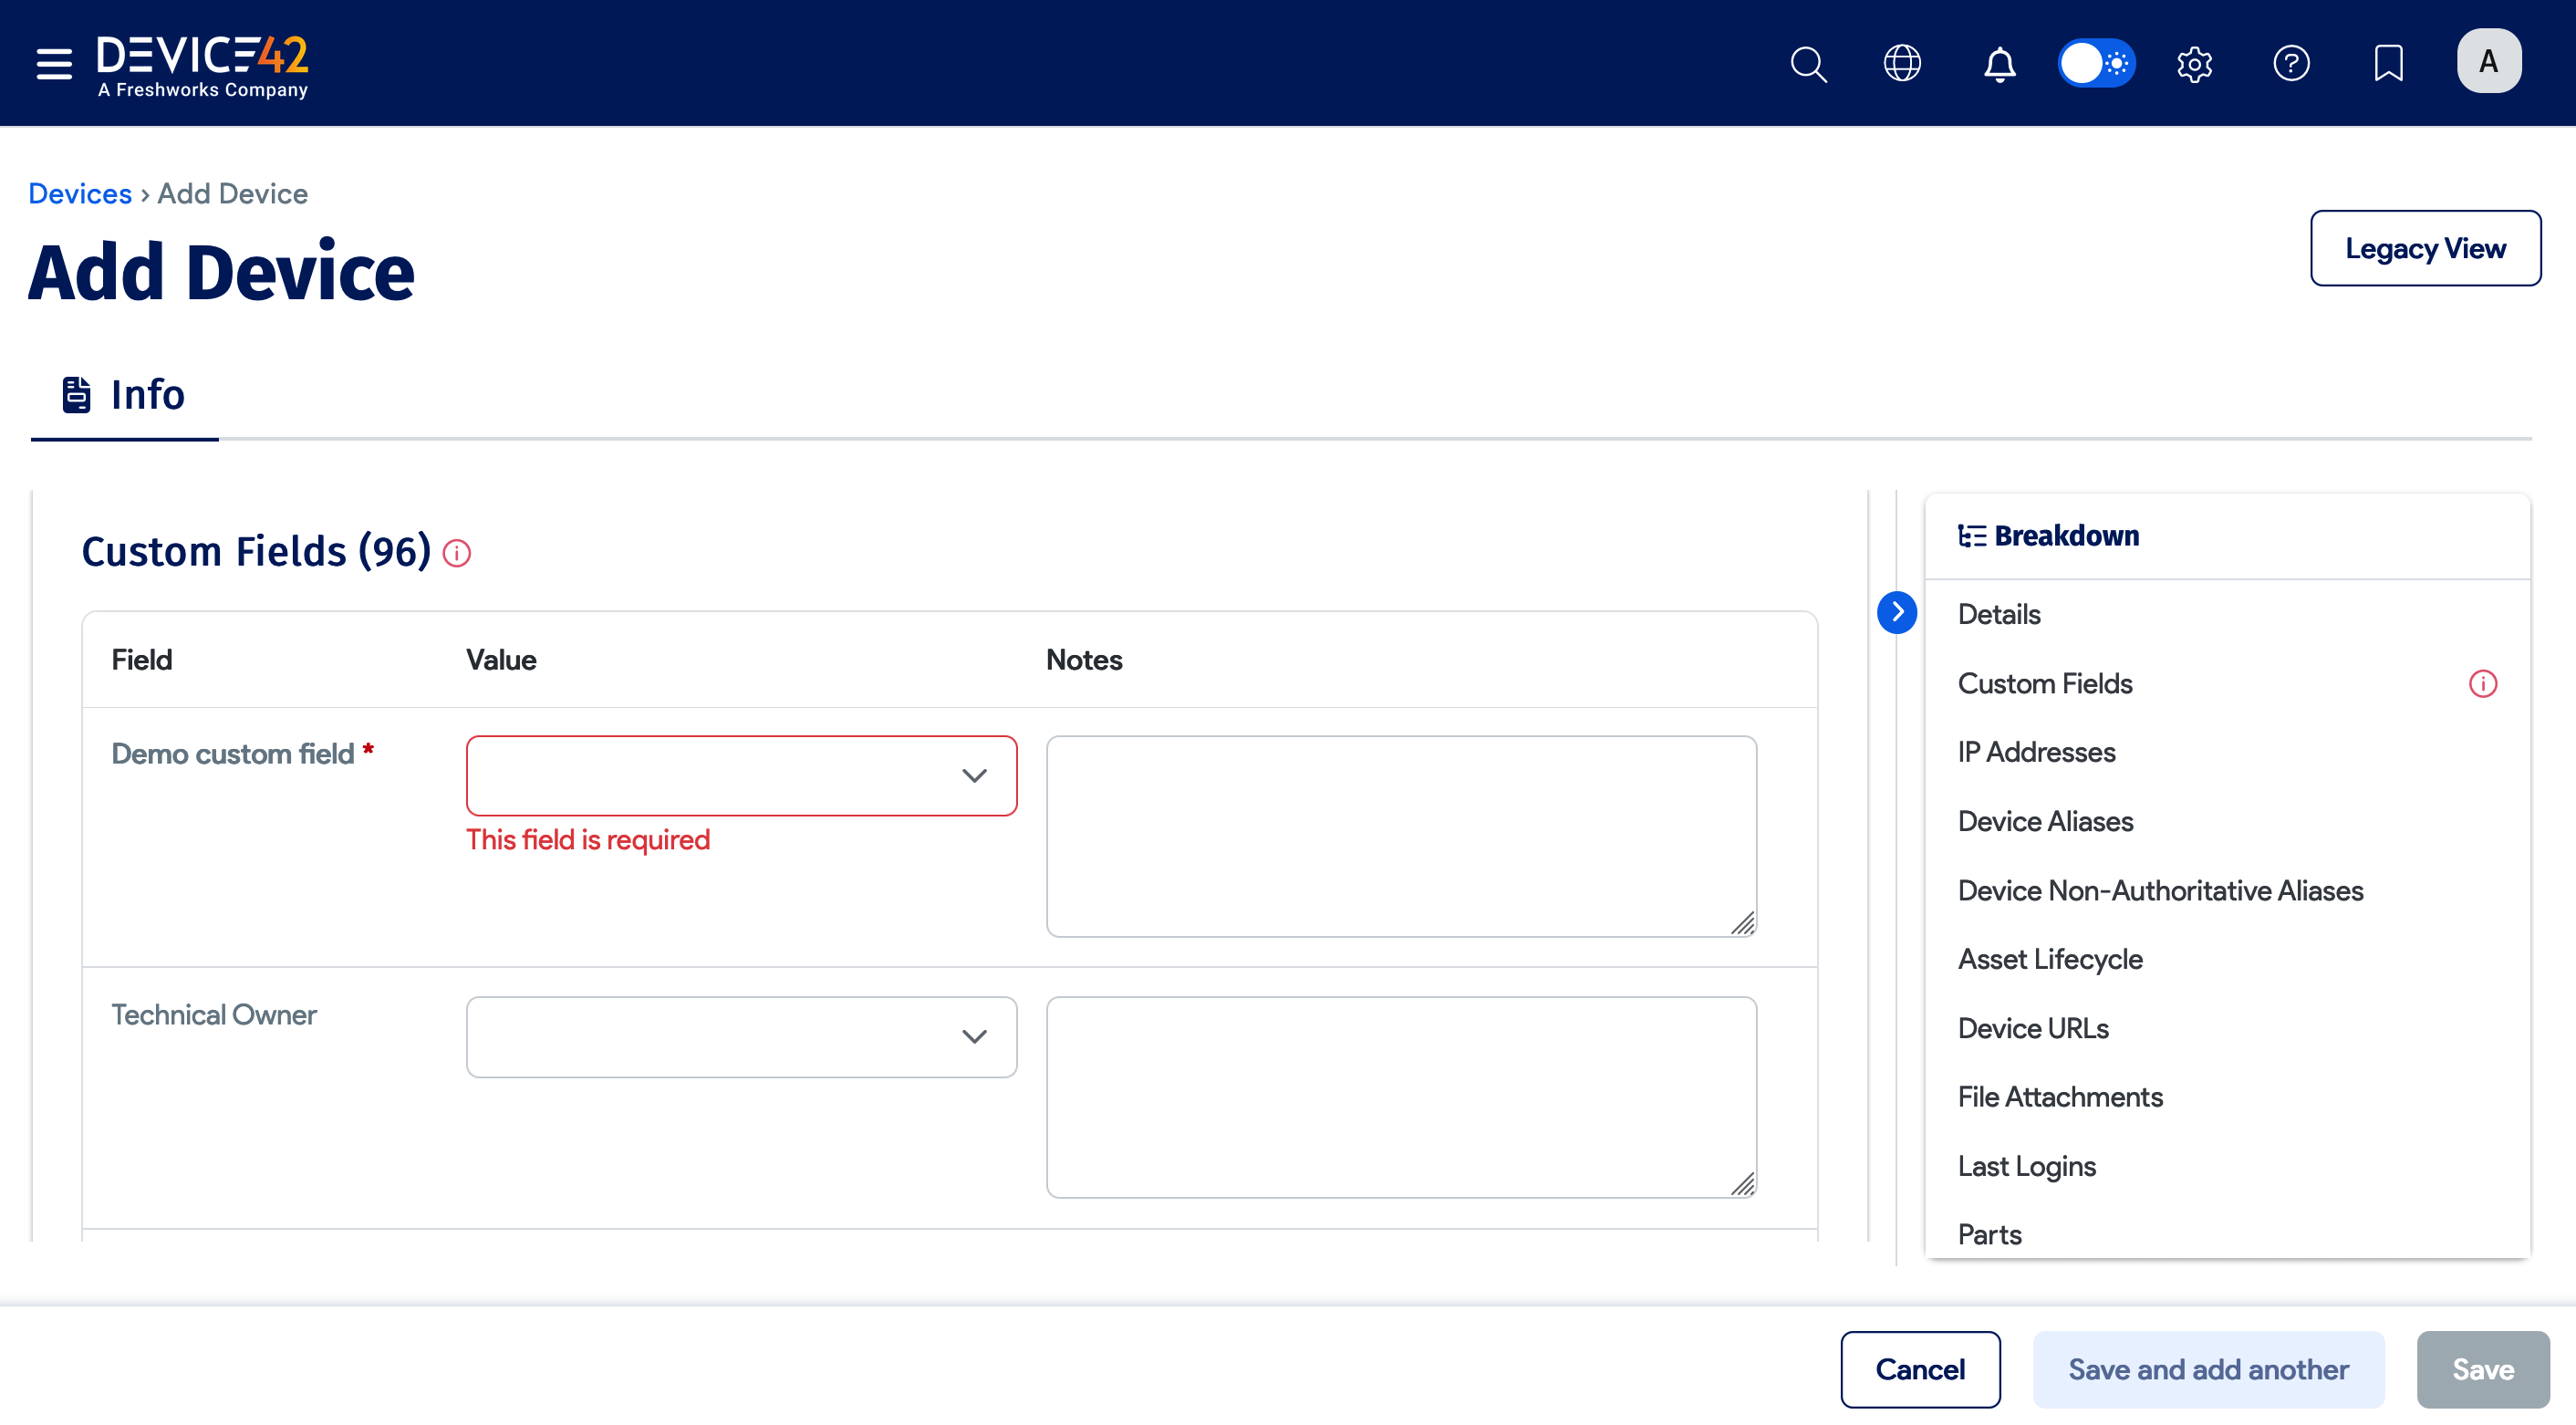
If a Custom Field is marked as Mandatory, the object record can only be saved once a value has been entered for that field. Note that the mandatory requirement is only enforced when objects are edited or added via the UI, not via the API.
Bulk Set Custom Field Values
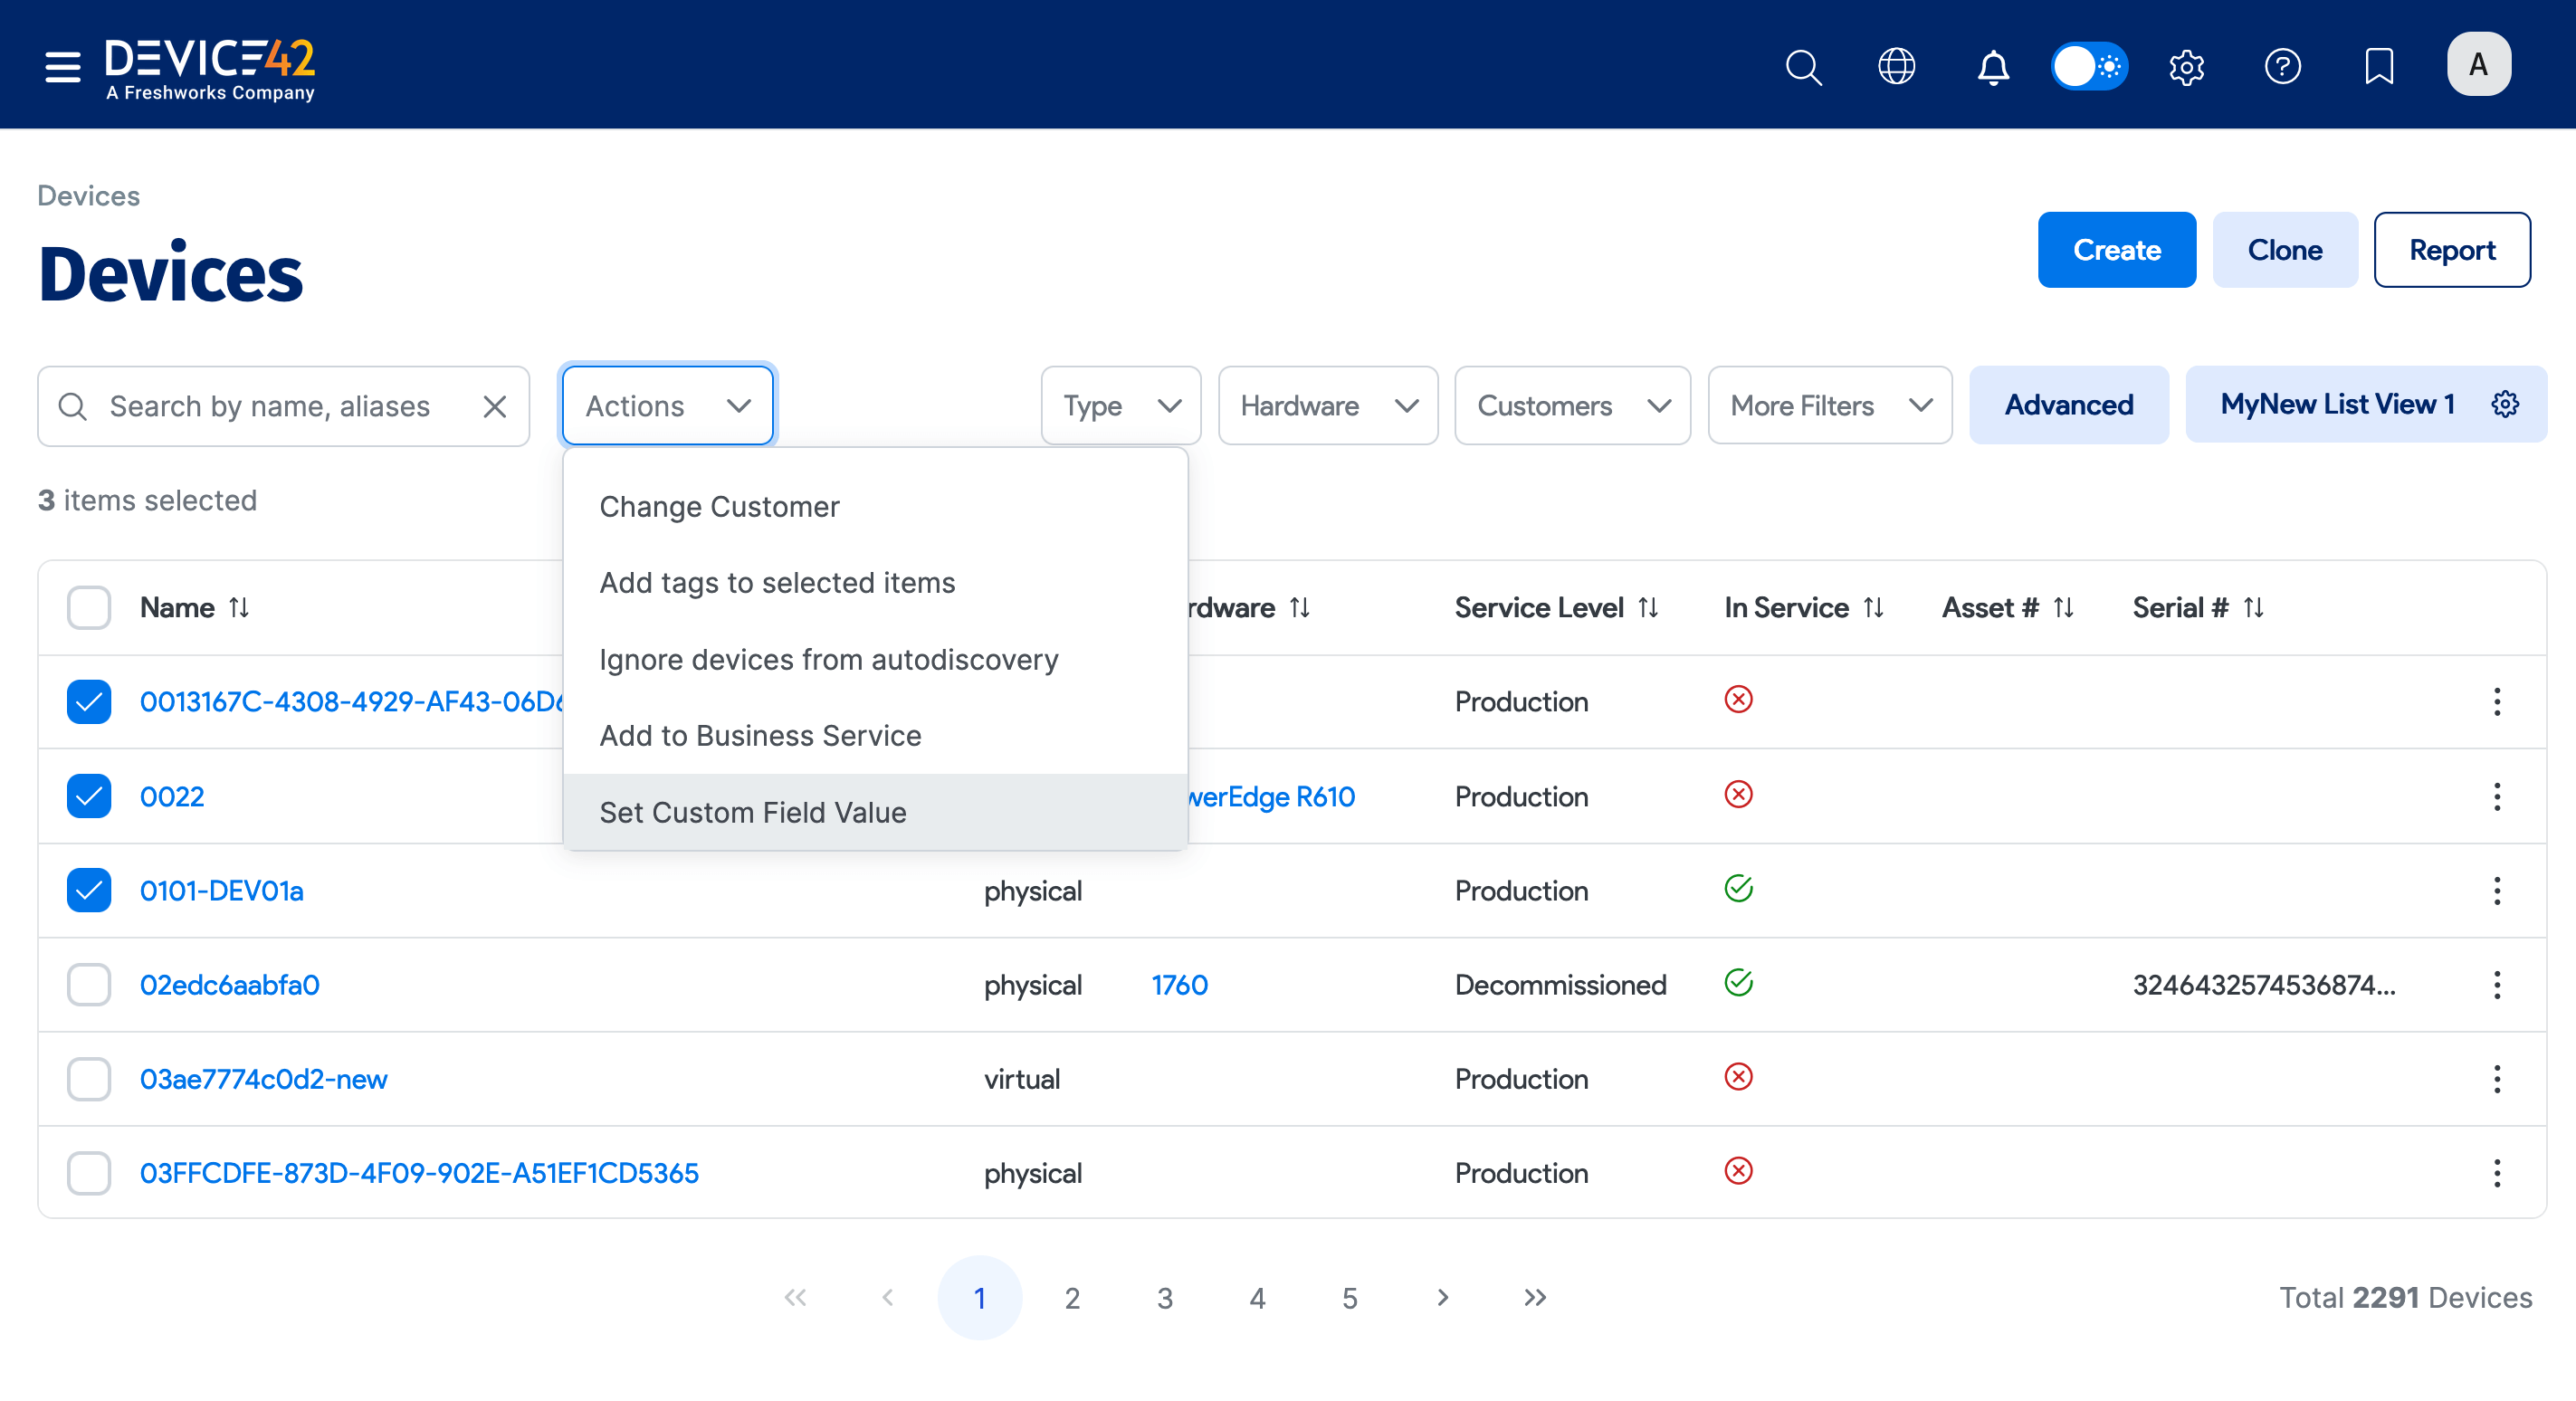
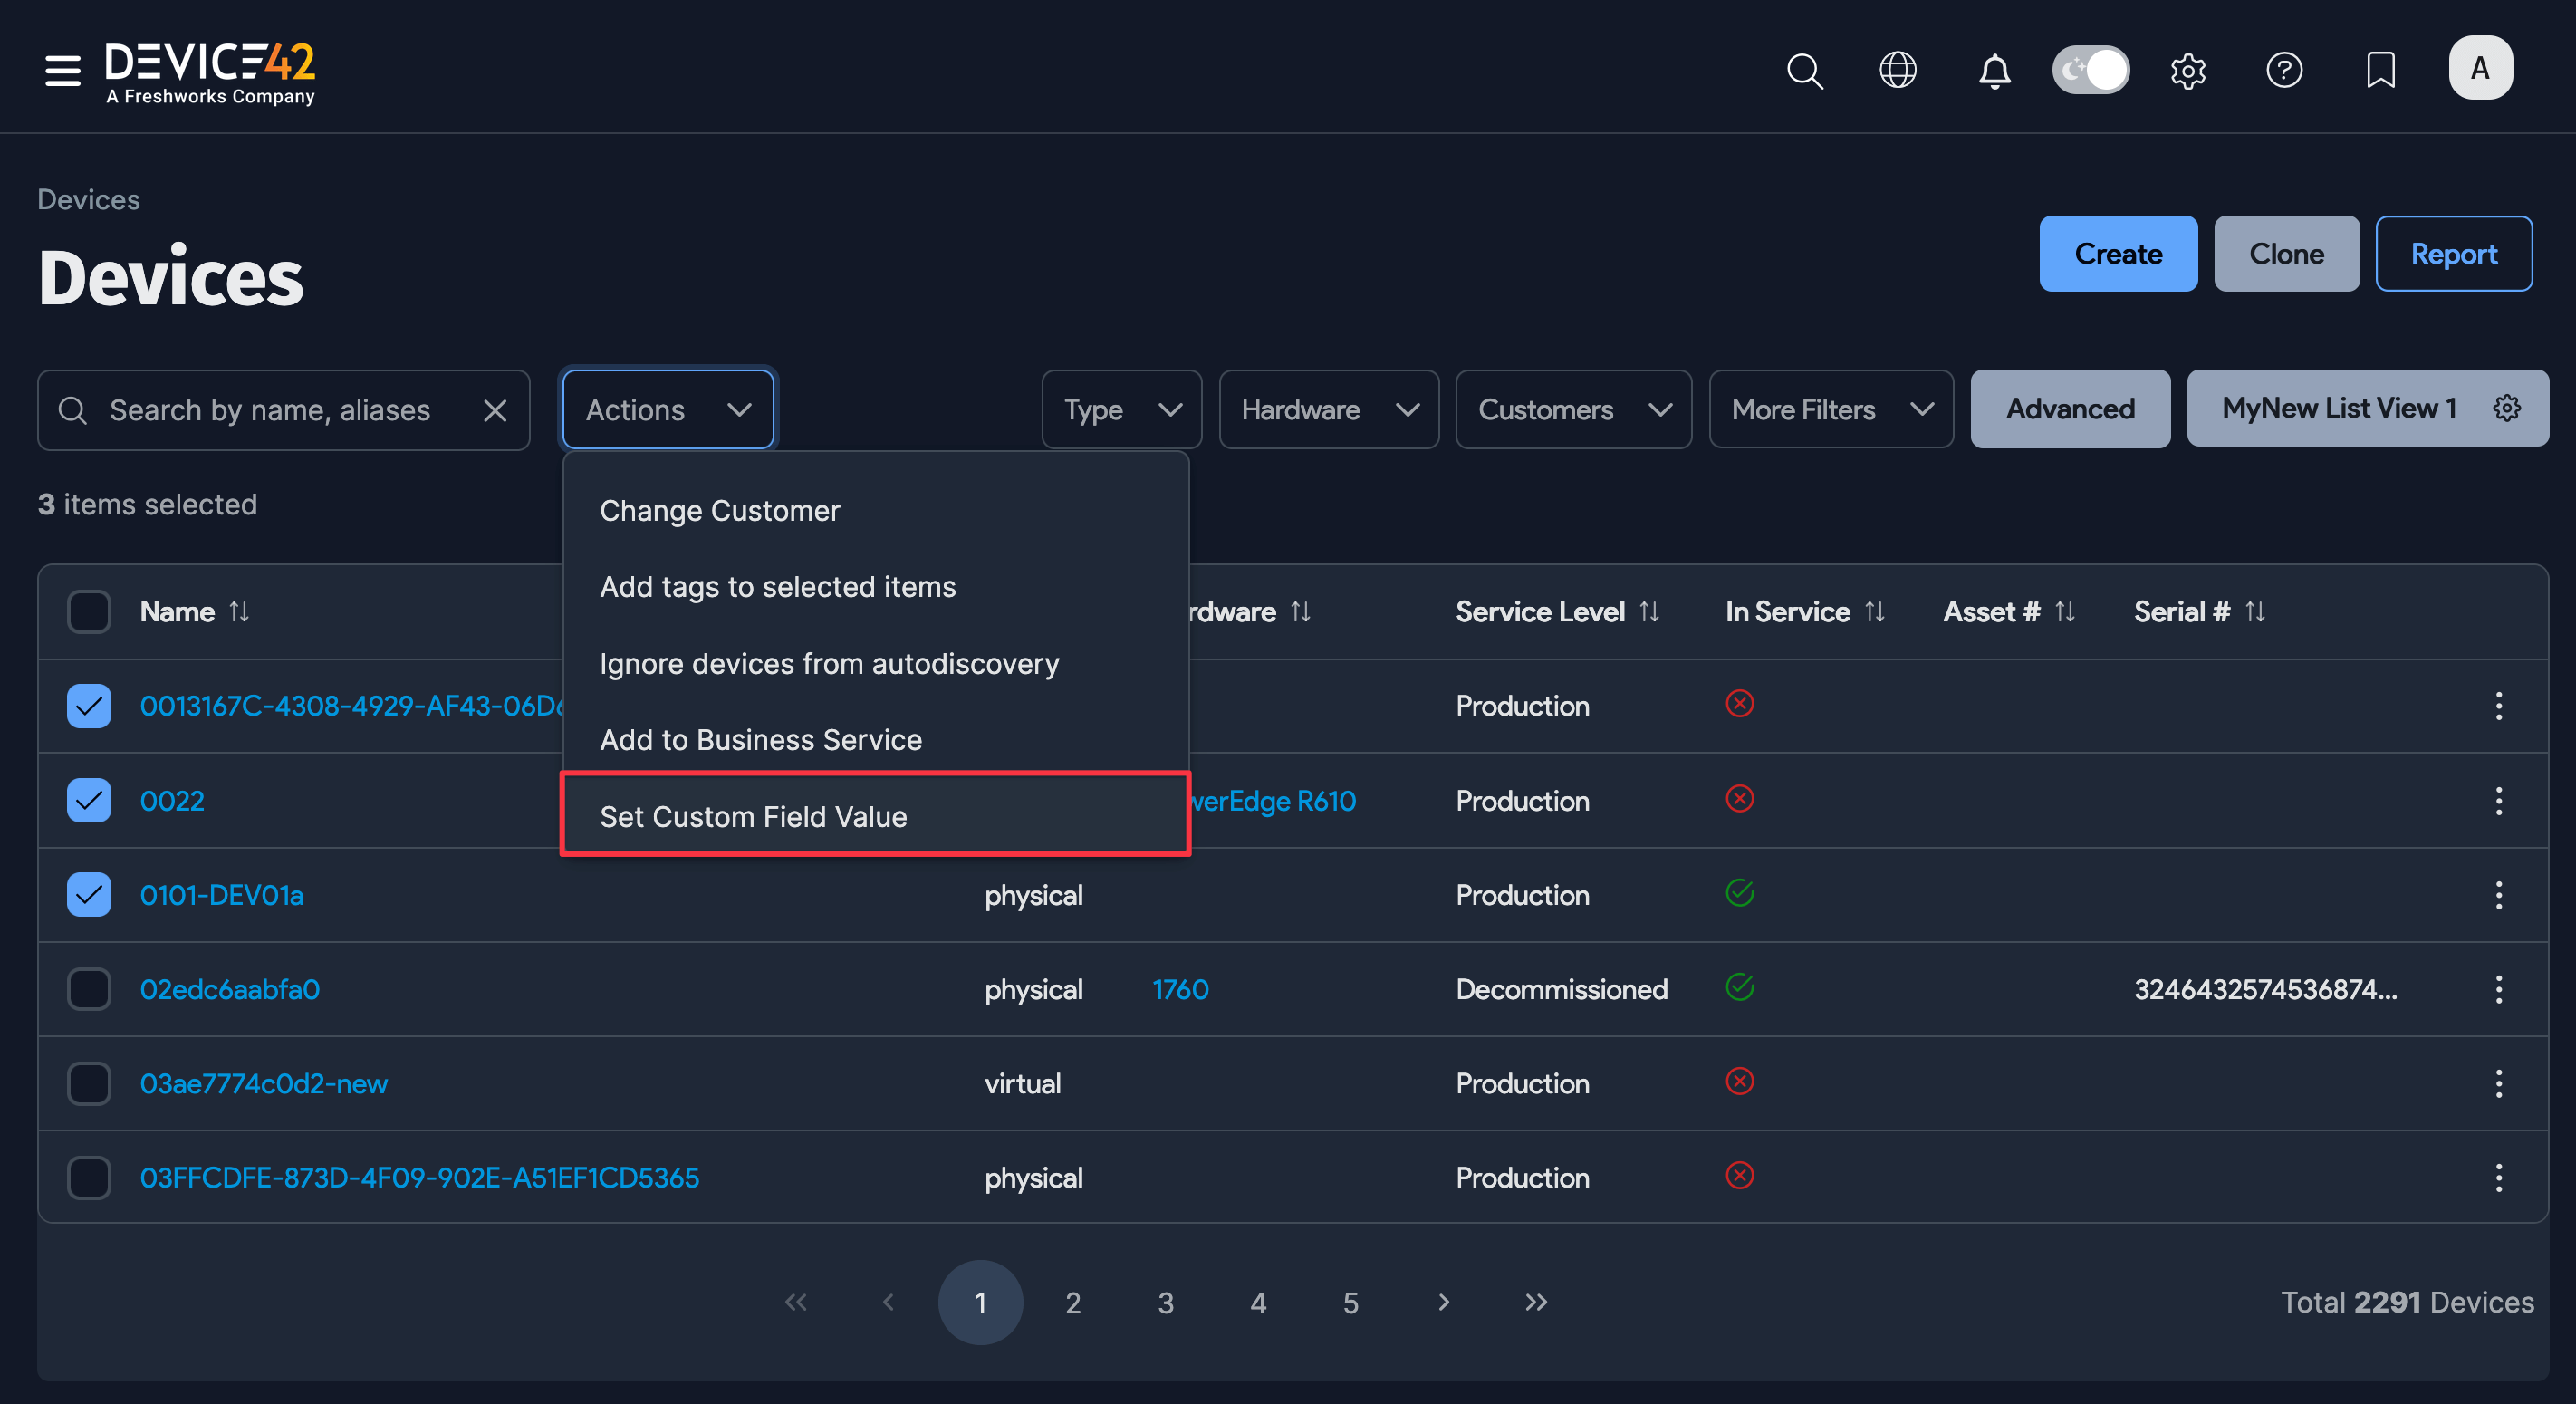
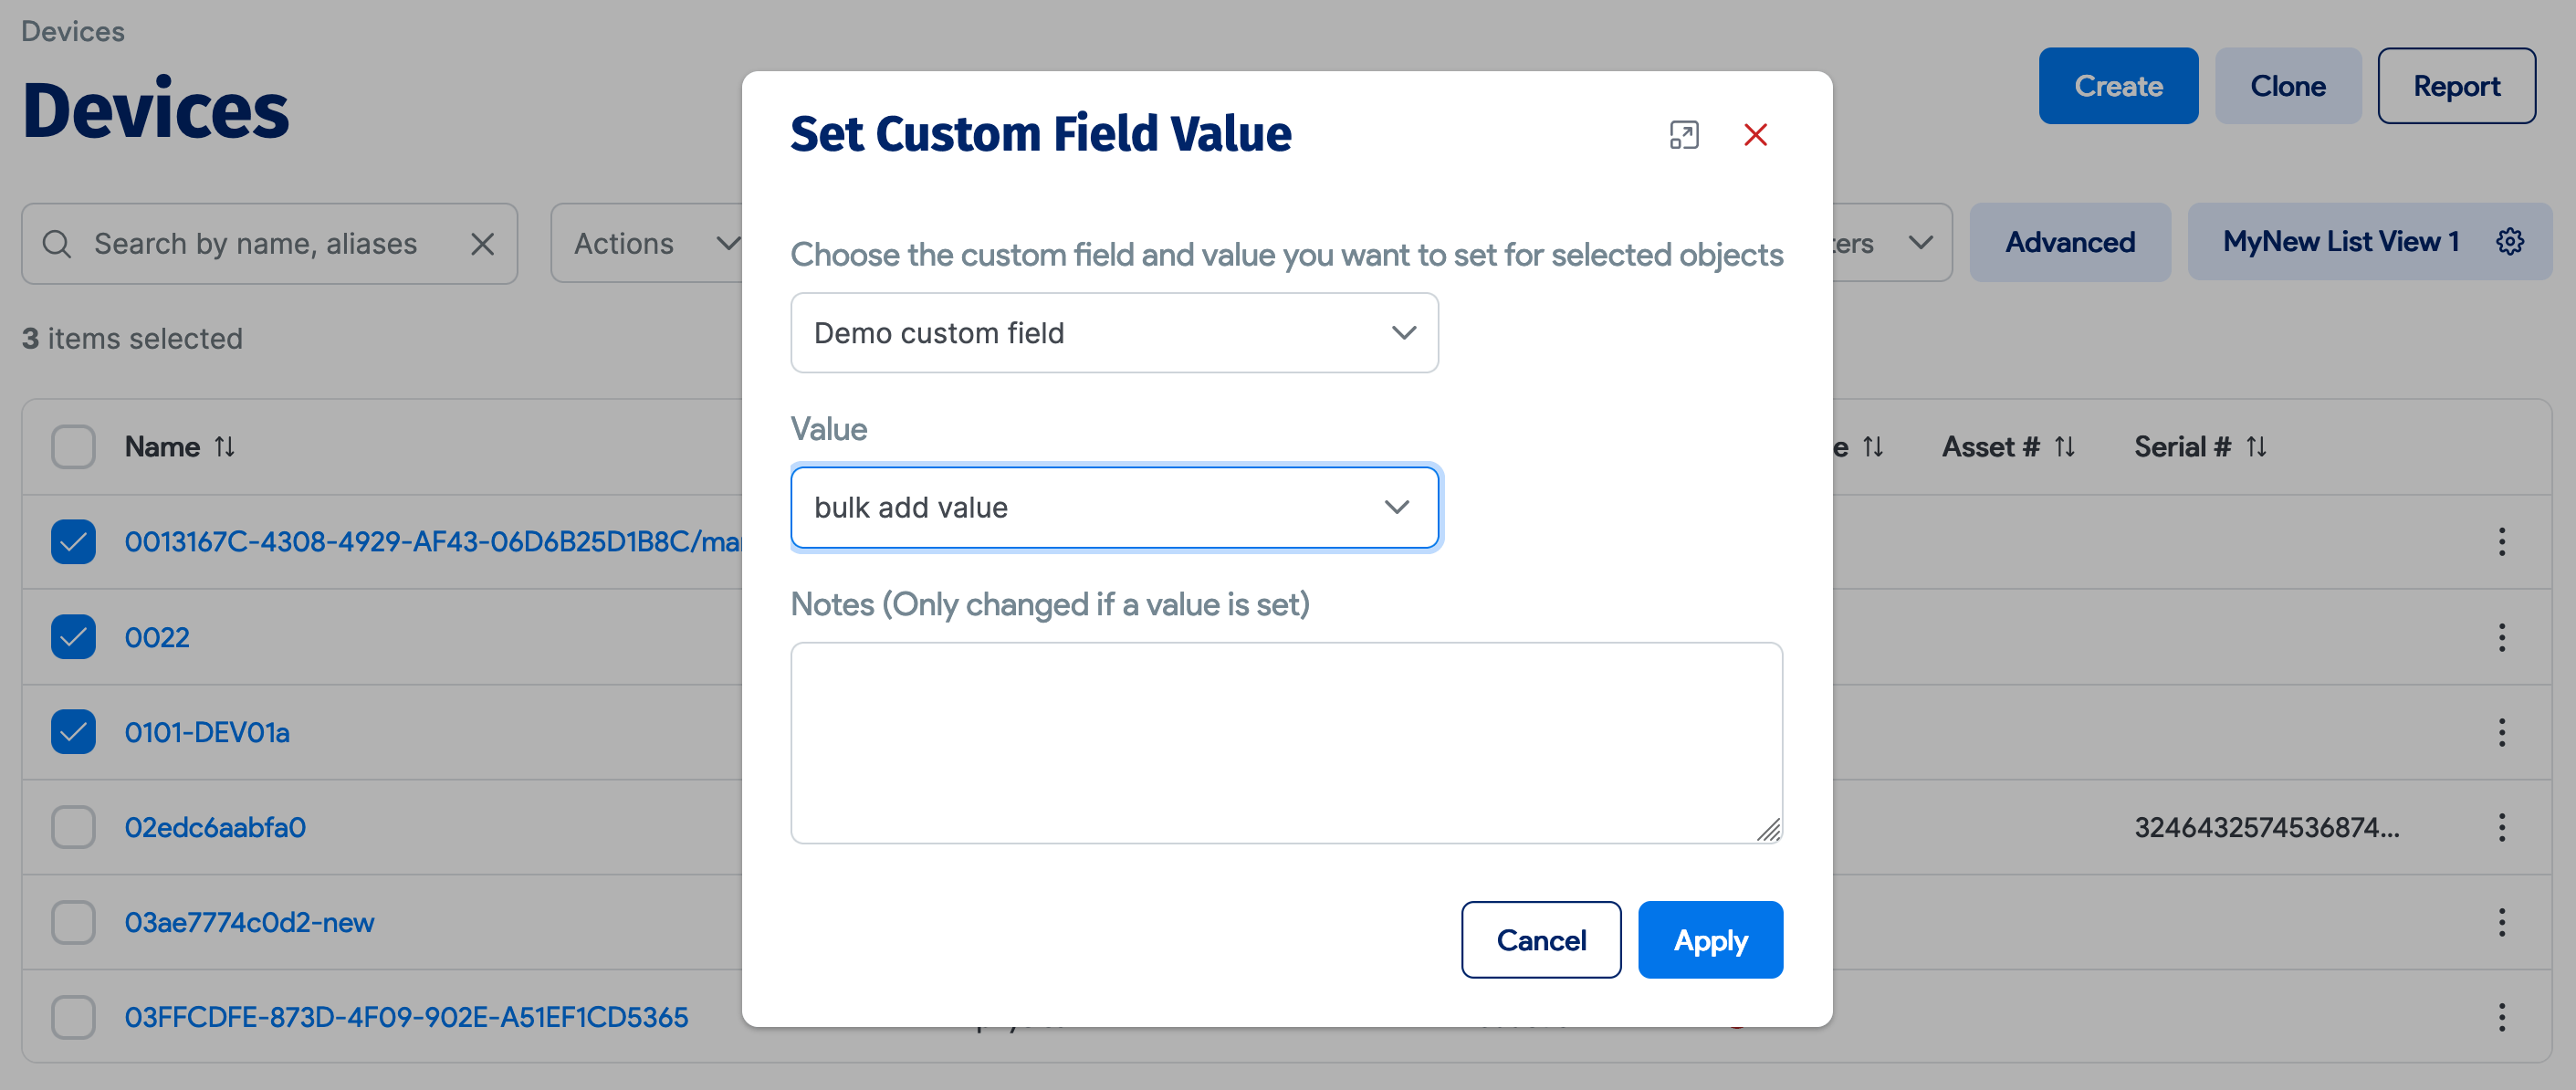
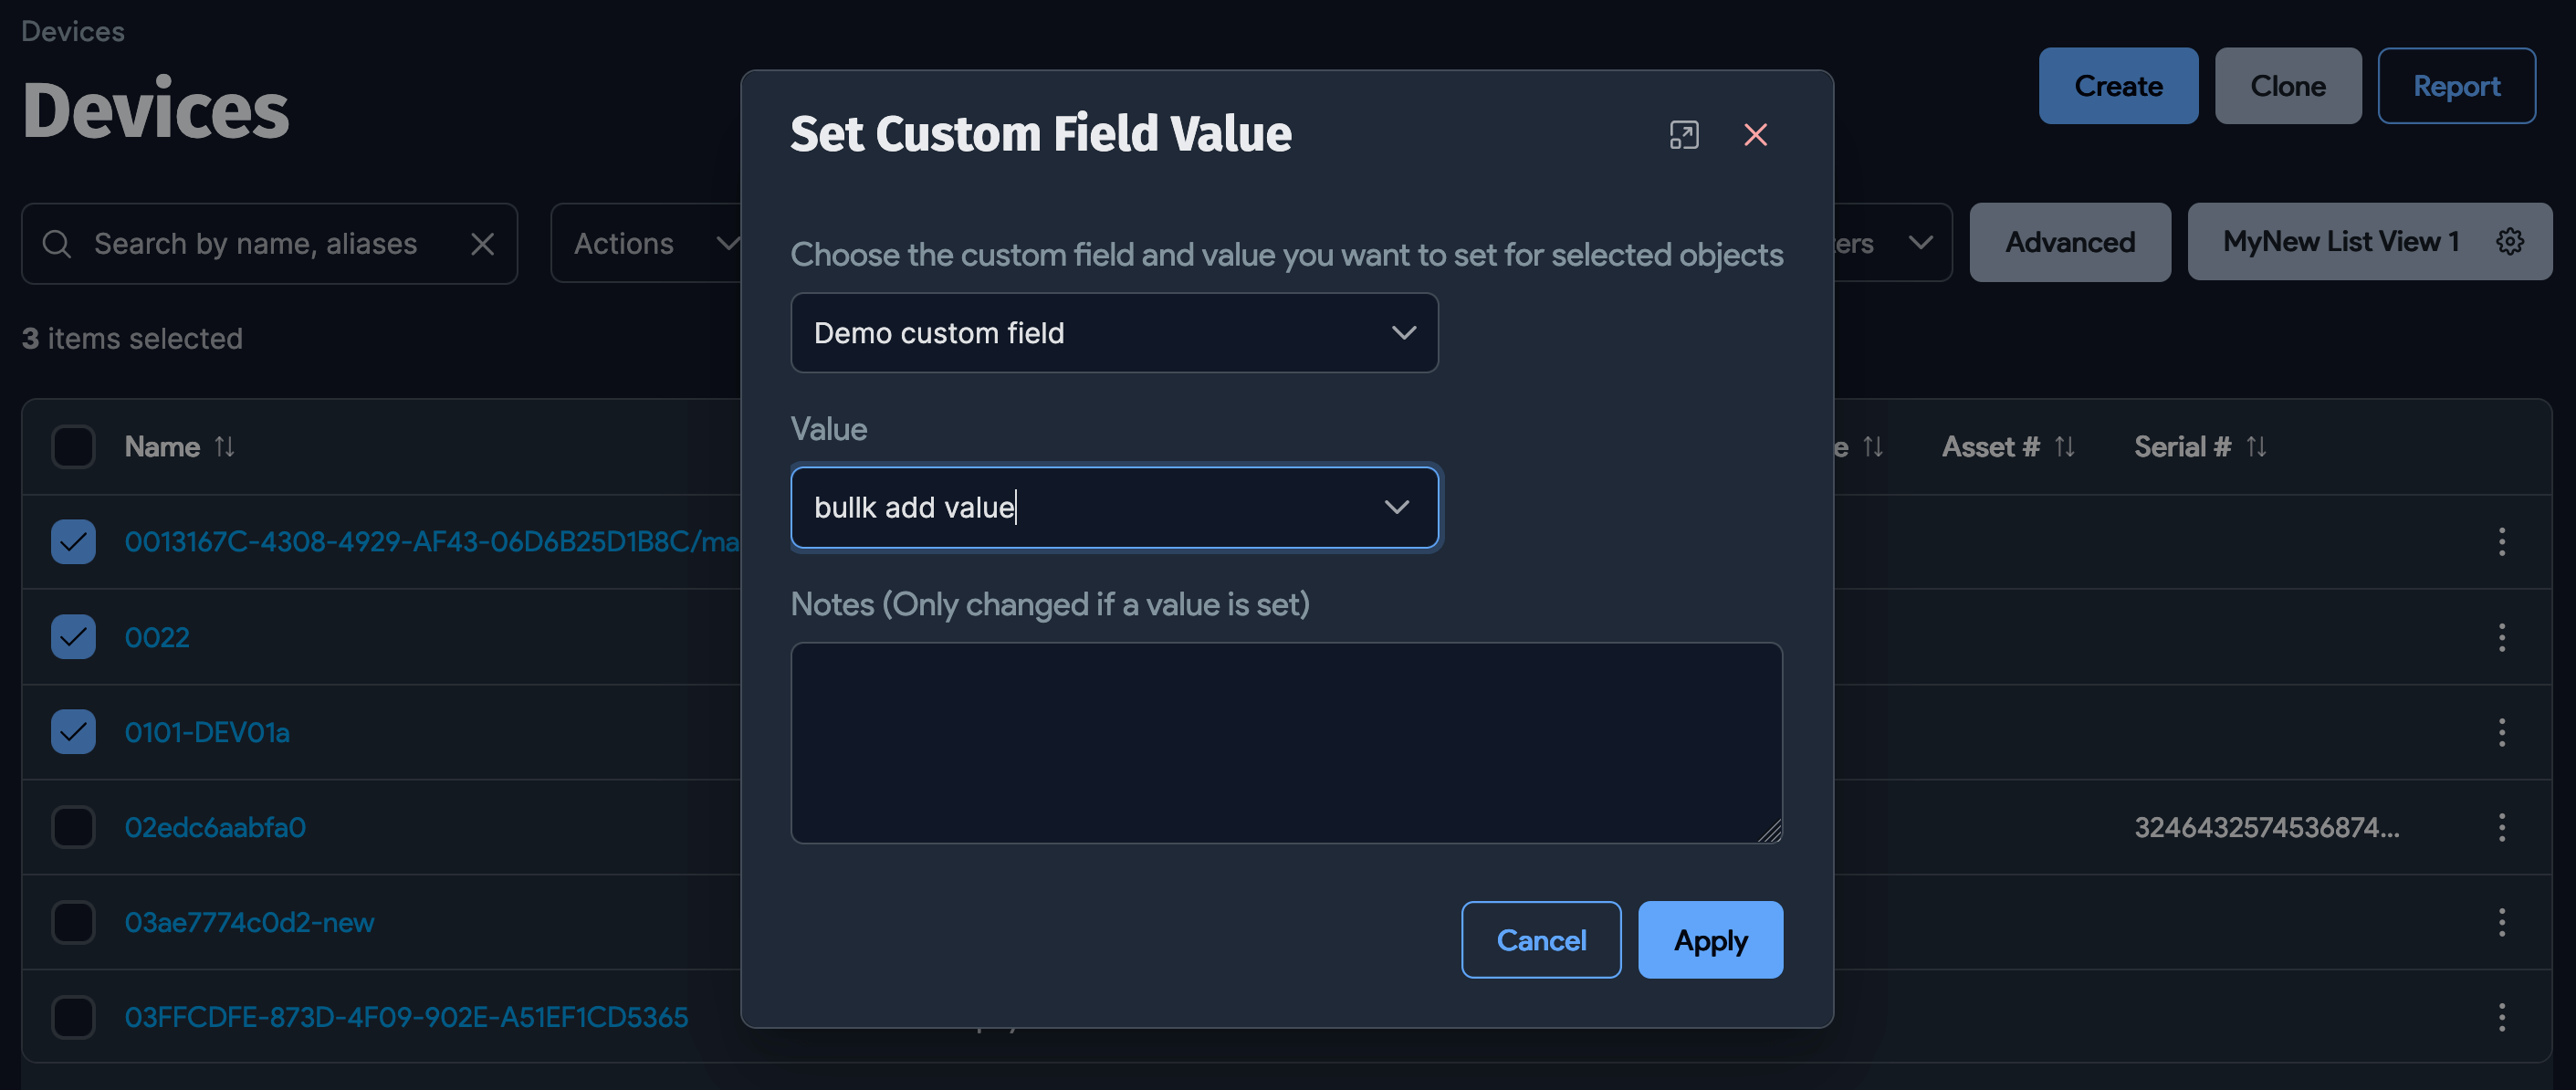
Set Custom Field values in bulk using the Set Custom Field Value action, available on most list pages from the Actions dropdown.
Search for the Custom Field you want to set values for, enter the necessary values, and optionally add a note.
Create a Custom Field for Secrets
You can add a Custom Field to the Secrets form to store additional values.
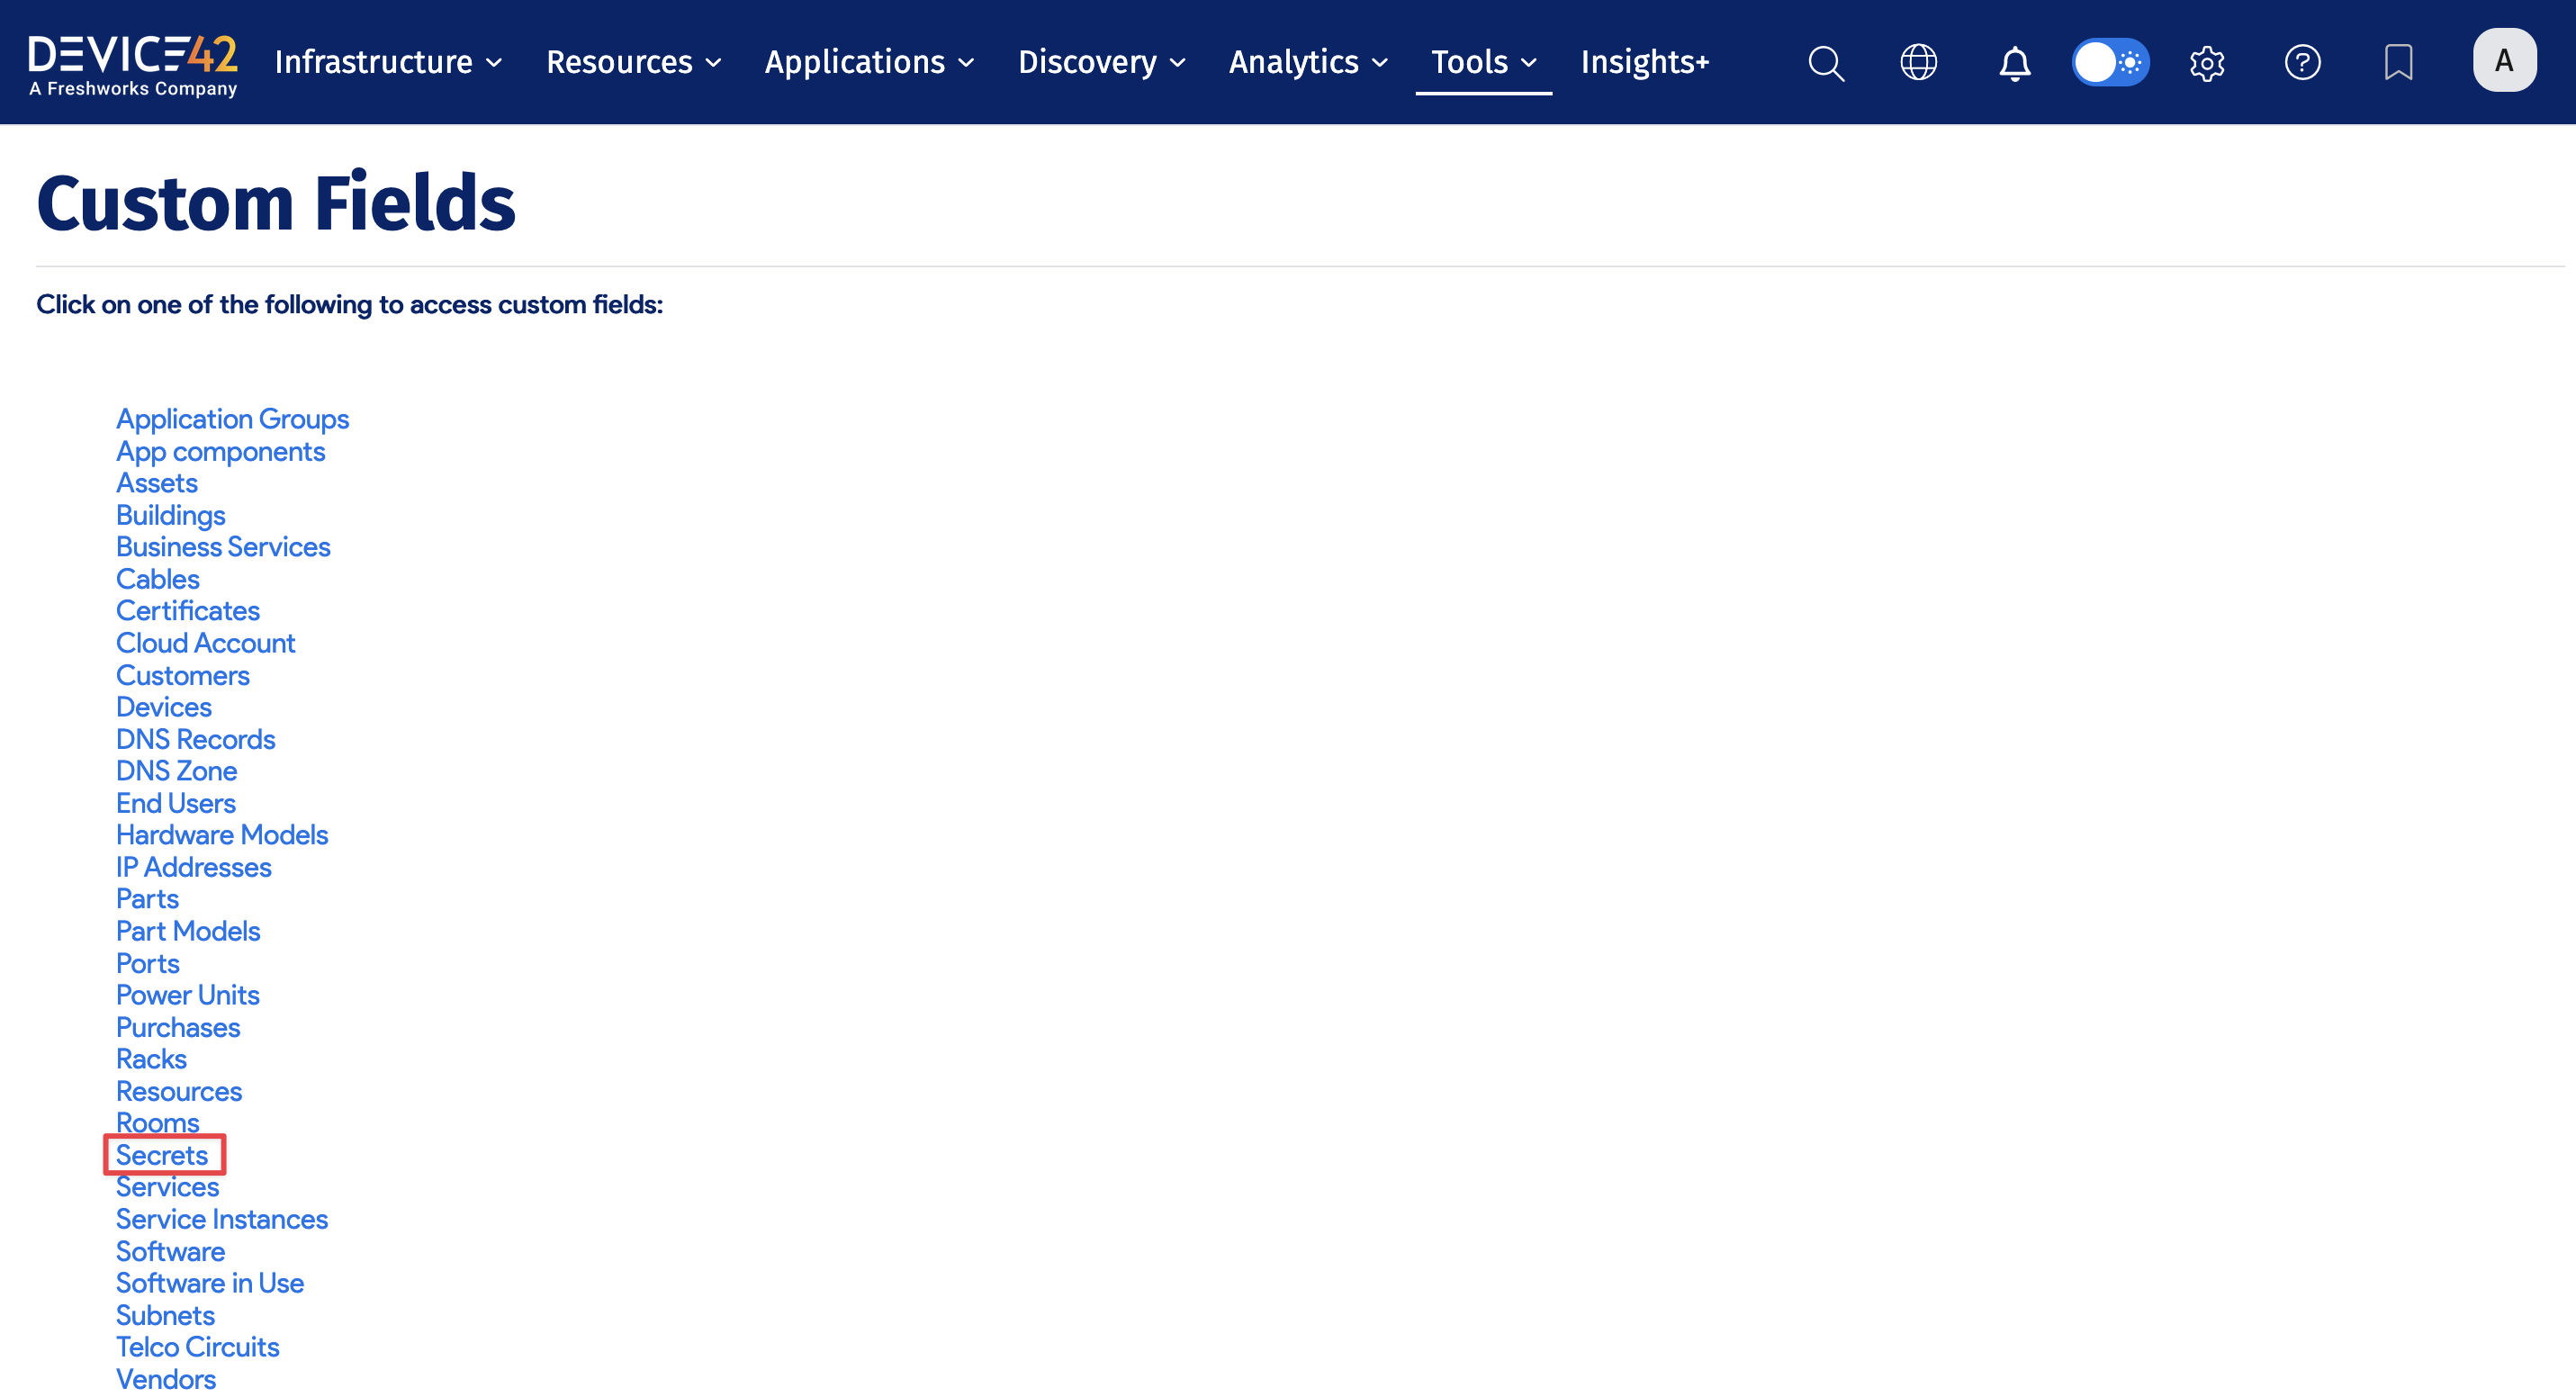
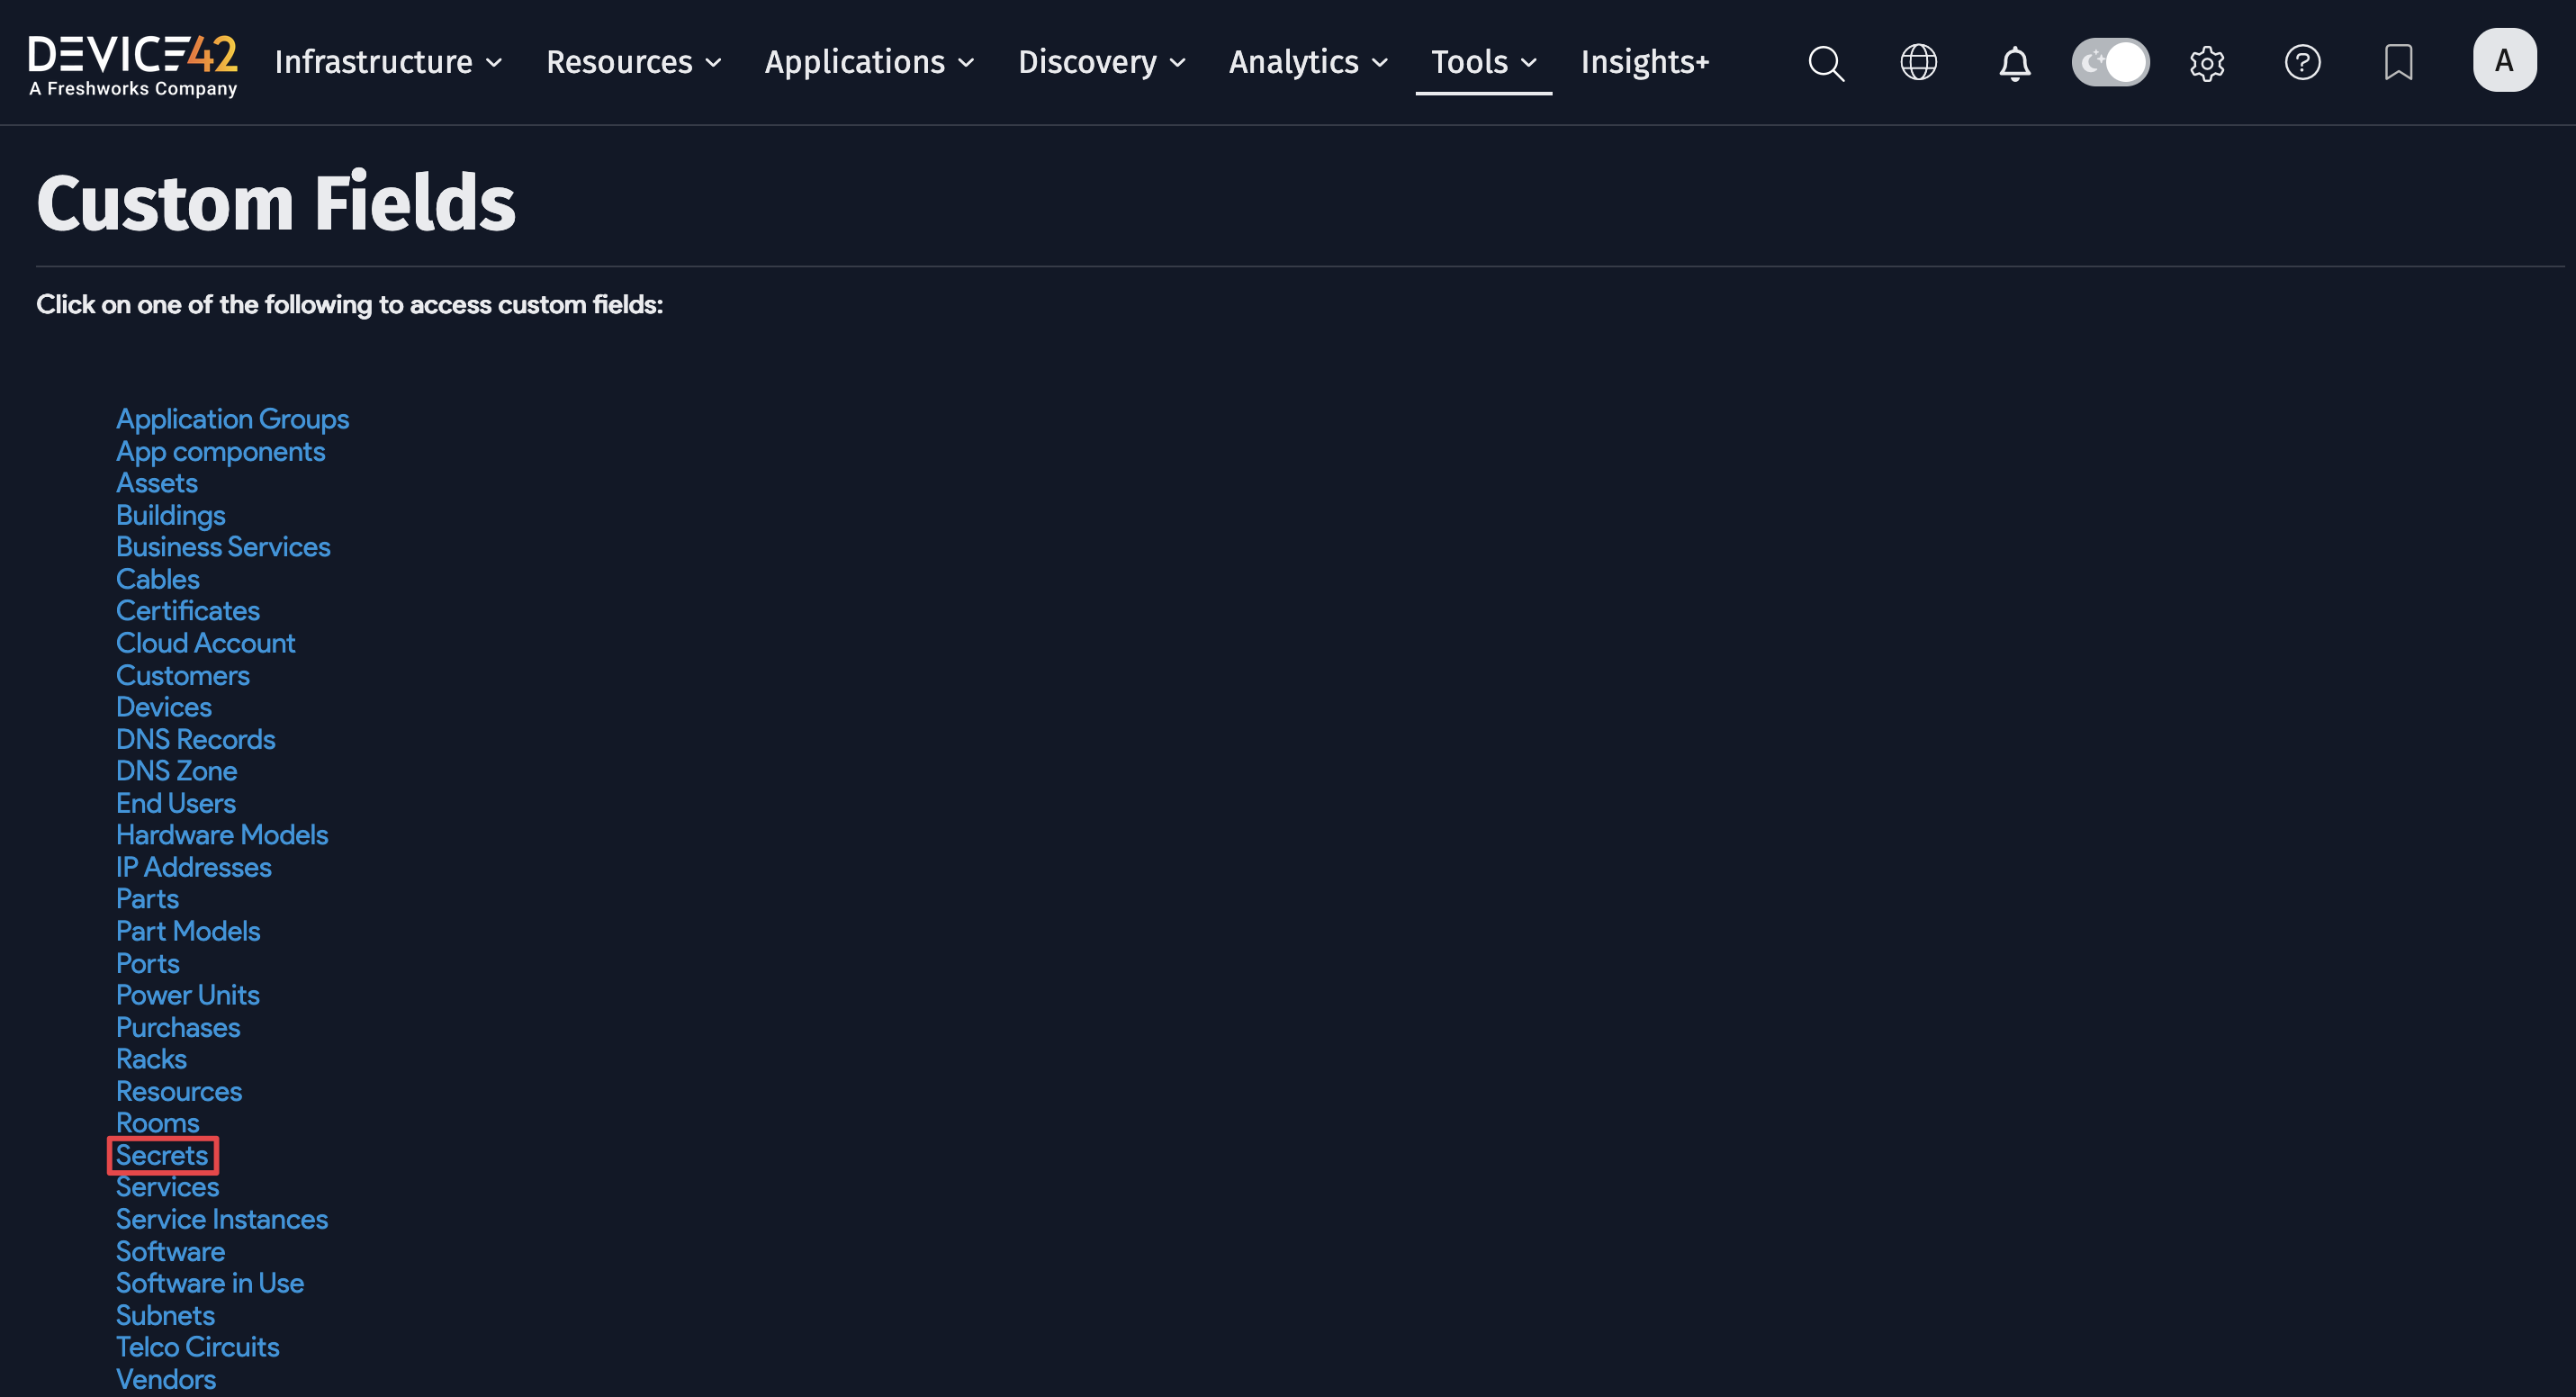
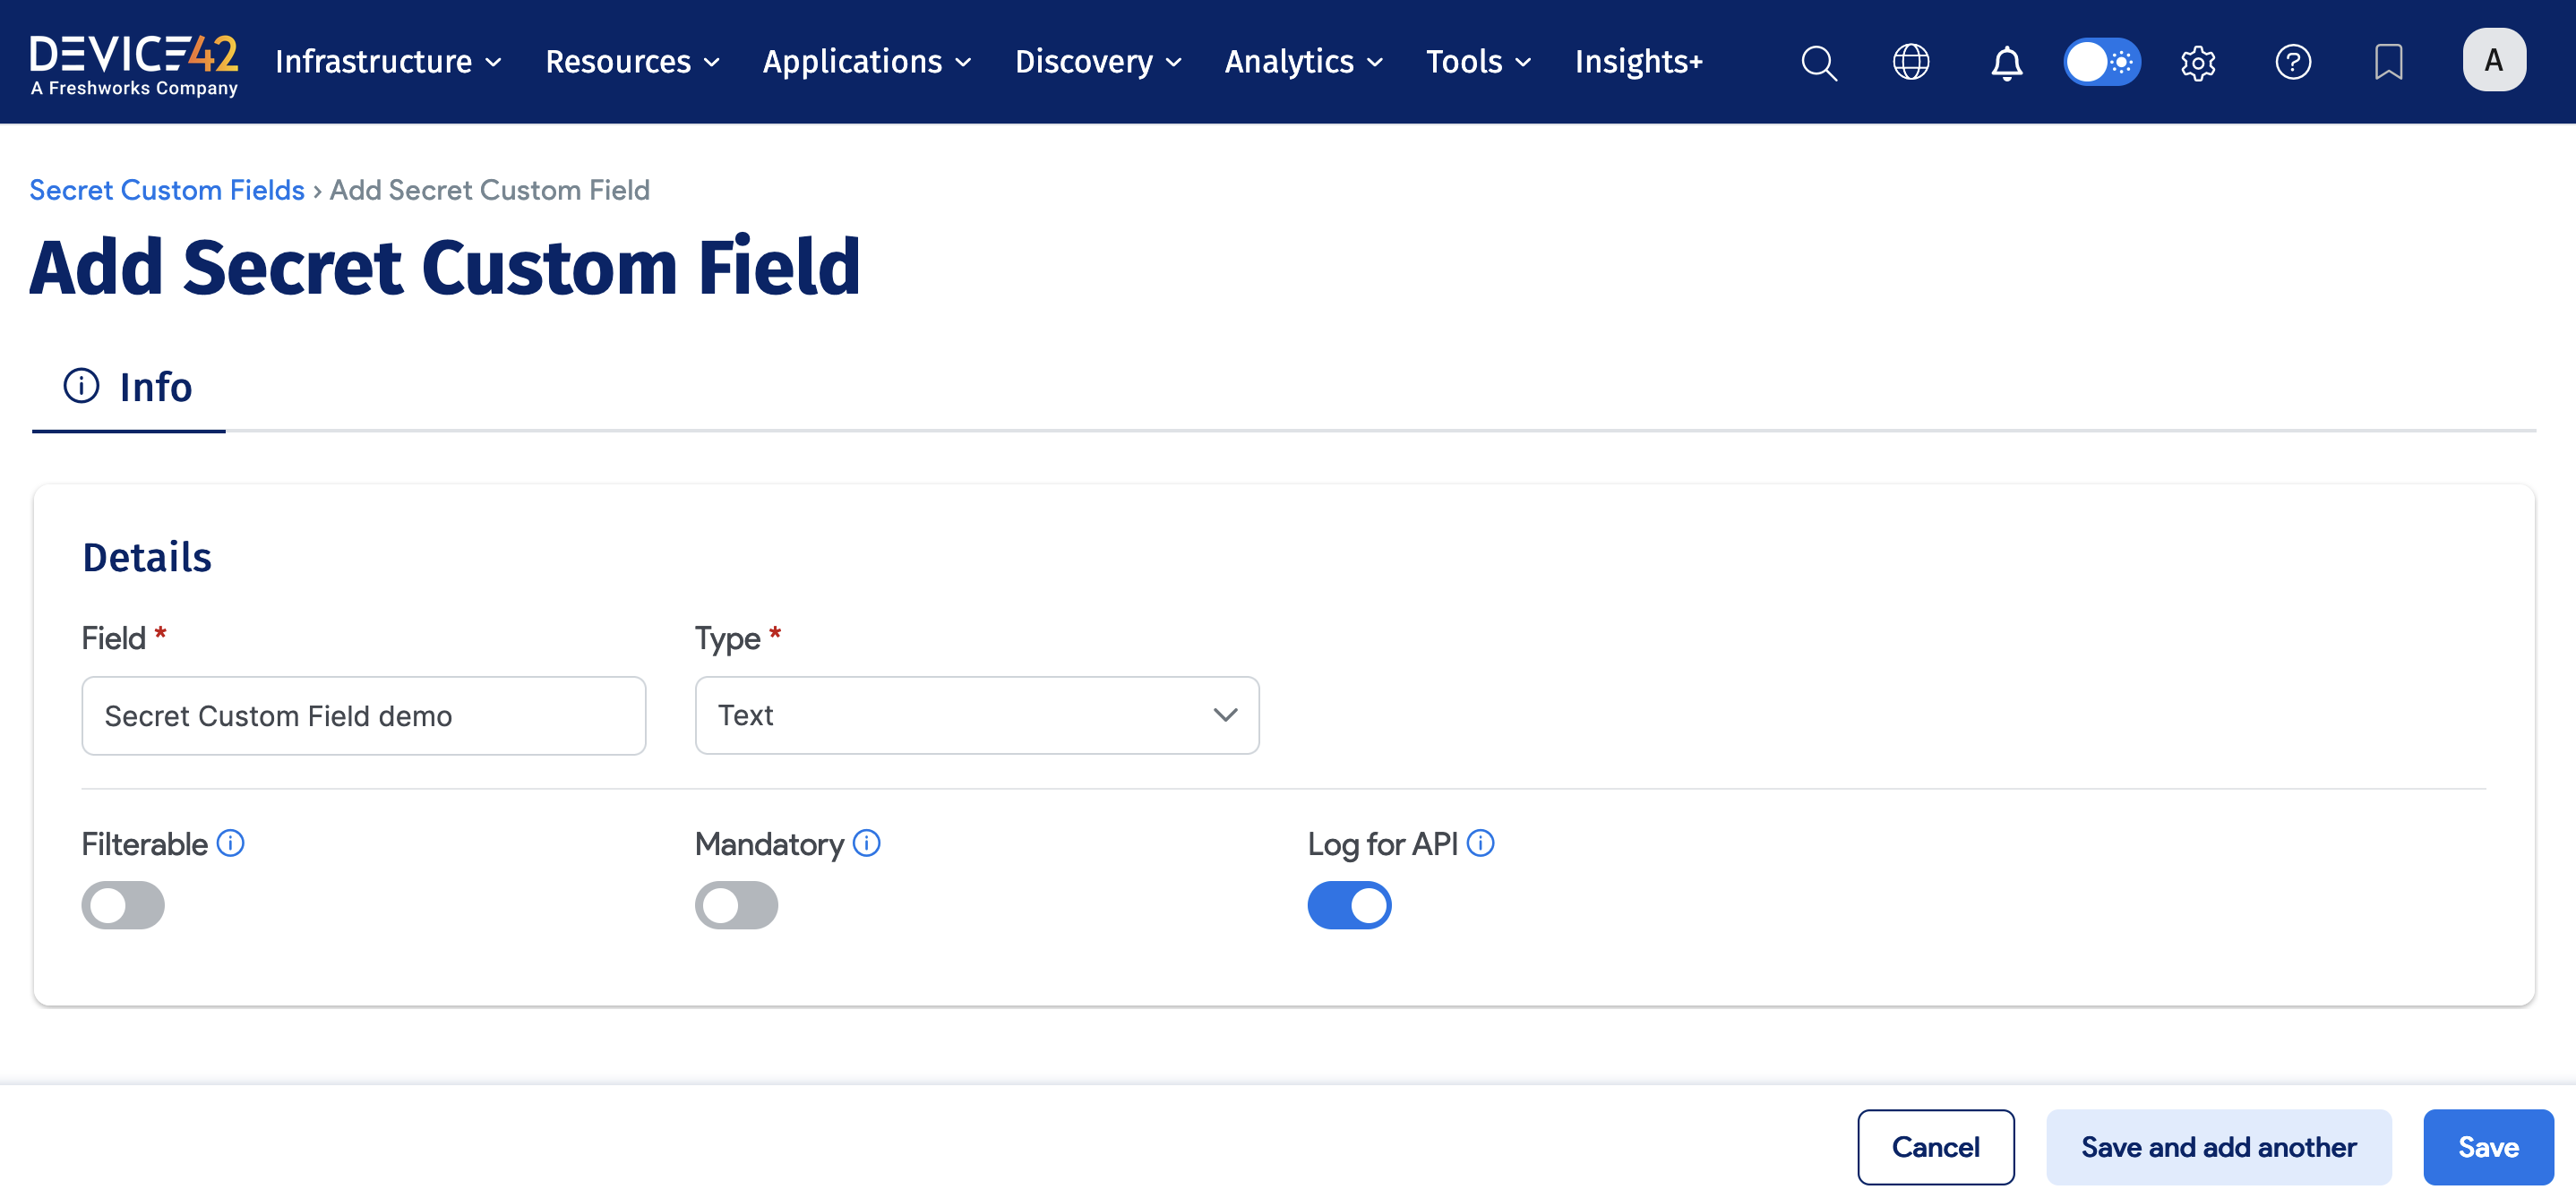
Navigate to Tools > Custom Fields and click the Secrets link.
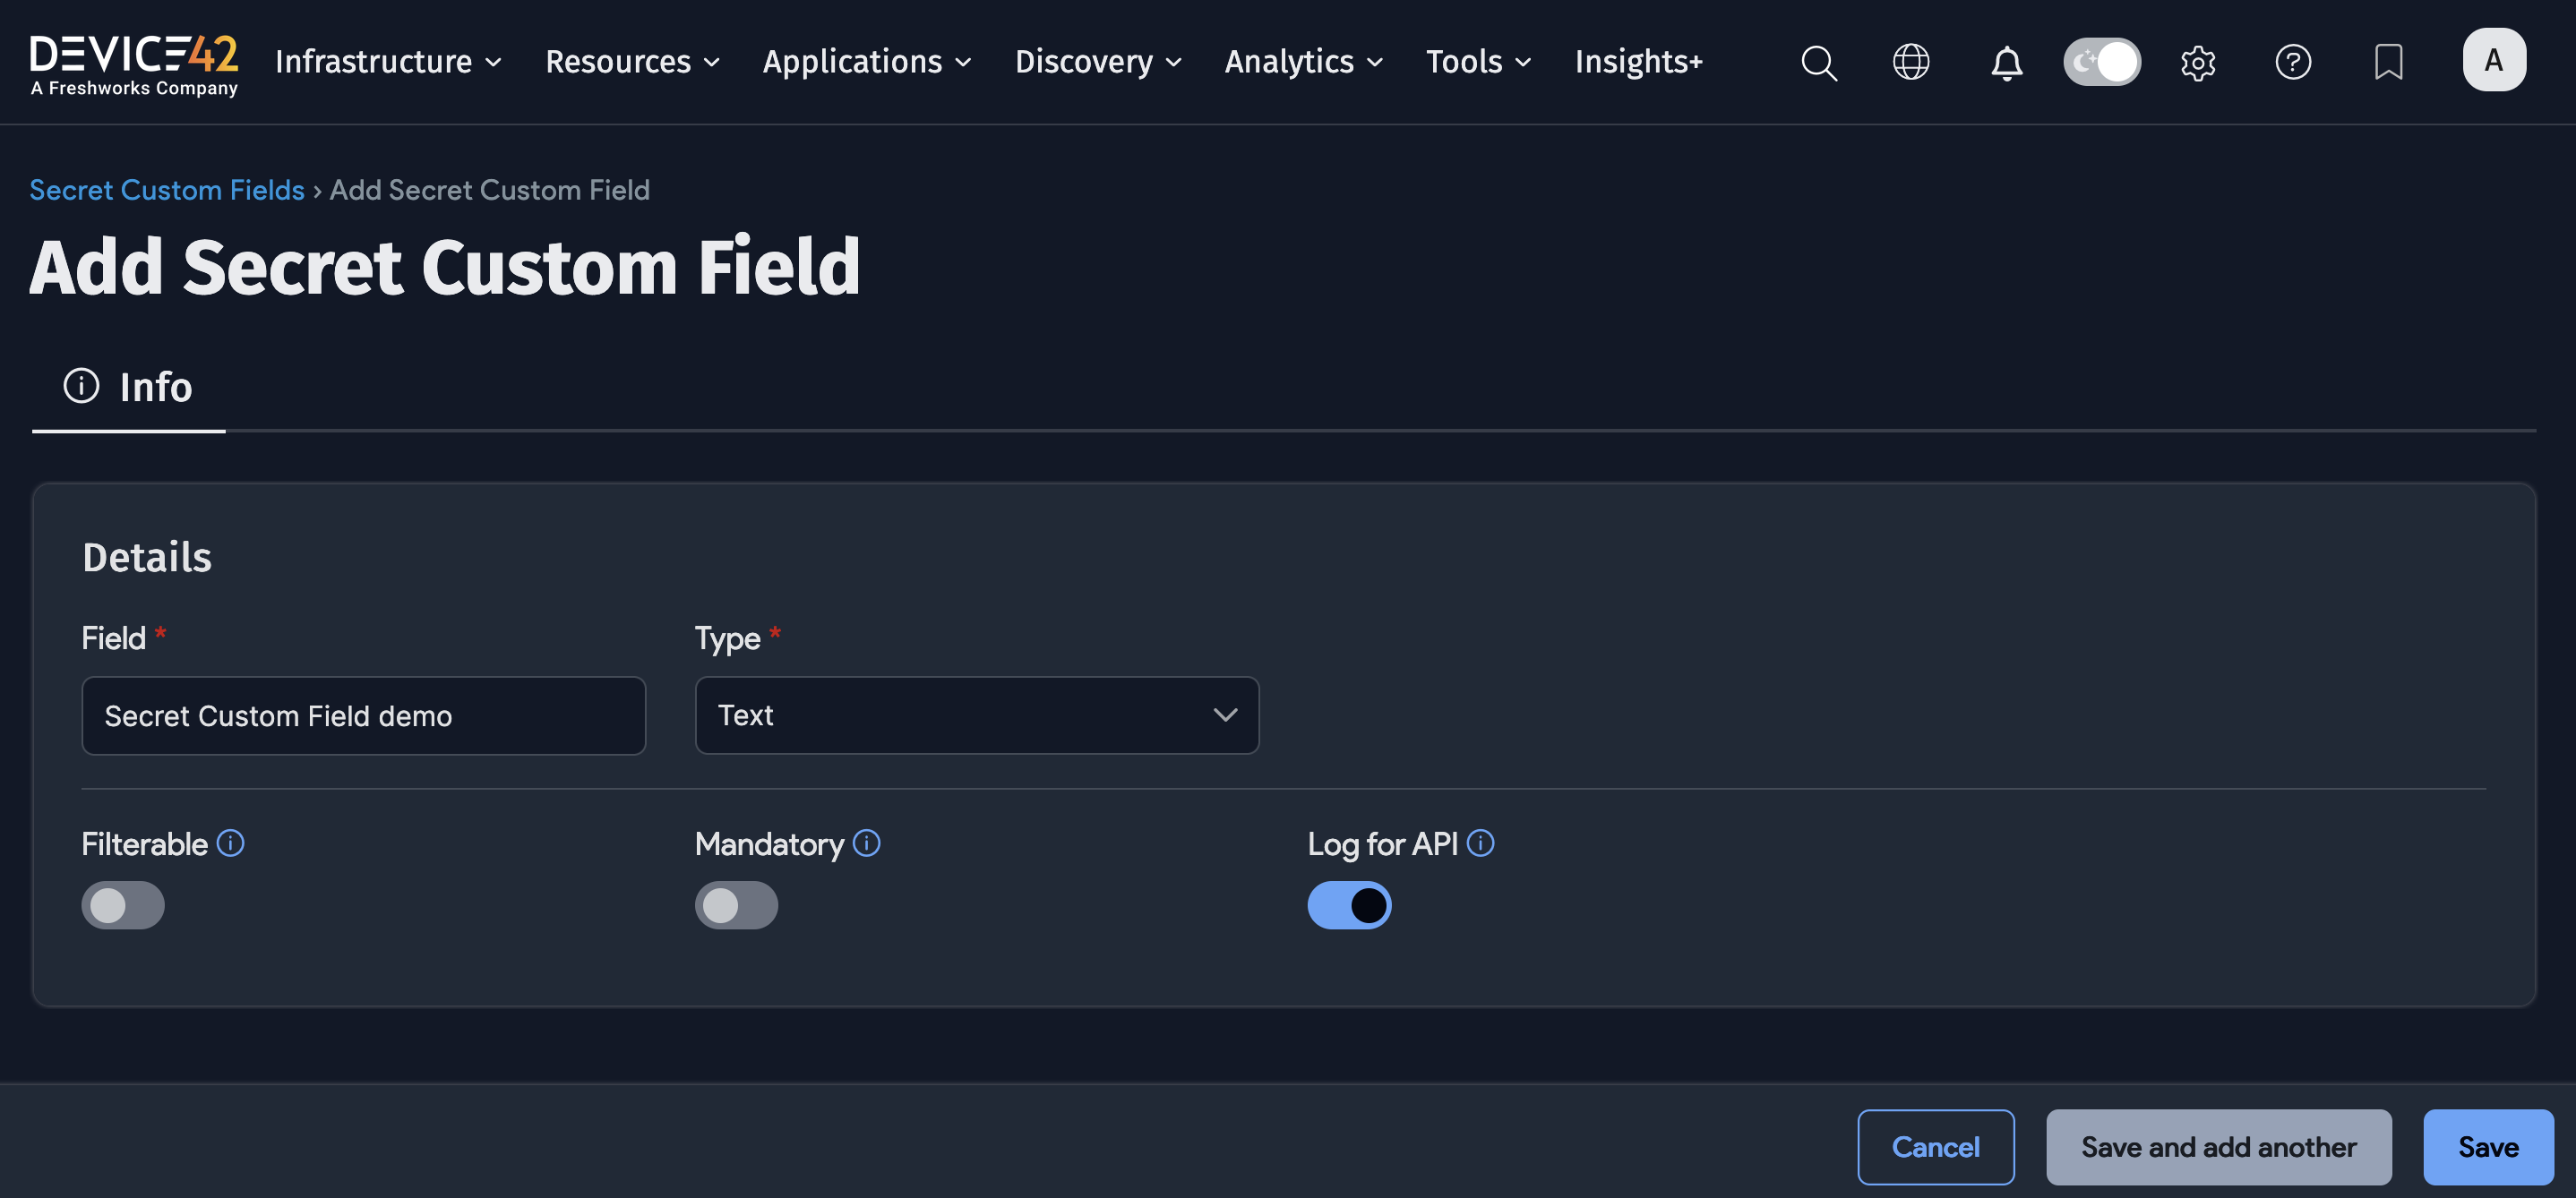
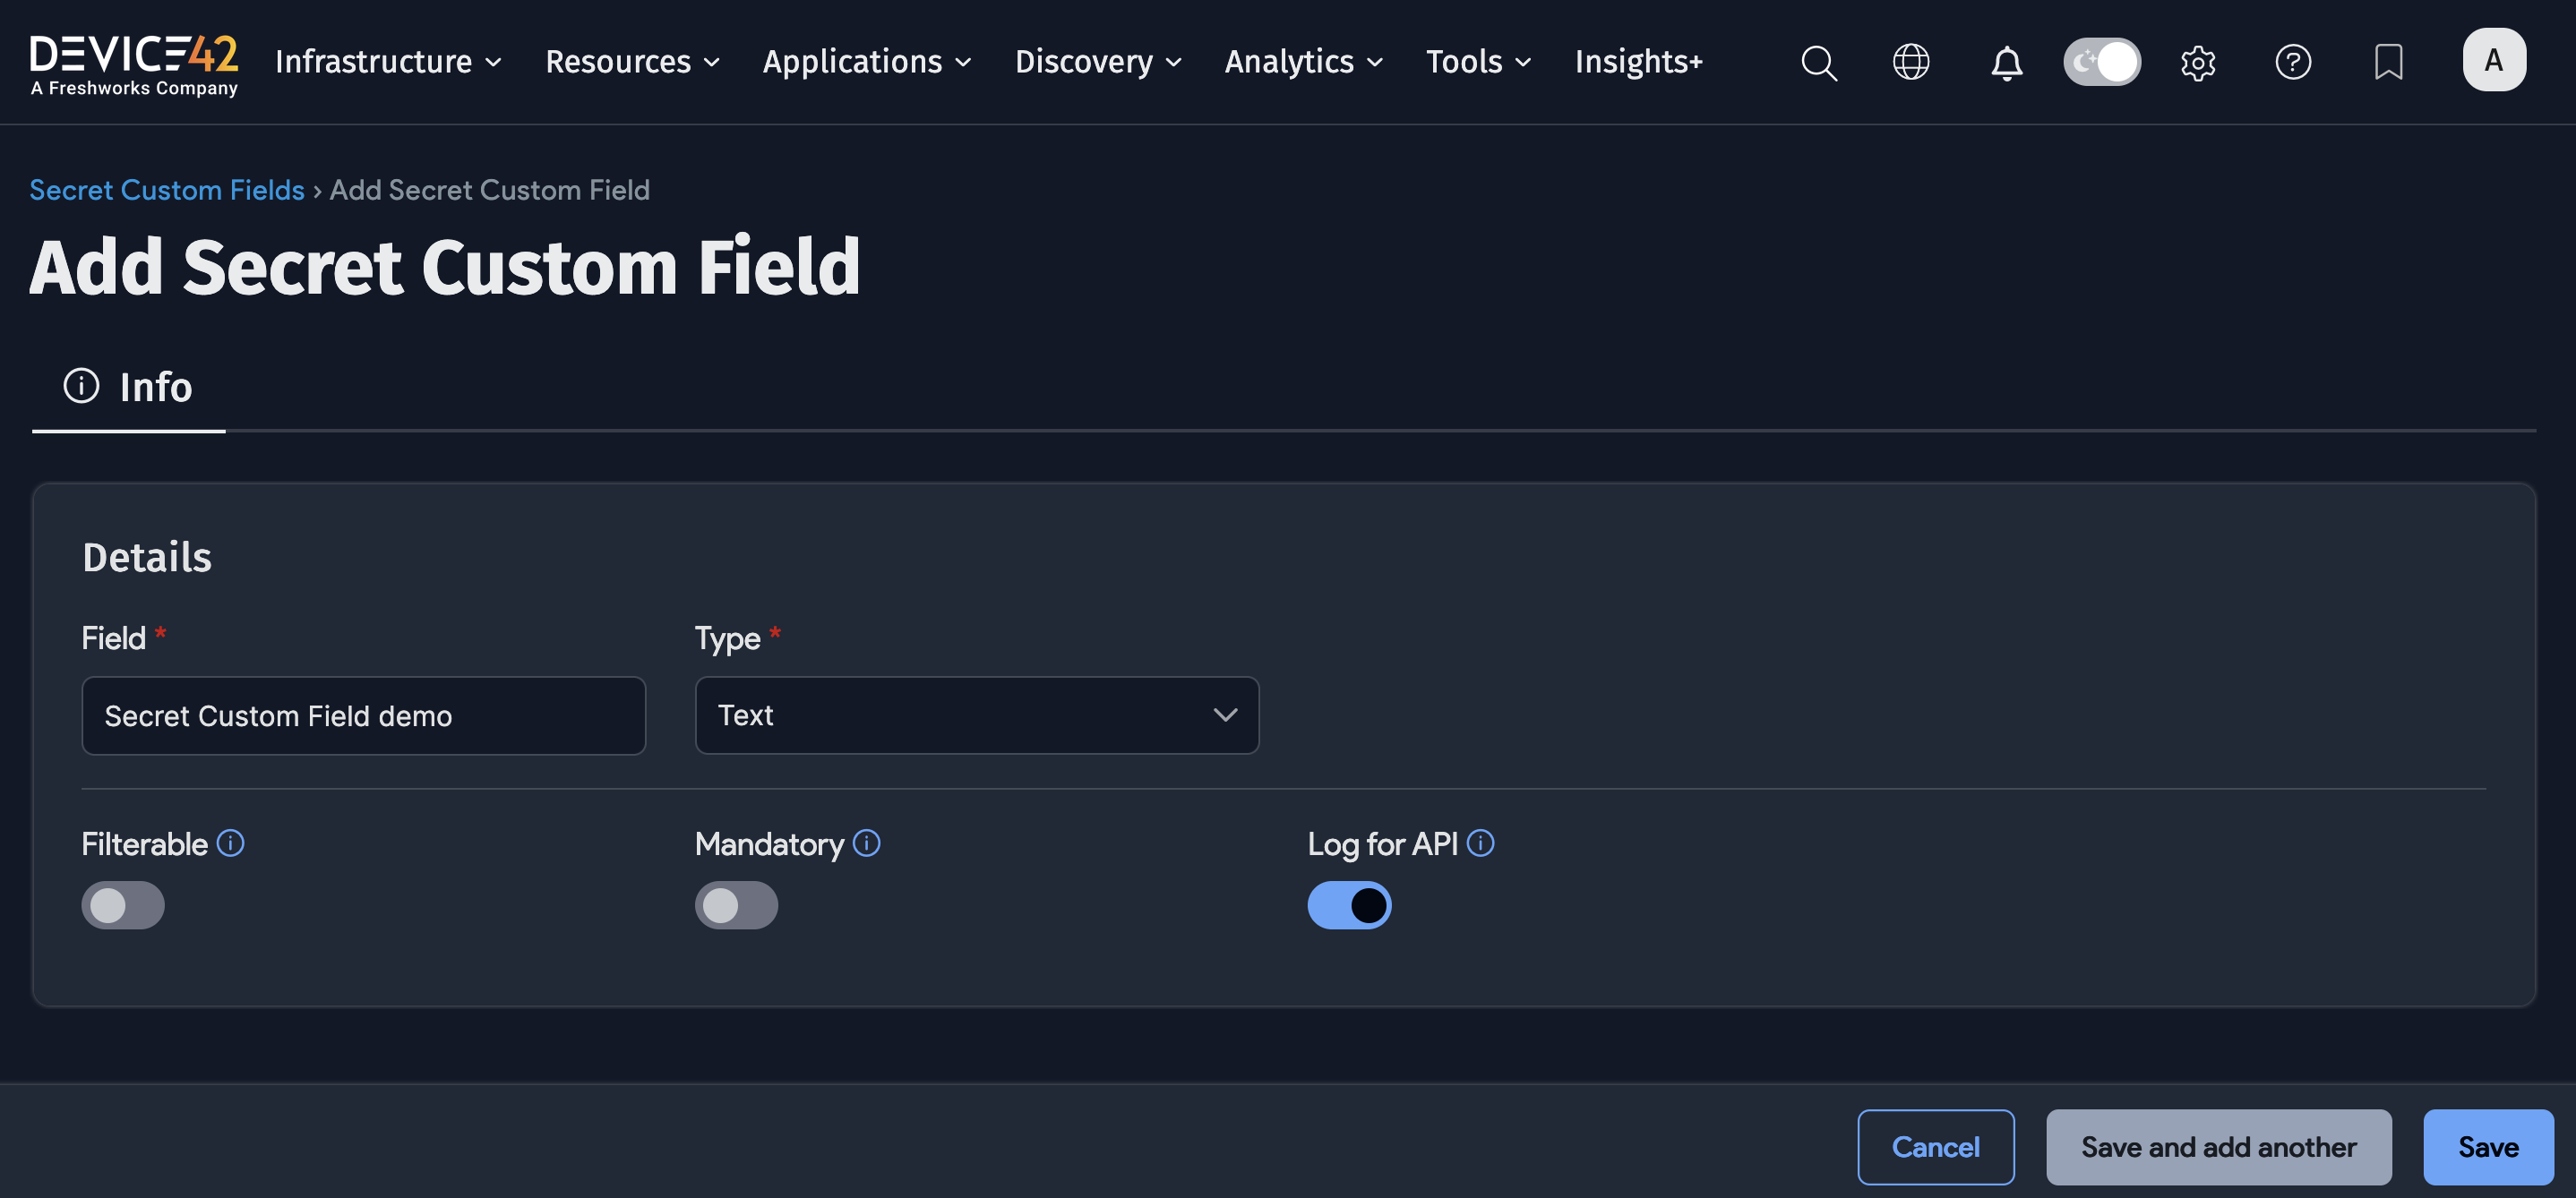
Name the Custom Field and choose its data Type, whether it is Filterable, and whether it is Mandatory. By default, the Log for API option is enabled, which means any changes made to this Custom Field via the Device42 API will be recorded in the history log.
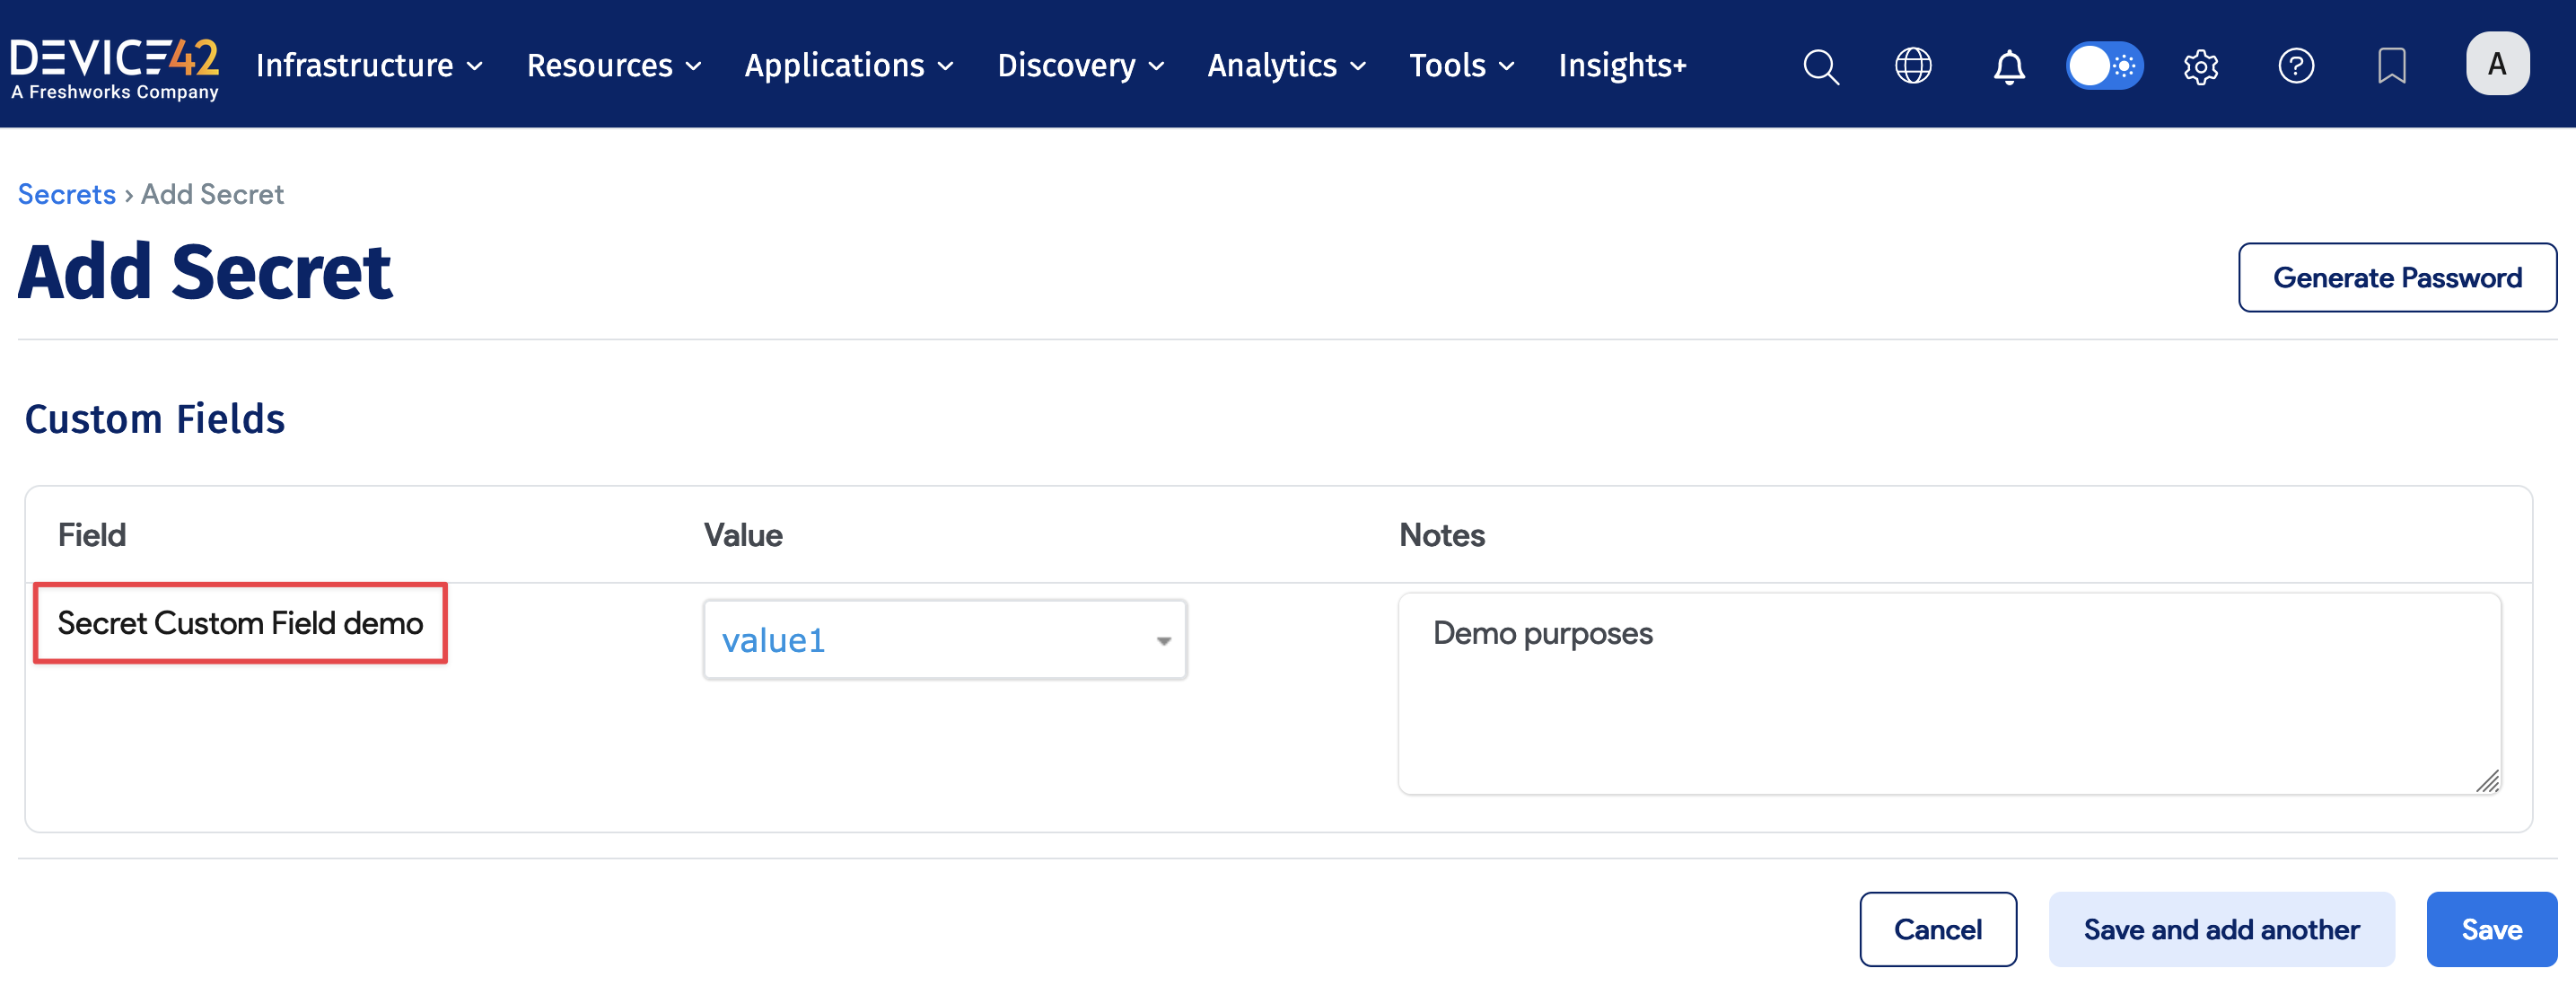
You can assign a value to the newly created Custom Field when creating a new Secret, and add a note if desired.
REST APIs for Custom Fields
The API documentation covers adding Custom Fields to various objects. For example, to see the API documentation for adding Custom Fields to Devices, navigate to Devices > Custom fields.
Assign Related Field Values by Object ID
You can populate a Related Field Custom Field by sending the object ID instead of its name.
Add two form parts to your POST or PUT request:
| Field | Required | Value |
|---|---|---|
value | ✔ | Numeric ID of the related object (for example, an end user ID). |
related_field_value_by_id | ✔ | yes tells Device42 that value contains an ID, not the object name. |
Click to expand the code block
curl -k -X PUT -u 'admin:adm!nd42' \
  -F "name=Customer 101" \
  -F "key=end_user_details" \
  -F "type=related_field" \
  -F "related_field_name=endusers" \
  -F "value=6" \
  -F "related_field_value_by_id=yes" \
  https://<device42>/api/1.0/custom_fields/customer/
The call above sets End User Details to the end user whose object ID is 6.
For full parameter details, see the Customers endpoint documentation.
Exago Reports Compatibility
For Exago reports, which are not enabled by default, some Custom Field data types have changed in a way that may affect existing queries. Custom numeric and date fields are now represented as DATE and BIGINT instead of TEXT. Queries that use TEXT-related functions such as SUBSTRING may fail and need to be updated to use the new data type. Queries with basic operators in the WHERE clause, such as = and <>, should continue to work without changes.